
Learn how to add your AWeber AI signup form to your website by installing a simple JavaScript snippet. Once installed, your forms will automatically appear on your site. No additional code changes needed when you create new forms, update existing ones, or adjust display settings. This guide walks you through installing the snippet, testing your connection, configuring when and where your form appears, and publishing your form to start growing your list.
Adding Your Form to Your Website
Once your form is ready, you'll install a single JavaScript snippet on your website. You only need to do this once. Any changes you make in AWeber will automatically appear on your site without touching the code again.
To install your snippet:
-
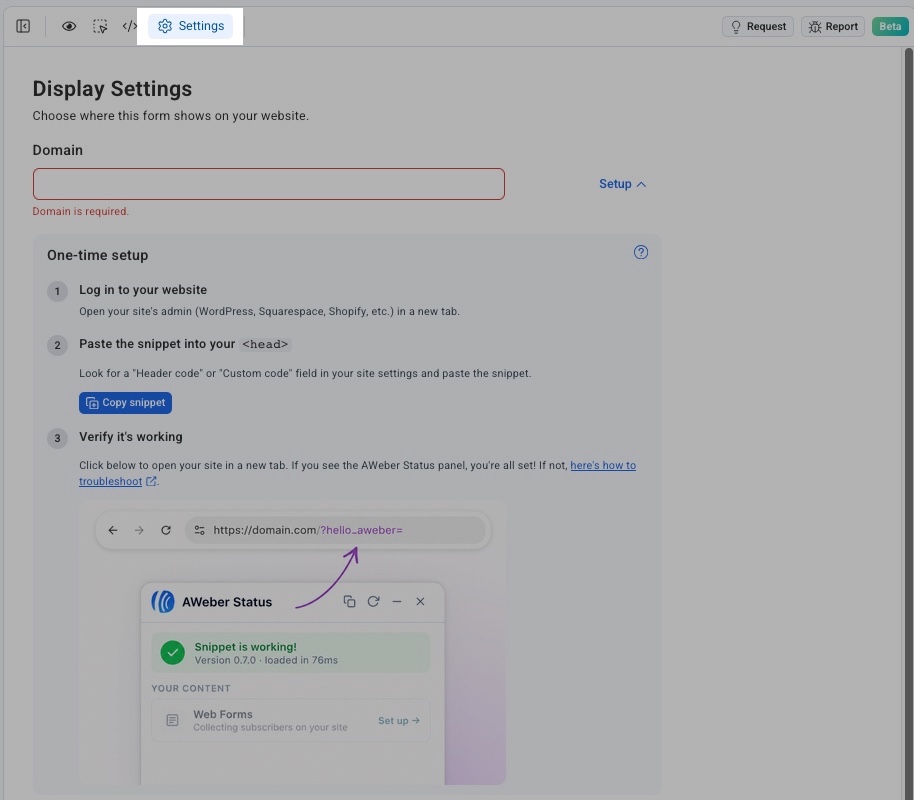
In the form builder, click the Settings gear icon in the top left of the editor.
-
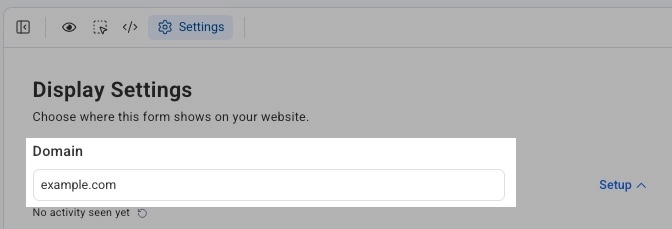
Under Display Settings, enter your website domain in the Domain field.
-
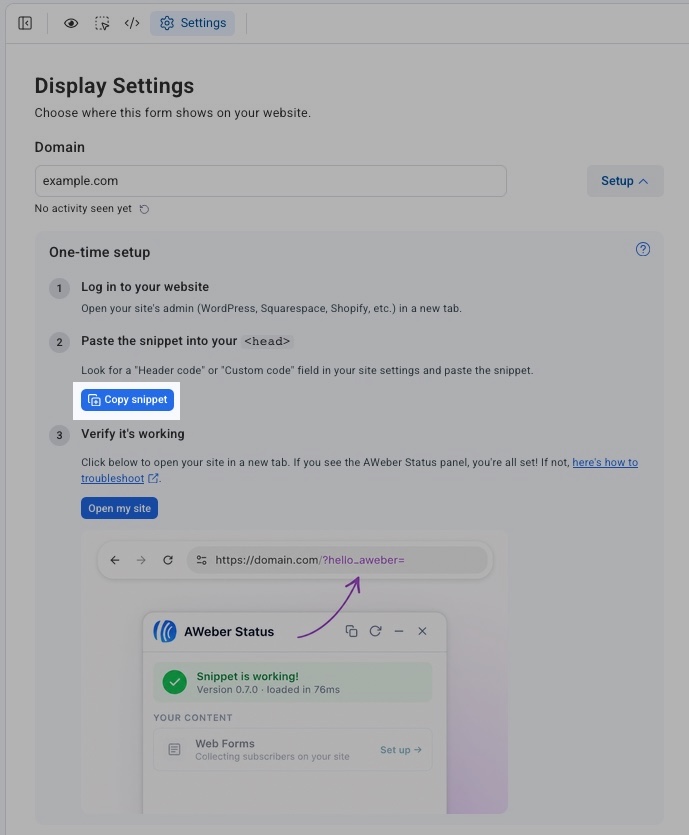
Click Copy snippet to copy your unique JavaScript snippet.
-
Log in to your website's admin panel (WordPress, Squarespace, Shopify, etc.) in a new tab.
-
Find the "Header code" or "Custom code" field in your site settings and paste the snippet inside your site's
<head>tag.
Your snippet is unique to your account.
Note: The snippet uses the optin.com domain. This is expected and is AWeber's form domain.
If you have an existing signup form on your site that was installed without the AWeber JavaScript Snippet, both forms will function independently. If you want to replace that form, you'll need to find and remove the code used to place it on your site.
Once the snippet is in place, all of your published AWeber forms will load automatically on any pages they’ve been added to. No additional code changes are needed when you create new forms or update existing ones.
Testing your Connection
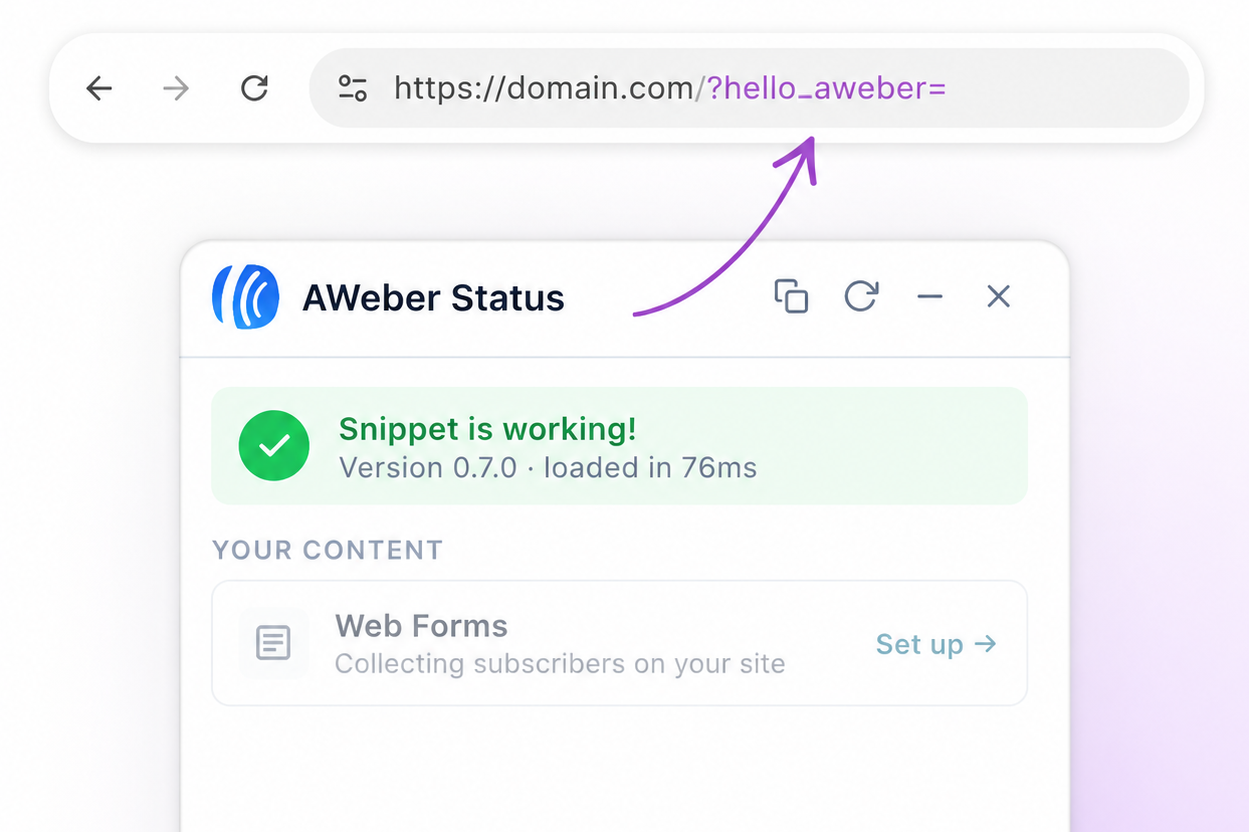
After installing the JavaScript snippet, verify it's working by opening your site in a new tab with ?hello_aweber= appended to the end of your domain URL (for example: https://yourdomain.com/?hello_aweber=).
-
If the snippet is installed correctly: You'll see the AWeber Status panel appear on your site. The panel will confirm the snippet is loaded and display any forms currently collecting subscribers on your site.
-
If the AWeber Status panel does not appear: The snippet may not be properly installed. Double-check that the entire JavaScript snippet is pasted inside the
<head>tag of your site. For additional troubleshooting steps, click the "here's how to troubleshoot" link shown in the setup panel.
Configuring Display Settings
To access your form’s display settings, click on the Settings icon at the top of the editor.
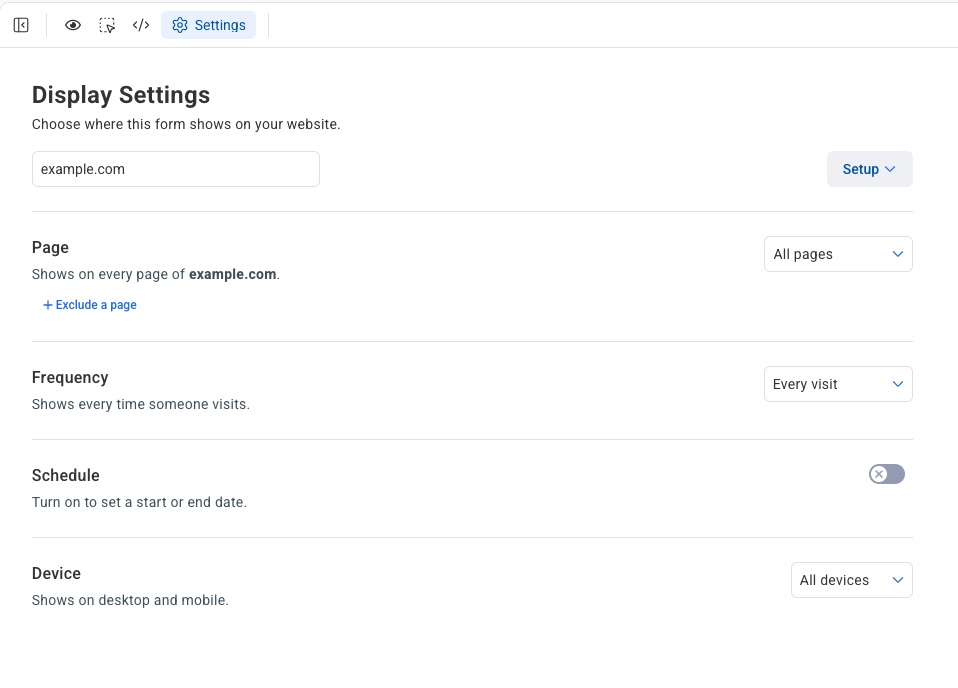
There are multiple settings for how your form will display on your site.
-
Page: Choose which pages on your site the form appears on.
-
Frequency: Control how often a visitor sees the form.
-
Schedule: Set a start or end date to control when the form is active.
-
Device: Choose which devices the form appears on.
Page Settings
To display your form on every page of your site, select All pages from the Page dropdown.

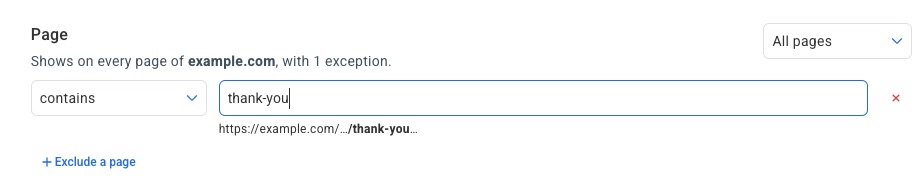
To exclude specific pages from showing your form:
-
Select All pages from the Page dropdown.
-
Click + Exclude a page.
-
Enter the URL path of the page you want to skip.
-
To exclude additional pages, click + Exclude a page again and enter another path.
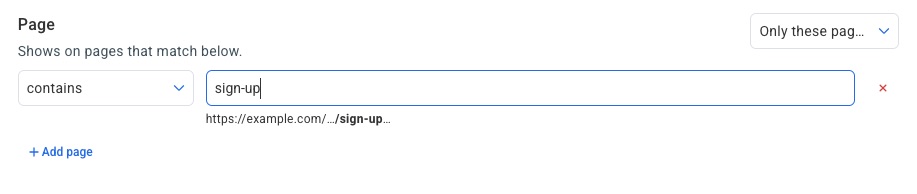
To show your form only on specific pages:
-
select Only these pages from the Page dropdown.
-
Enter a URL pattern in the path field (e.g., /page-path or /path/*).
-
To target additional pages, click + Add page and enter another path. You must add at least one page path before you can save this setting.
Frequency Settings
To control how often a visitor sees your form, select one of the following from the Frequency dropdown:
-
Every visit: the form appears each time someone visits.
-
Once per visitor: the form appears only the first time someone visits.
-
Once per session: the form appears once per browser session.

To show your form on a repeating interval:
-
Select On a schedule from the Frequency dropdown.
-
Enter a number in the interval field.
-
Select a time unit from the dropdown (Days, Weeks, Months).

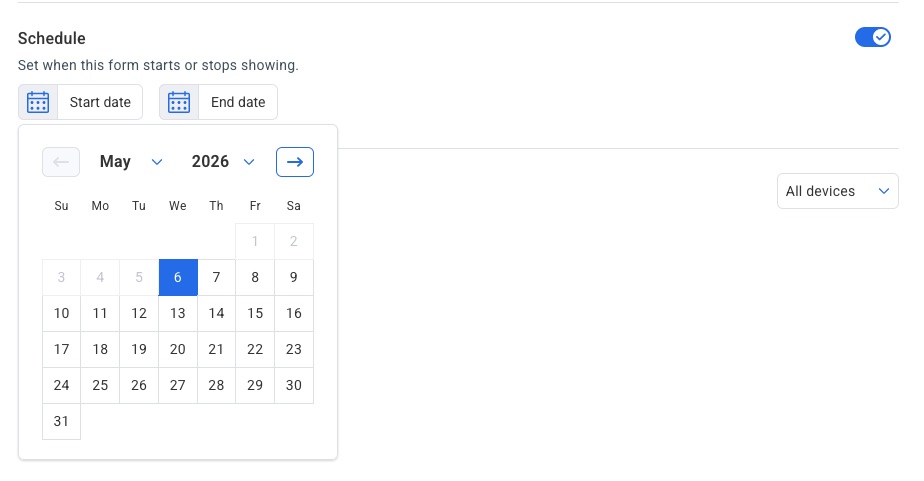
Scheduling Settings
Set a start or end date to control when the form is active.
By default, this toggle is off and the form runs indefinitely. Toggle it on to reveal a date picker with Start date and End date options. Click either to open a calendar and select the date you want the form to begin or stop showing.
Device Settings
Choose which devices the form appears on. Use the dropdown to select:
-
All devices: shows on both desktop and mobile (default).
-
Desktop only: shows only on desktop browsers.
-
Mobile only: shows only on mobile browsers.

Publish Your Form
When your form is ready to go live, you have full control over when and how it appears.
-
Draft vs. Published: Your form stays in draft mode until you choose to publish it. You decide when changes go live. To publish your form, simply click ‘Publish’ in the top right of the editor.
-
Global Activate/Deactivate Toggle: Enable or disable any form at any time without removing the code from your site.
Placing an Inline Form on Your Site
AWeber's AI Form Builder includes an inline form placement feature that lets you embed a signup form directly into a specific location on your website, such as before a footer or within a content section.
Before you begin: Make sure you have already added the AWeber code snippet to your website. The placement tool requires this to display the placement interface.
-
Create an inline form using any of the following methods:
-
Type in the chat and ask for an inline form
-
Select an inline form type from the Inspiration Gallery
-
Change the form type to "directly embeds on my website" in the drop-down when getting a suggested prompt
-
-
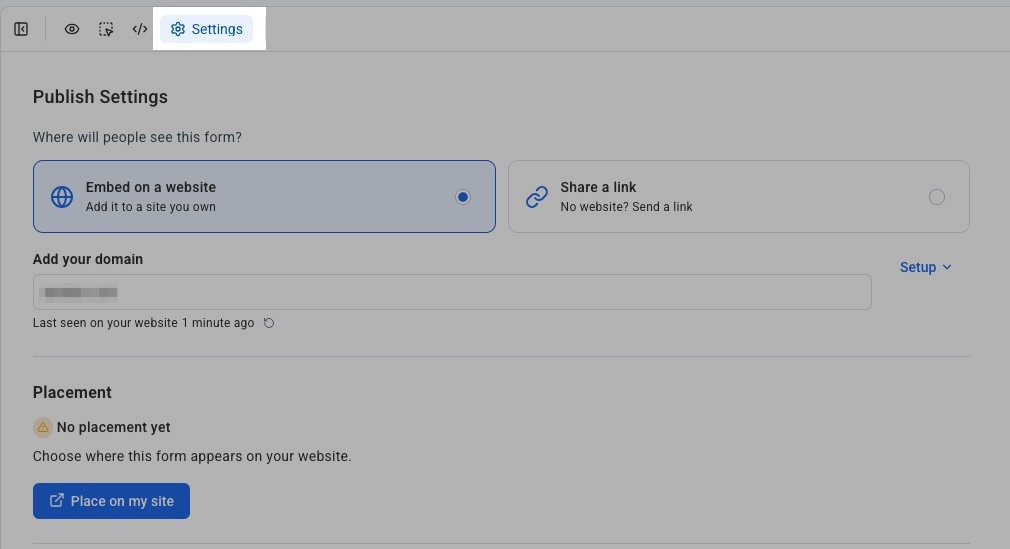
In the form builder, click the Settings gear icon in the top of the editor.
-
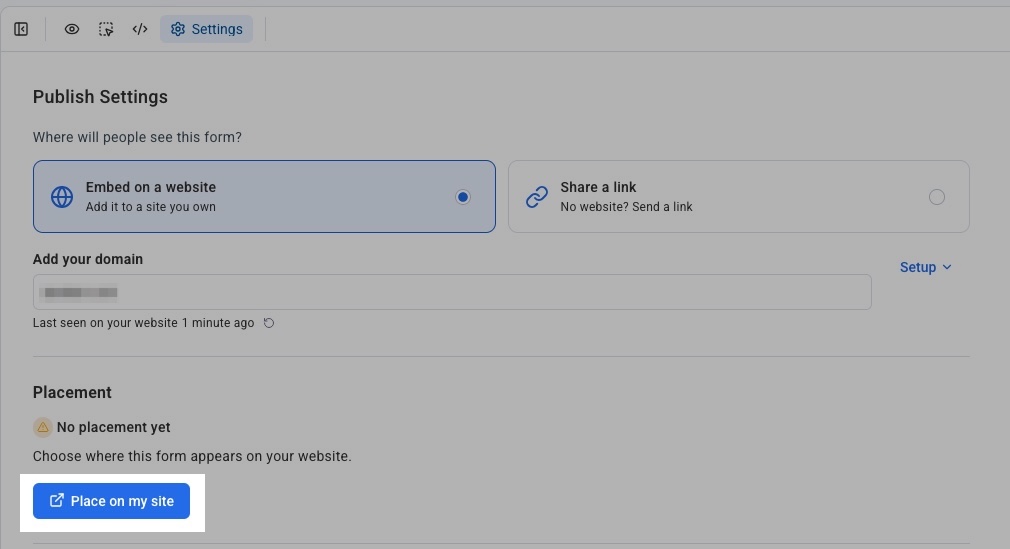
In the Placement section, click the “Place on my Site” button.
-
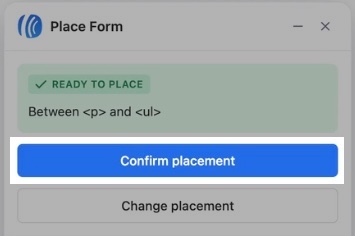
Select and confirm a location. Your website will open with a placement overlay. Hover over where you want to place the form, click to select the location, then confirm your selection within the modal.
You will be redirected back to form settings, where the Placement section will reflect your chosen location. Your form settings are saved automatically during this redirect.
Note: If you need to navigate to a different page first, click "Navigate Site" in the modal, then click "Place Form" to return to placement mode.
-
Publish your form. Click "Publish" to make the form live. Visit your site to confirm it appears in the correct location.
After placement, you can continue editing and publishing changes without re-placing the form. For example, you can ask the AI agent to change the alignment or color of the form. Your placement is preserved across revisions. Refresh your site to see updates.
Obtaining the Link for an AWeber Hosted Form
When publishing your form, select “Share a link” to obtain a link to the form without entering a domain.

After pressing “Save and publish” the form will publish and your form’s link will display on the page.
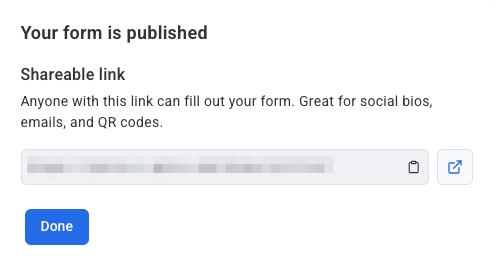
The page link can also be obtained later. After publishing your form, visit the AI sign up forms page in your account. Your form will be located here with a direct link that can by copied to share the form.

The link on the forms page will only display after the form has been published.