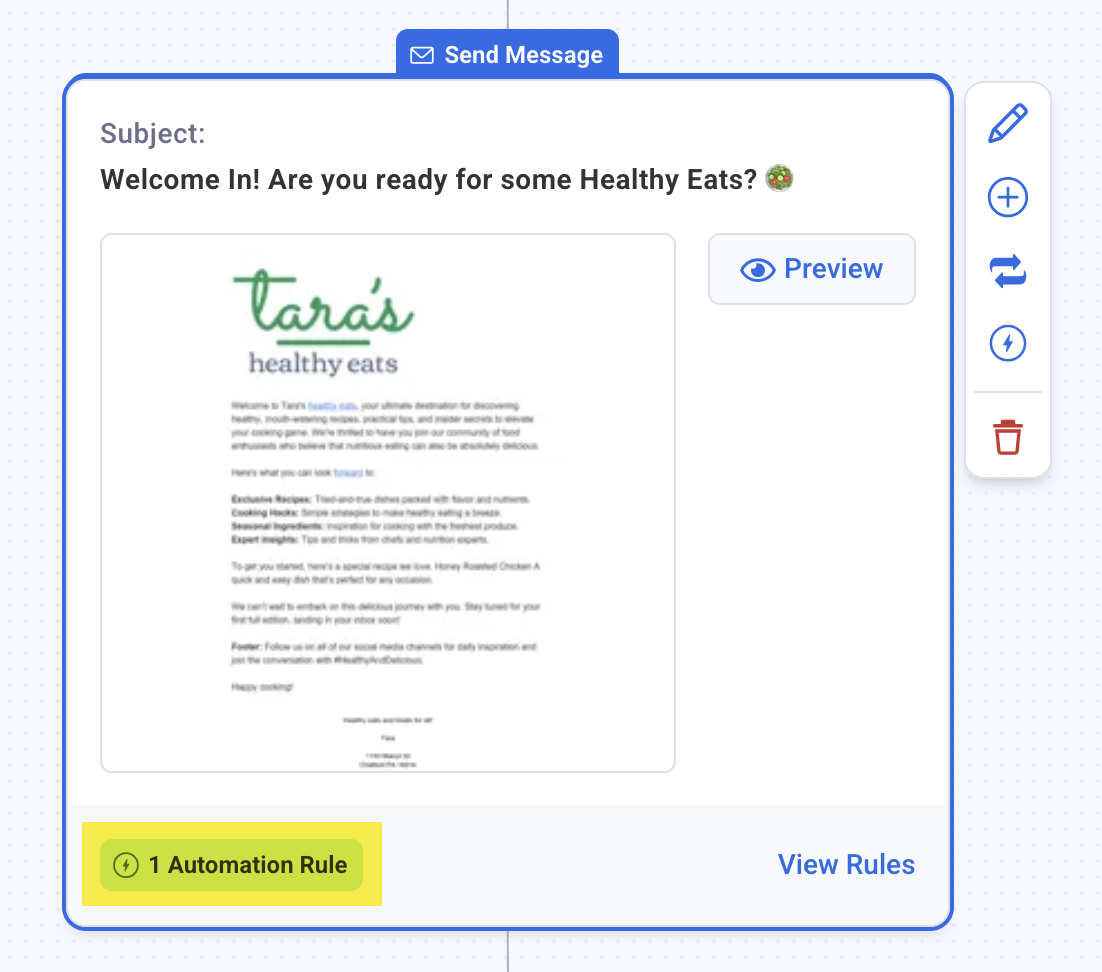
With Automations, you have the option to start certain actions based on how a subscriber interacts with your message. For example, if a subscriber clicks on a link in that message, they'll be tagged with a specific tag to receive another workflow. In this article we'll walk through how to add an Automation to your workflow.
Are you ready to build an automation engine that'll promote your business around-the-clock?
AWeber's 24/7 Email Marketing Master Class will teach you how.
👉 Get started today!
Note: If you are using AWeber’s sales tracking in your list, and have the analytics javascript installed, automations will not start for that URL.
Workflows and tags are specific to each list. A tag applied to a subscriber on one list exists only on that list. It will not appear when viewing the subscriber on another list, cannot trigger a workflow on another list, and cannot be used to segment subscribers on other lists. If your goal is to use tags for automation, segmentation, or targeting, maintaining all subscribers in one list is the recommended approach. This allows tags to work across your entire subscriber base without cross-list limitations."
Step By Step Instructions
-
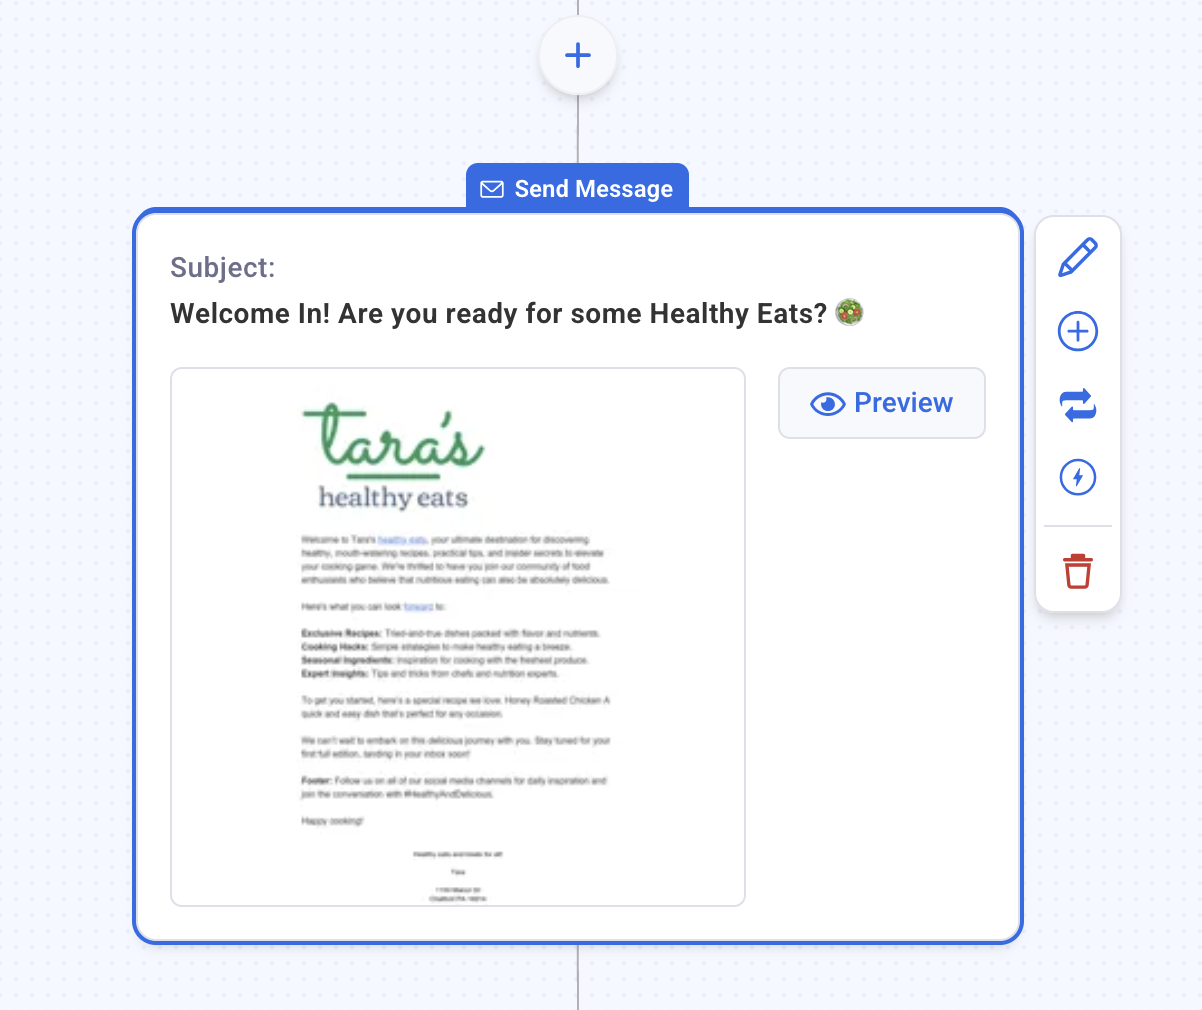
Once you've set up your workflow, navigate to the Send Message action you'd like to use for this Automation.
-
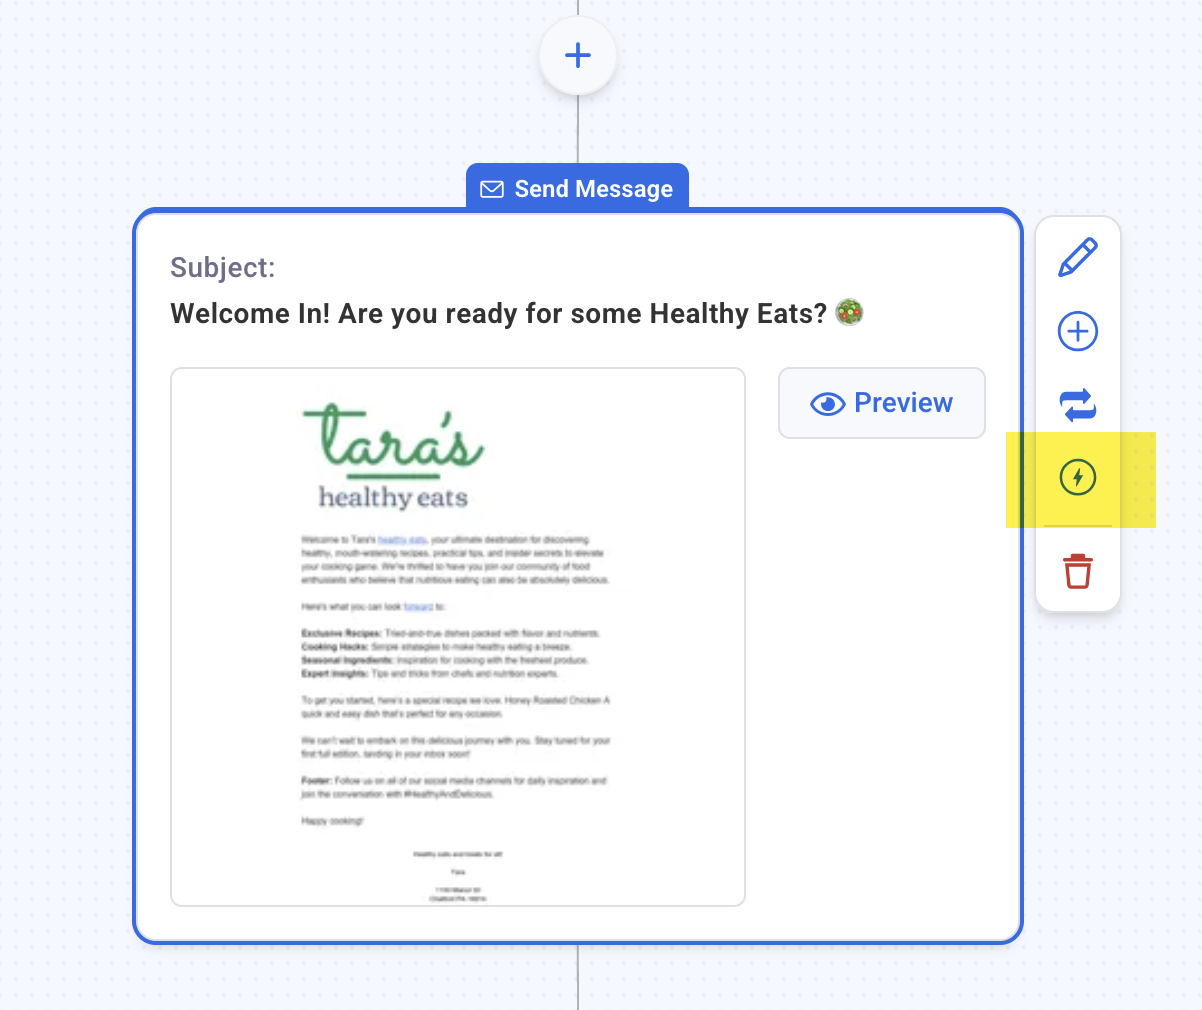
Then, click the Automation icon in the right hand Settings menu.
-
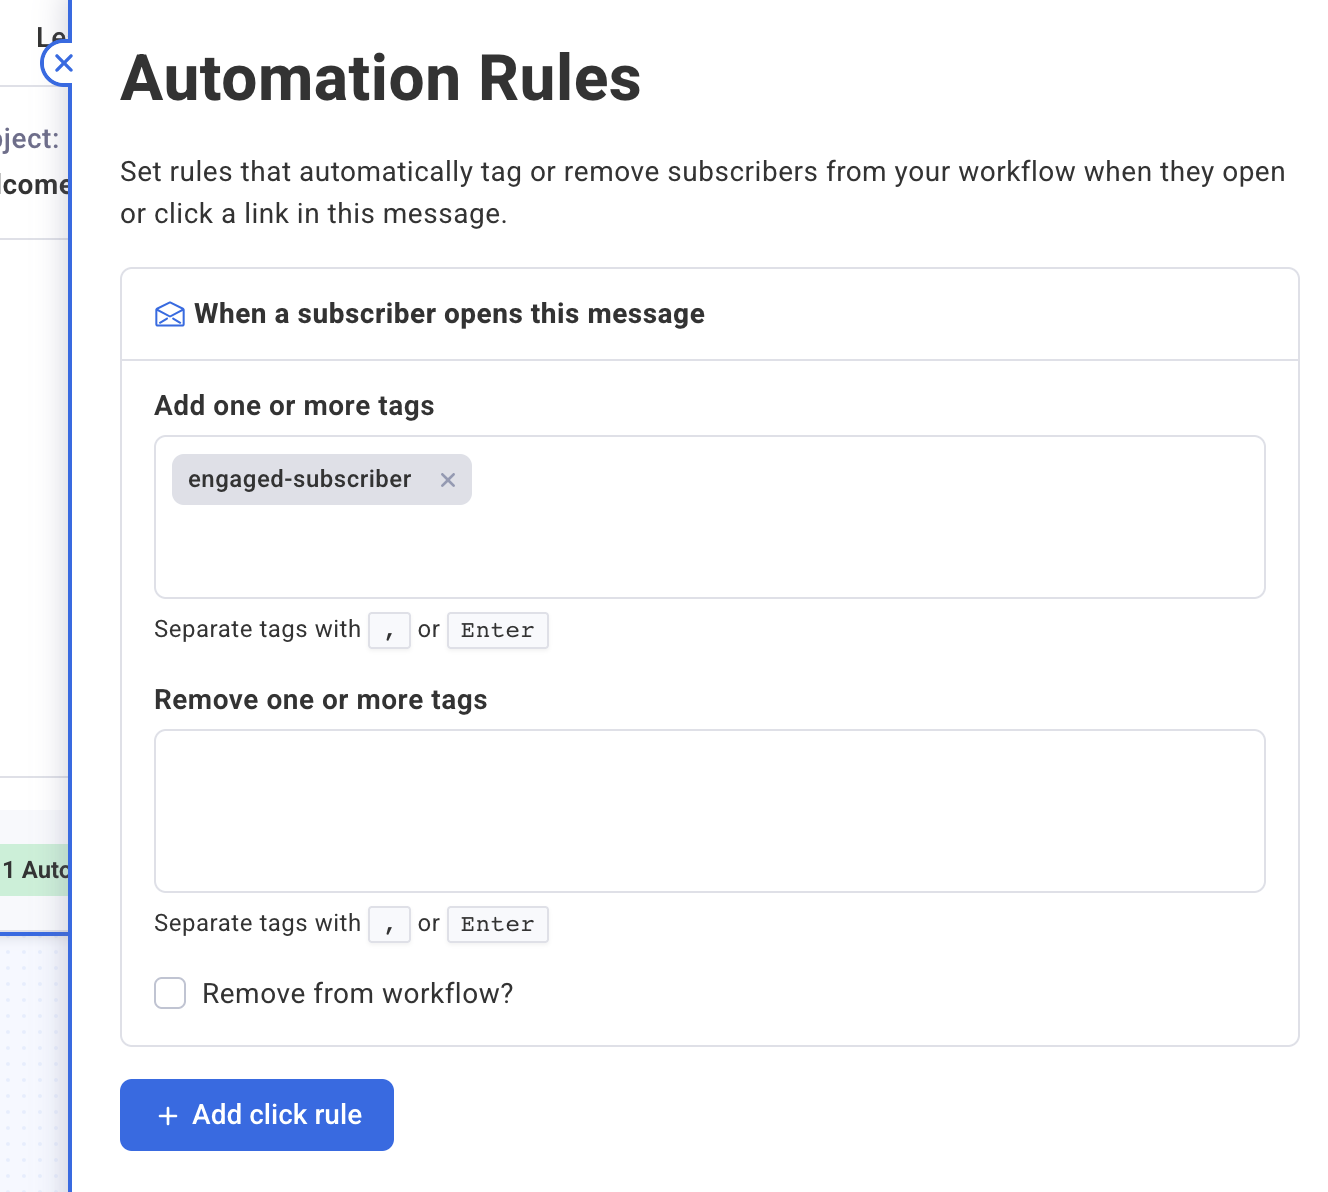
From the Automation Rules panel, in the "When a subscriber opens this message" section, add your desired tag. Once complete, close the Automation Rules panel.
Congratulations! You've successfully added an automation to your message. Now, when a subscriber opens your message, your Automation will apply.