
Workflows let you send the right message to the right person at the right time, saving you time while allowing for targeted and effective communication. Whether you're welcoming new subscribers, promoting products, or maintaining customer relationships, workflows ensure your emails reach the right audience at the right time.
Creating workflows enables you to:
-
Save time with automated engagement
-
Boost conversions with targeted, timely messages
-
Keep subscribers engaged with relevant content
-
Increase brand trust & credibility with consistent communication
Step 1: Prepare Your Messages
Before creating your workflow automation, prepare your messages ahead of time.
-
Navigate to the Messages section in your account
-
Click the "Create a Message" button to create your emails
-
Use the Drag & Drop Editor (AWeber's most popular editor) or your preferred editor
-
Create all the messages you'll need for your workflow sequence
Once your messages are ready, you're all set to build your workflow.
Step 2: Navigate to Workflows
-
Go to Automations in your account navigation
-
Select Workflows
-
Click the "Create Workflow" button
-
Select a template to get started.
Each template serves as a demonstration for how a different type of Workflow can be set up. You can always create a new Workflow later to view a different template.
Learn more about Workflow Templates →
Step 3: Set Up Your Starter
Every workflow begins with a Starter that determines when subscribers enter your workflow.
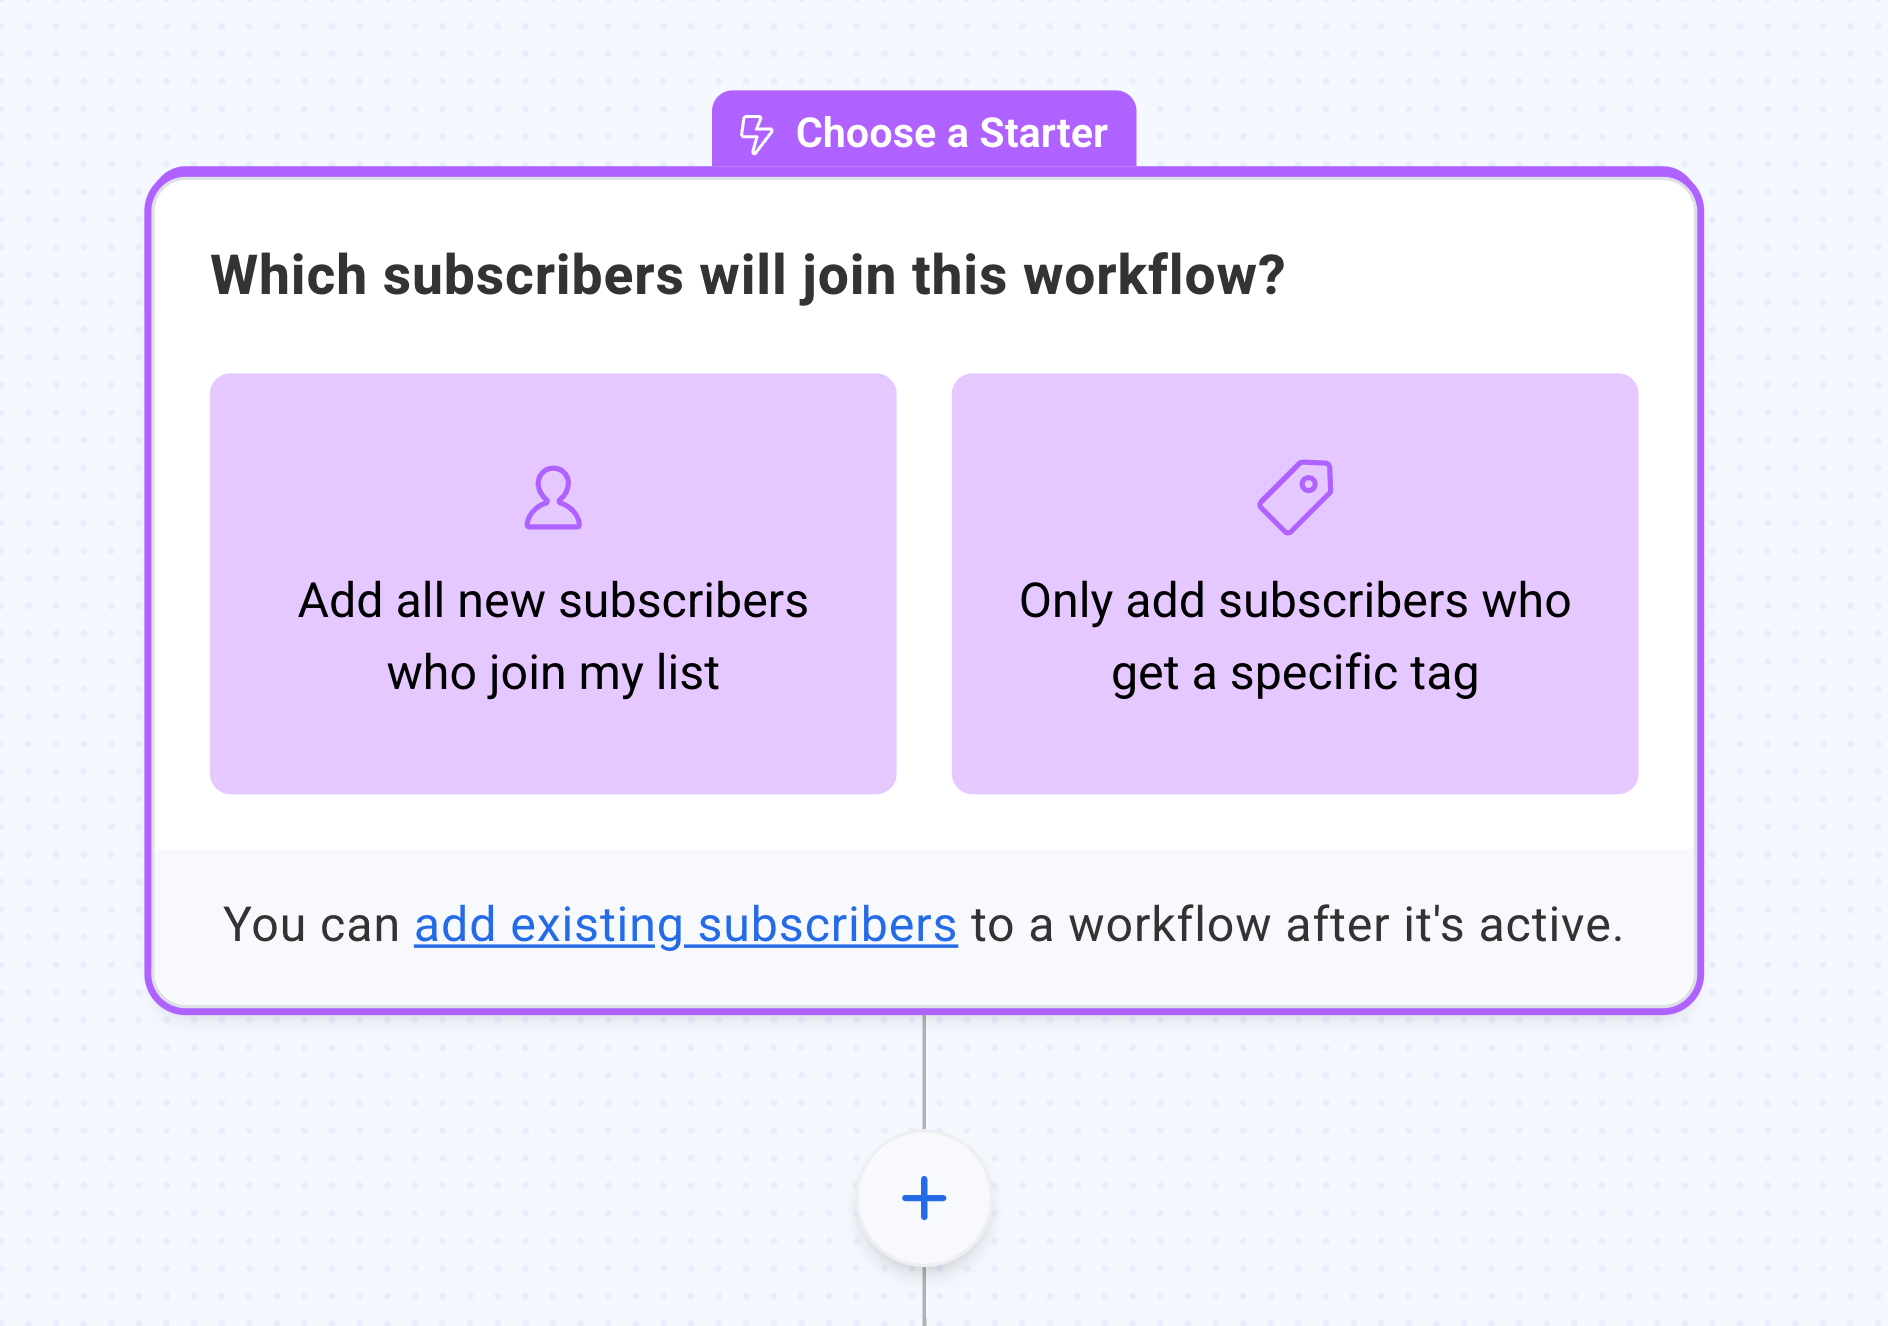
Choose between adding all new subscribers or only subscribers who get a specific tag.
Learn more about Starting a Workflow →
Step 4: Build Your Workflow on the Canvas
Build your workflow by clicking the "+" button on the canvas to add steps like messages, waits, tags, and more.
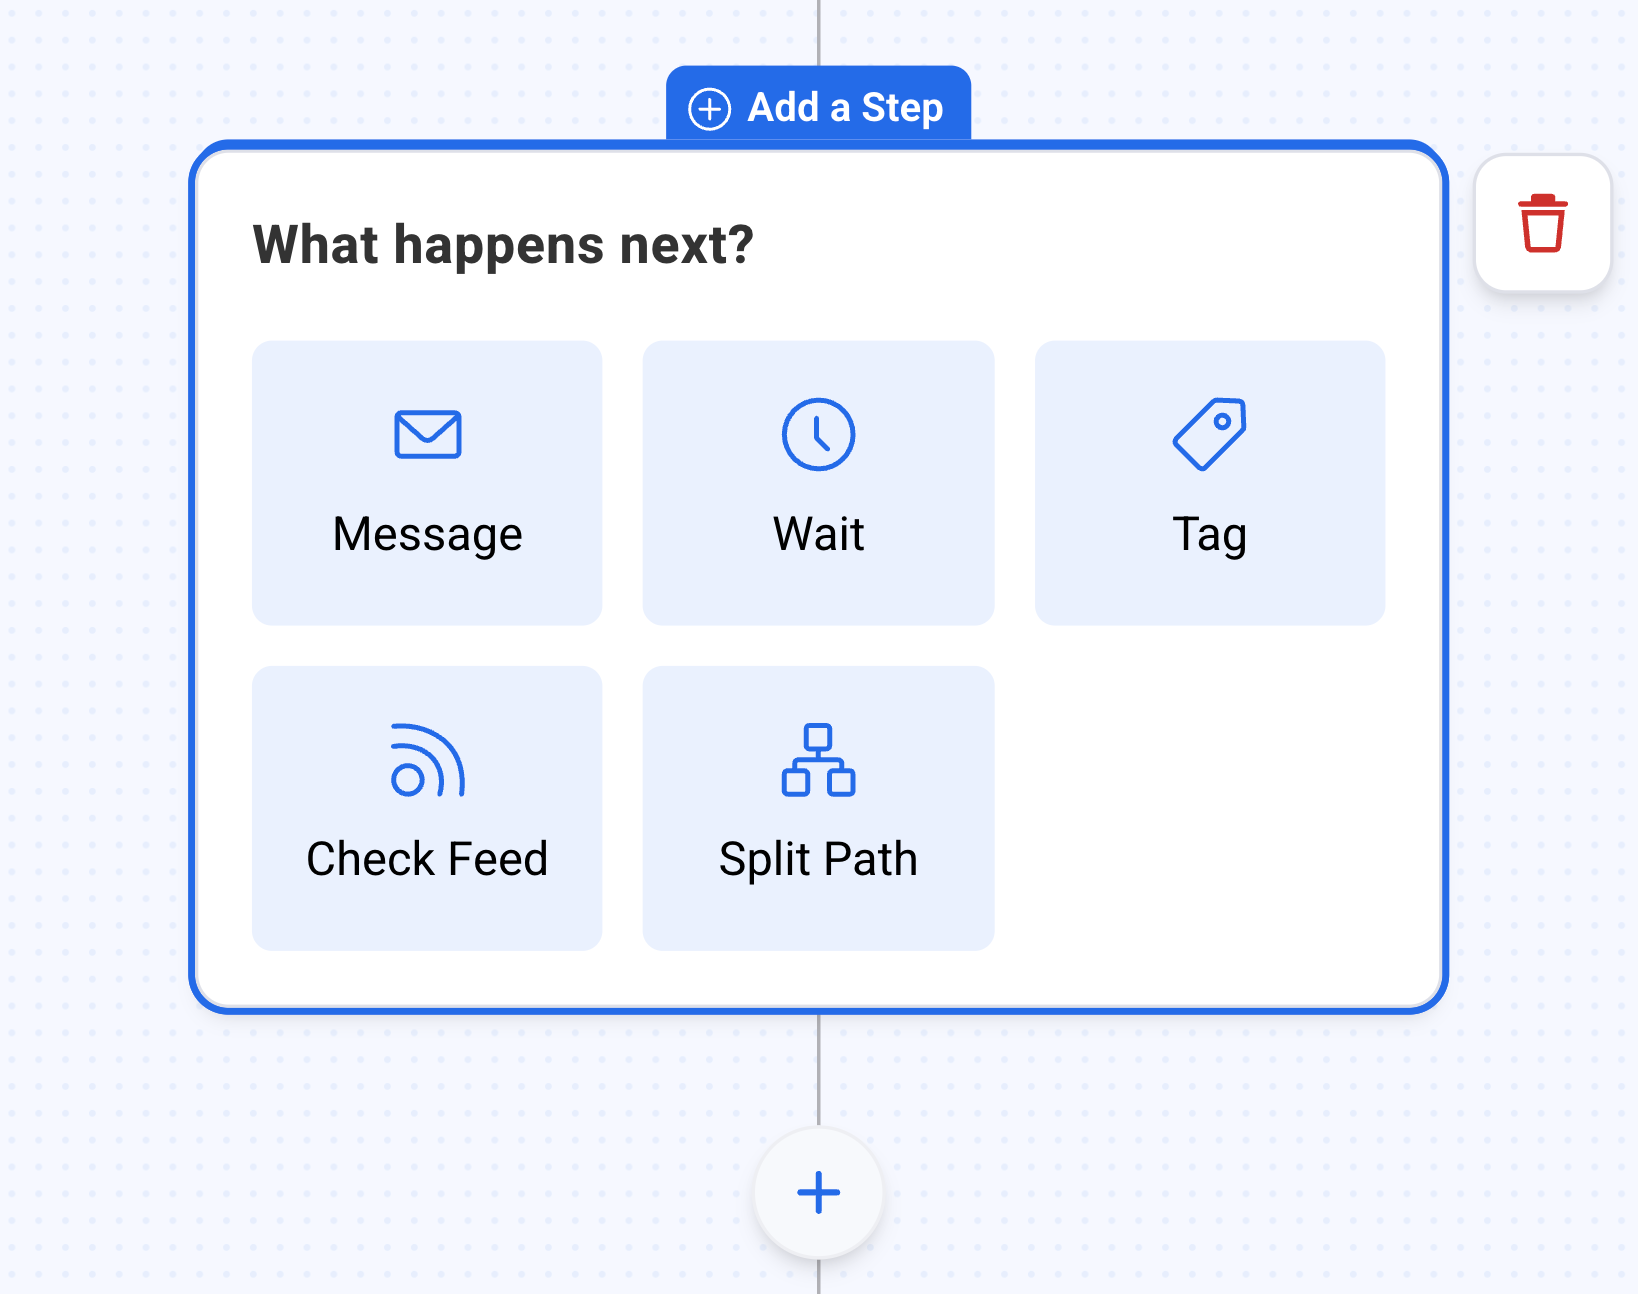
Click any action on the canvas to customize its settings in the right sidebar.
Learn more about Workflow Steps →
Step 5: Publish Your Workflow
Once your Workflow is complete and passes the checklist, click "Publish Changes" to activate it.
If you need to pause your campaign, open it in the Campaigns builder and toggle the "On" next to "Published Version" off.
Learn more about Publishing a Workflow →
Important: Activate Workflows Before Subscribers Reach Starter
When setting up your workflows, it's critical to activate them before subscribers reach the starter. If you create and activate a new workflow after subscribers have already completed a previous workflow or reached the end of a sequence, those subscribers will not automatically enter the new workflow.
This is intentional system behavior designed to prevent subscribers from being re-entered into sequences unexpectedly. To avoid subscribers missing important communications, plan your workflow strategy in advance and ensure all workflows are activated before subscribers progress through your workflow.
Proper workflow sequencing and timing can significantly impact your engagement, so take time to map out your complete subscriber journey before activation.