
This article will explain how you can build AWesome landing pages using our powerfully-simple landing page builder.
With a landing page, you don't need to create dedicated pages on your website to collect subscribers. Instead, you can create landing pages directly with AWeber to start building your list.
Watch Video
Step By Step Instructions
-
Click "Pages & Forms" then the "Landing Pages" tab within your AWeber account, then click the "Create a Landing Page" button.

-
Hover over the template you'd like to use and click the "Choose template" button.

-
Once in the Landing Page builder, provide a name for your landing page.

-
While in the builder, you will see the various "Blocks" for the different types of elements that can be added to your landing page.

-
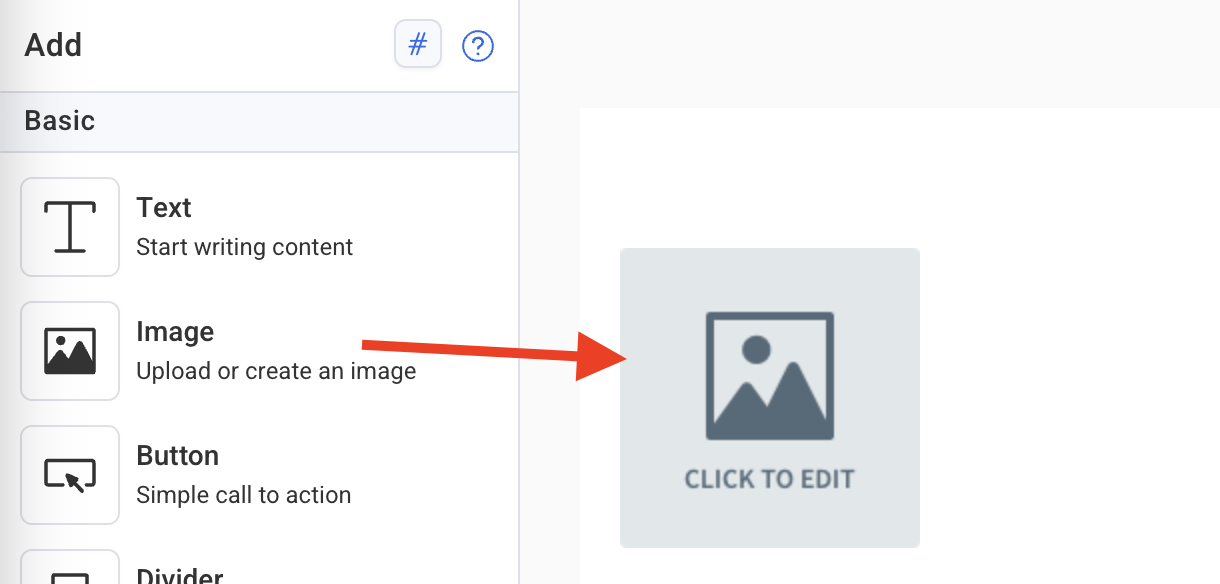
To drag and drop a block, all you need to do is click and hold your mouse button on the block that you want to place in your landing page. In this example, we will insert an image block.

Continue to hold down your mouse button and drag the block over into your landing page. If you are adding an element block into a vacant row, the row will highlight blue. Release your mouse when the Element Icon is over the space you wish to place the element.
If you are adding a block in between other elements, a bold, blue line will populate which indicates where the block will be dropped.

Once the block is dropped in, you can proceed to edit that block by clicking on it. You can also add images between different element blocks in the editor.
-
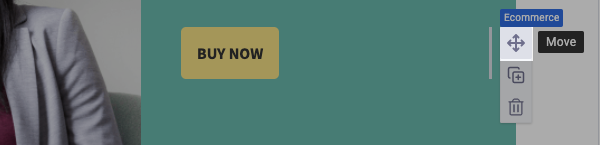
You can move the position of a block in your landing page by clicking and holding down the "Move" tab to the right of the element. When you start to move the block, the new position will be indicated with a blue line.
-
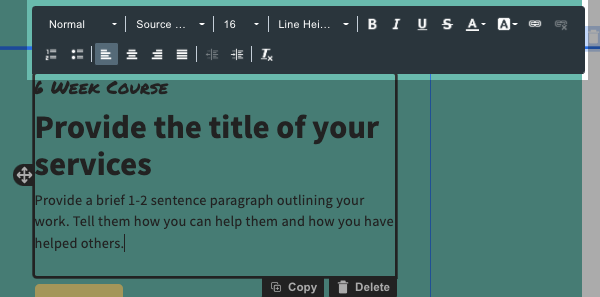
When you click to edit a text block, you will see a text editing toolbar above the block. You can customize the text formatting, hyperlink existing text and more. When editing your text, it is important to note that certain items such as anchor tags would not work with landing pages.
-
On the right sidebar, you will have additional customization options available depending on the type of Element Block you have selected. You can change images, update padding, choose different colors, and more.

-
Once you've customized the design of your landing page, you can update the settings of any sign up form on your page, including the thank you page and fields displayed within the form. To add custom fields, click on the form and click the "Add a Form Field" drop-down.

Then, select the field you would like to use.

You can adjust the order of your fields by clicking the sidebar of the field and dragging it below or above the other fields.

-
To adjust the thank you page of your form, proceed to click the "Submission" tab.
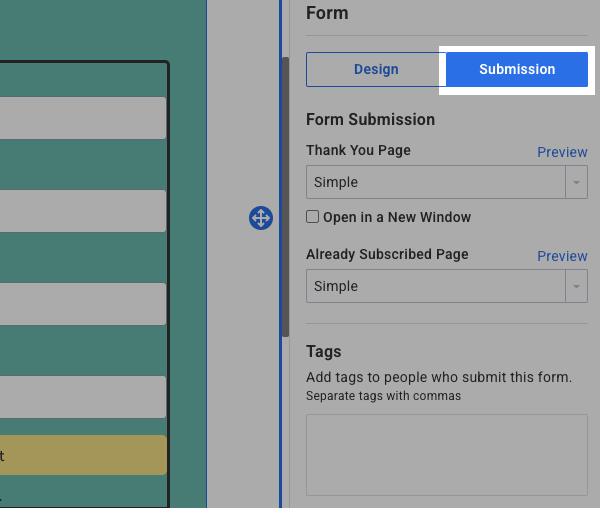
Update the thank you page or already subscribed page using the "Form Submission" drop-down menus.
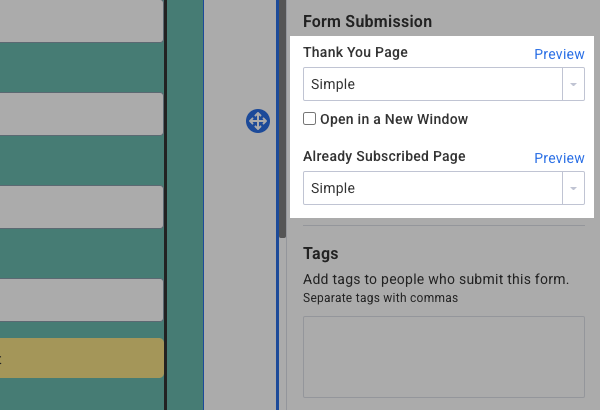
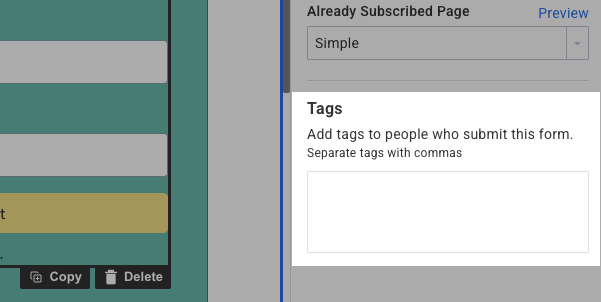
You can also add to your sign up form. You can use these tags to trigger a campaign or segment your subscribers.
-
After you've customized your landing page to your liking, you can customize your landing page URL and sharing & SEO information of your landing page. If you don't already see the "Page Properties" settings, you will need to select the "Page" settings to view and change the "Page Properties."

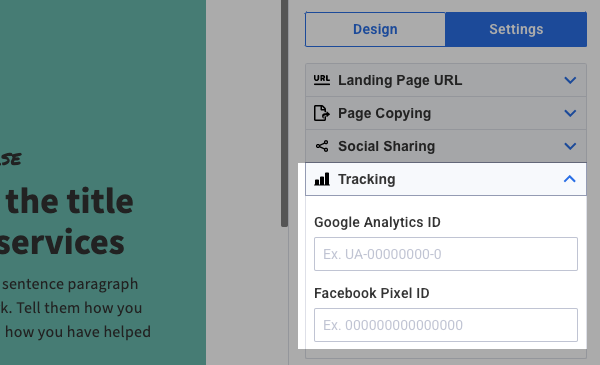
Here, you can edit your landing page URL and Social Sharing information by clicking the "Settings" tab. You will be able to customize your landing page path, update the title of the landing page, the page description, and the social sharing image that visitors see when posting your landing page across social media channels.

You can also add your Google Analytics and Facebook Pixel tracking IDs to the "Tracking" section. This will allow you to get additional stats using those services.
-
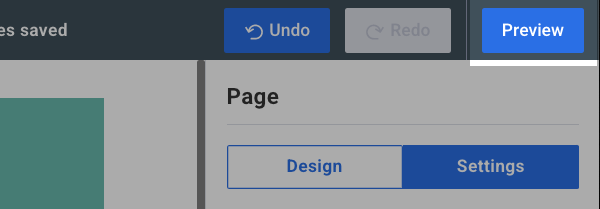
If at any point you'd like to see how your landing page looks when published, you can preview your landing page by clicking the "Preview" button located in the upper right hand corner of the builder.
-
Once you have finished customizing your landing page, click the "Save & Exit" button located in the bottom right hand corner of the builder.

-
Within the Landing Page List section of your account, you will have the option to publish your page when you're ready. To do so, simply click the "Publish" button.
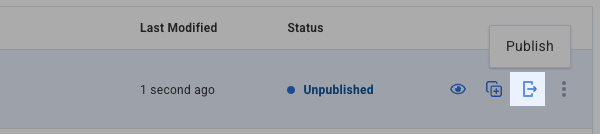
-
You will also be able to preview the landing page by clicking the preview icon.

-
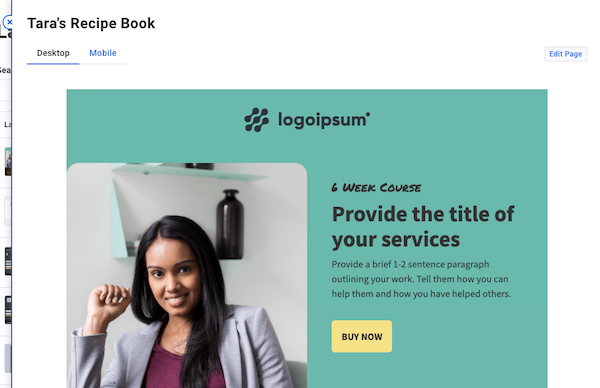
Here you can choose to preview your landing page in both desktop and mobile view by clicking the appropriate tab. If you'd like to make any changes to your landing page, just click "Edit Page" and you'll be redirected to the landing page builder.
That's it! You've successfully created an AWesome landing page that you can use to begin collecting subscribers for your mailing list. You can start sharing your landing page link on your social media platforms, your website, and anywhere that makes sense for you to help build your audience.