The ecommerce element lets you sell products directly from your landing page through Stripe integration. You can sell digital downloads, courses, physical products, or services with secure payment processing built into AWeber. When a purchase is made, the buyer is automatically added as a subscriber on your AWeber list.
You can use the Ecommerce element to sell different types of products, including:
-
eBooks and PDFs
-
Access to your webinars
-
Memberships
-
"How to" guides for your audience
-
Illustrations and templates
-
Entry to a program or course you've developed
-
Access to an event
-
Tips and donations to fundraise for your passion project
Note: In order for your landing page to process purchases, you must complete Stripe's onboarding wizard and have a verified bank account with Stripe. Stripe may also require you to verify your business and personal identity before charges can be processed.
Fees
For each sale you make using Stripe and AWeber, there are fees for each transaction. Learn more about Stripe pricing. AWeber fees are as followed:
-
AWeber Plus: 0.60% per transaction
-
AWeber Lite: 1.00% per transaction
-
AWeber Free: 1.00% per transaction
Step 1: Connect Your Stripe Account
-
Click the "Landing Pages" tab in your AWeber account
-
Drag the Ecommerce Element onto the Landing Page.
-
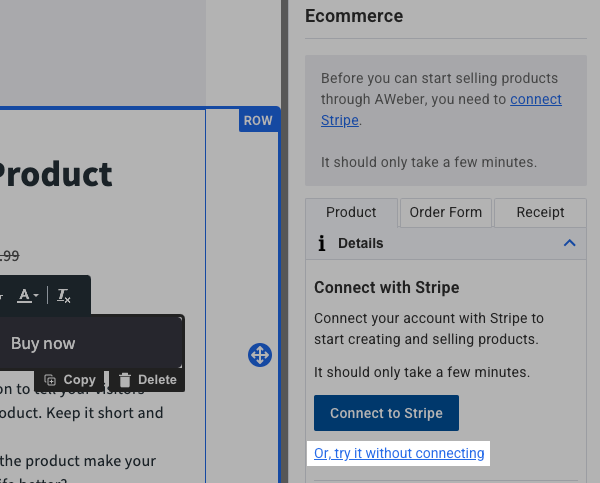
Click "Connect to Stripe" on the right.
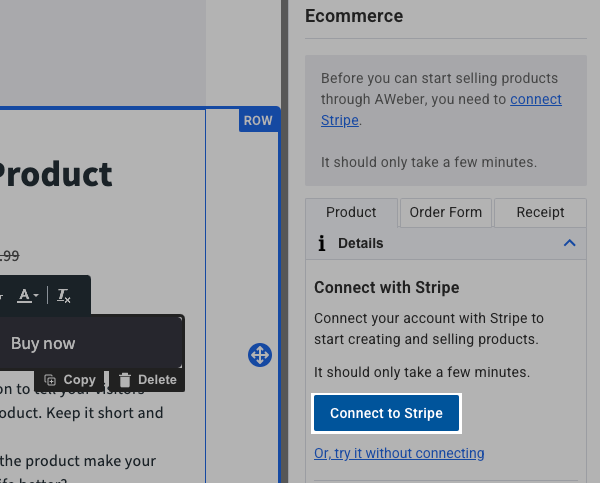
Note: You can test the element by clicking "Or, try it without connecting," but you will need to connect to Stripe in order to save products and process payments.
-
After clicking "Connect to Stripe", you will be directed to log in through Stripe to connect the integration.
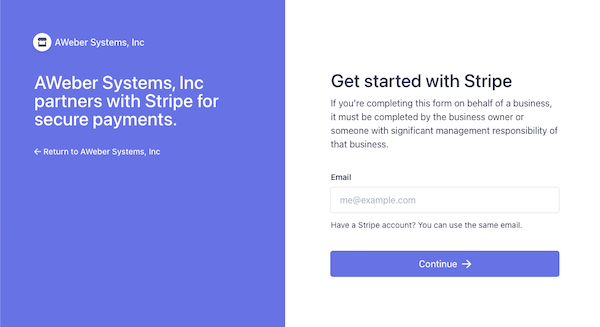
Note: You only need to connect to Stripe once, and then you can start adding products to your landing page and generating sales. Products created in AWeber will be available to you within your Stripe account, and any existing Stripe products that you have will be available in AWeber to sell on your landing page.
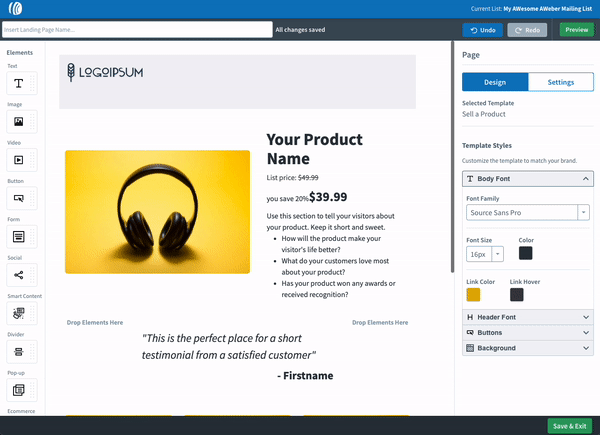
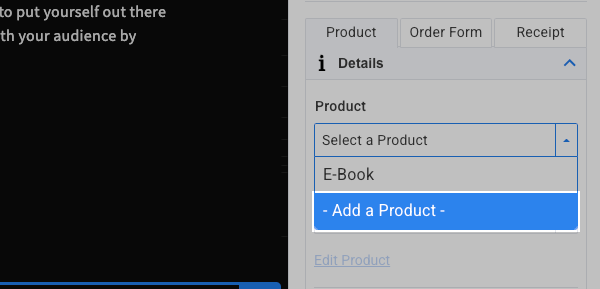
Step 2: Set Up Your Product
-
Under the "Product" tag, select "Add a Product".

-
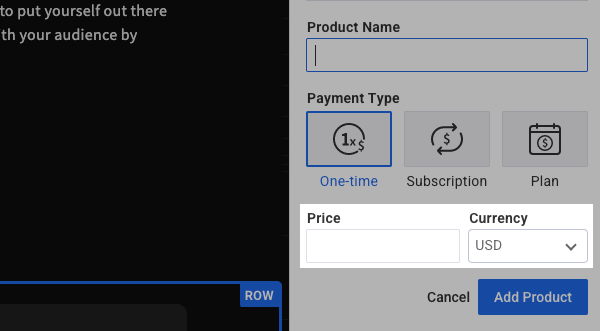
Product Name: Enter a clear, compelling product name (50 characters or less).

-
Payment Type: Choose from supported options (one-time, subscription, or split payments).
-
Price: Set your product price.
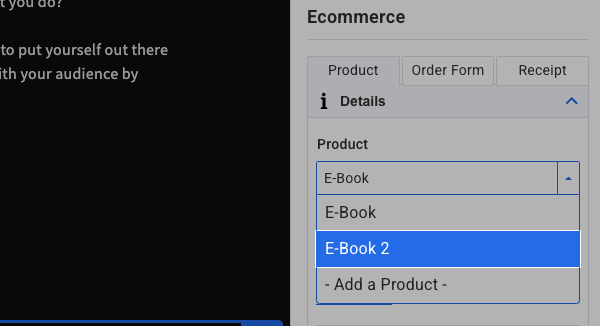
Note: if you have already created a product using the ecommerce element, you can select that product when using the ecommerce element.
-
Apply tags (Optional): To tag users that make a purchase through this Ecommerce button, click "Add Automation" and enter the desired tag name.

Step 3: Customize the Purchase Button
-
Click on the Ecommerce element purchase button.
-
Highlight the text on the button to change the button text (examples: "Get Instant Access", "Buy Now", "Start Today"). The font formatting can be changed using the font bar above the button.

-
Click on the "Button" section on the right to edit the button settings.
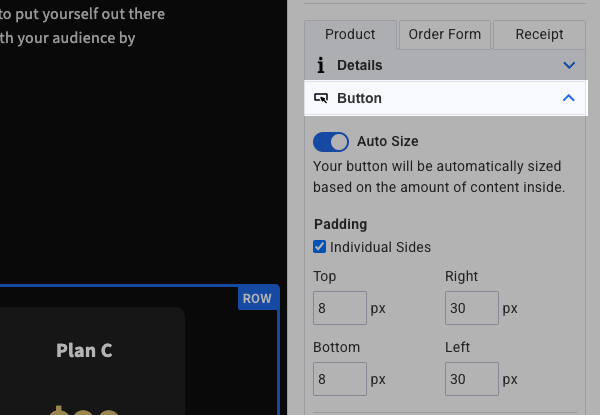
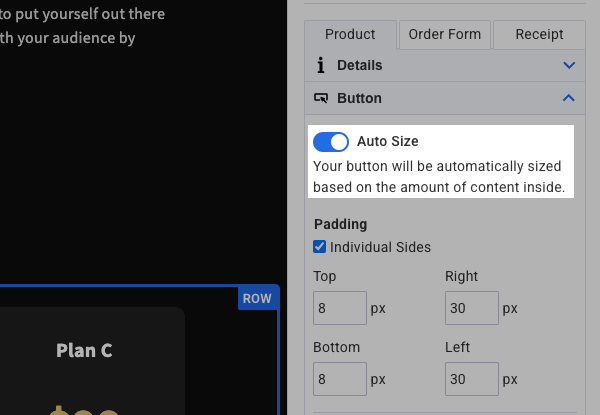
-
Choose whether to have the button auto size, meaning the button's size will be determined by the content inside of the button.
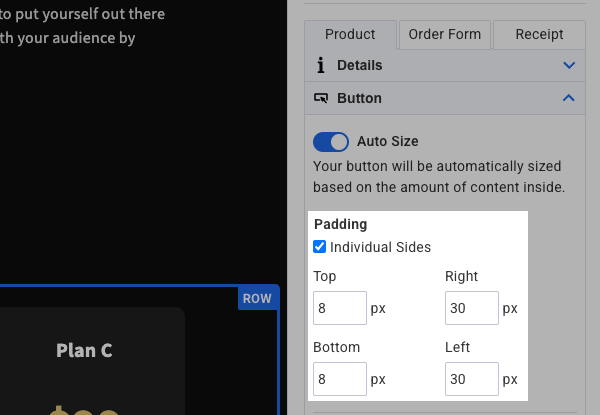
-
Adjust the button padding.
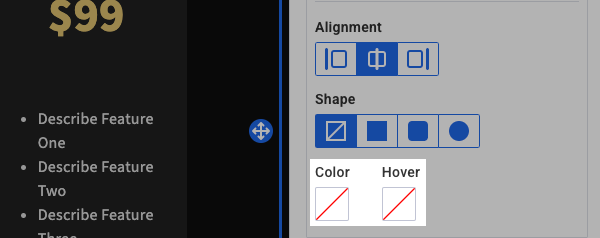
-
Select the alignment of the button on your page.
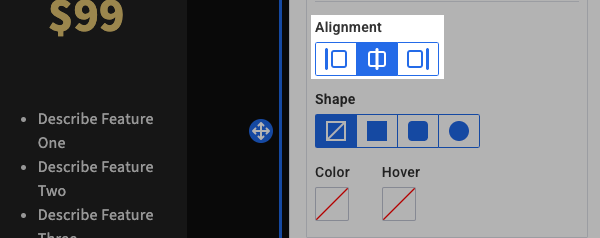
-
Choose the button shape.
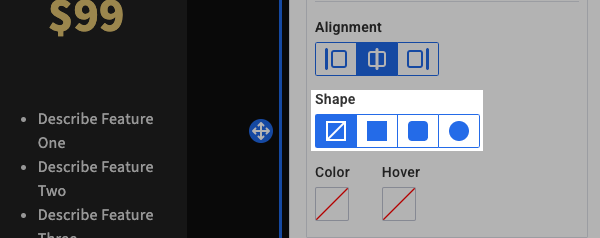
-
Adjust button color and hover color to match your brand.
-
Step 4: Set Up Post-Purchase Actions
Multiple additional options can be edited from the "Order Form" and "Receipt" tabs.
-
Click on the "Order Form" tab to view the order form.
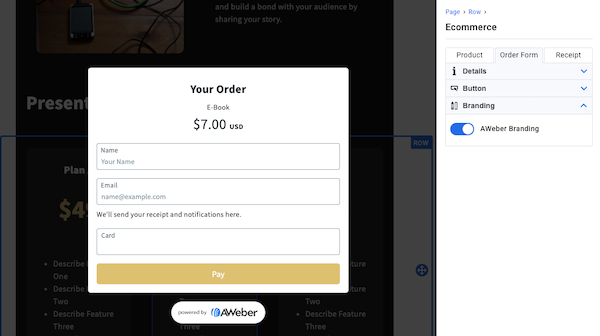
-
The "Powered by AWeber" icon can be enabled or disabled under the "Branding" section.
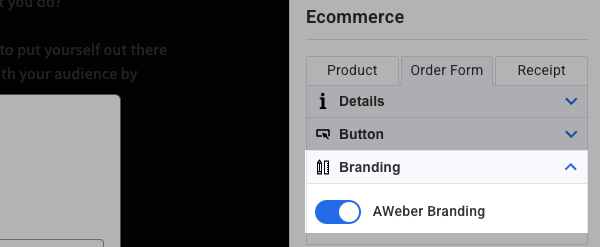
Note: Disabling AWeber branding requires the Plus plan. Upgrade to Plus to turn off AWeber branding and unlock tools to better understand and connect with your audience.
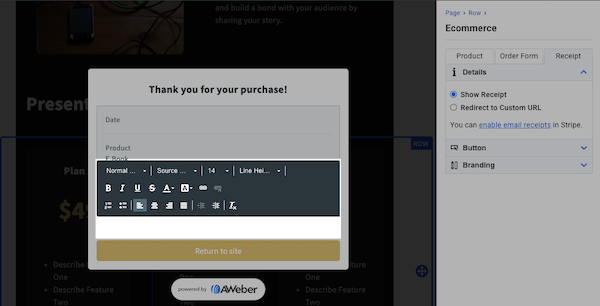
-
Click the "Receipt" tab to view the receipt page. You can edit the text your purchasers will see on this page.