
Tracking how your audience got to your web pages and what they do once they get there provides very helpful information that can be used to refine your marketing marketing efforts for the better.
Landing Pages support the use of a Google Analytics and Facebook Pixels. In this article, we will cover how to add this functionality to your Landing Page.
Note: Tracking using a Google Analytics or Facebook Pixel is not accessible on the AWeber Free plan. Upgrade your account to unlock this feature and many more, or by contacting our Customer Solutions team.
Google Analytics ID
Google Analytics gives you insight into who is visiting your landing page, where they came from, and what they do once they get there. You can find your Google Analytics ID through your Google account.
Facebook Pixel ID
Taking advantage of the Facebook Pixel allows you to see the effectiveness of your Facebook posts and ads. You can see which posts and ads are most effective in driving people to your landing page and converting them into subscribers and customers. Facebook provides information on where to find your Facebook Pixel ID.
Installing Tracking
-
After creating your Landing Page, click 'Settings' in the top right section of your page, under 'Page.'
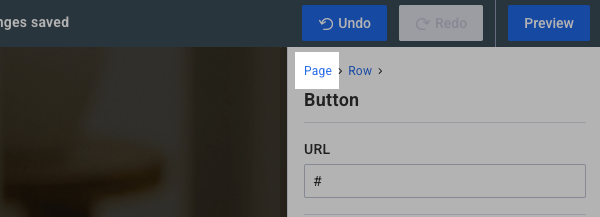
Note: If you don't already see the 'Page' settings, you will need to go back to the Page settings. To do so, click the 'Page' text at the top of the settings.
-
At the bottom of the page, you'll find a section labeled, 'Tracking,' click this and a text box for a Google Analytics ID and a Facebook Pixel ID will appear. Place the appropriate ID in one, or both,of these boxes.
And you're done! Make sure you publish the changes you've made after saving your page. Data associated with subscribers that navigate to your pages from a Facebook ad or post, and those that arrive through avenues that you have configured with Google Analytics, will now be tracked.