
Thank you pages appear after someone submits your landing page form. They confirm the submission and guide subscribers to their next steps. This guide shows you how to set up and customize thank you pages for your landing pages.
Step 1: Access Form Settings
-
Create a landing page or open your existing page
-
Click on your form element in the landing page builder
-
Look for Settings, Form Configuration, or Submission settings
-
Navigate to the thank you page options
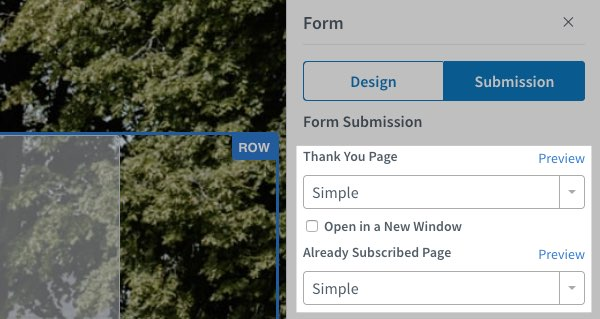
Step 2: Choose Your Thank You Page Option
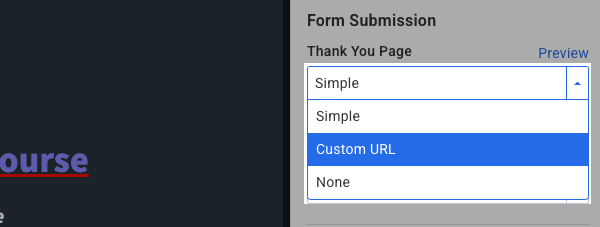
In the "Thank You Page" dropdown, you have three options:
-
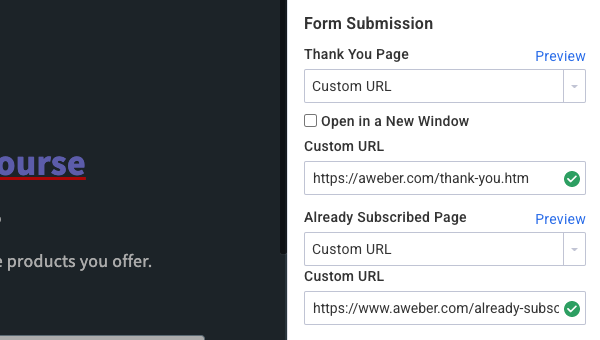
Custom URL: Redirects subscribers to a specific web page after form submission
-
Simple: Displays a basic thank you message directly on your landing page
-
None: Shows no thank you page (not recommended for user experience)
Step 3: Enter your Landing Page
If you chose to add a custom URL, enter the desired Landing Page URL in the "custom URL" field.
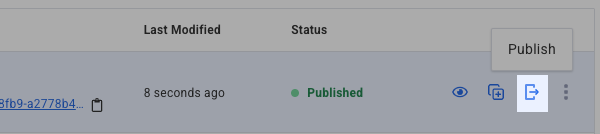
Step 4: Publish Your Changes
-
Review your thank you page settings
-
Click "Publish" or "Save & Publish" to make your changes live
Best Practices for Thank You Pages
Set Expectations: Tell subscribers when they'll receive their first email and how often you'll contact them.
Provide Next Steps: Give subscribers something specific to do next, like checking their email or following you on social media.
Deliver Promised Content: If you offered a free download or resource, make sure to connect your Landing Page to a Workflow to deliver that content.
Test Your Setup: Always test your form submission using the published page link to ensure the thank you page displays properly and provides a good user experience.