
In this article, we will review how to add custom fields to your landing page.
You can collect up to 8 custom fields of information in addition to the standard name and email address through a landing page. These fields collect information you want on your subscribers. You can add these custom fields manually through the control panel.
Step by step instructions:
-
To begin adding a custom field to a landing page, you will need to first add your sign up form to the landing page by clicking and dragging the form element to the desired location.
.gif?cb=8111256c0efa9fdf4ce9222beb7e3b99)
-
After adding the form element, we will need to add the custom field for our form. To do this we will want to select our custom field from the "Add a Form Field" dropdown.
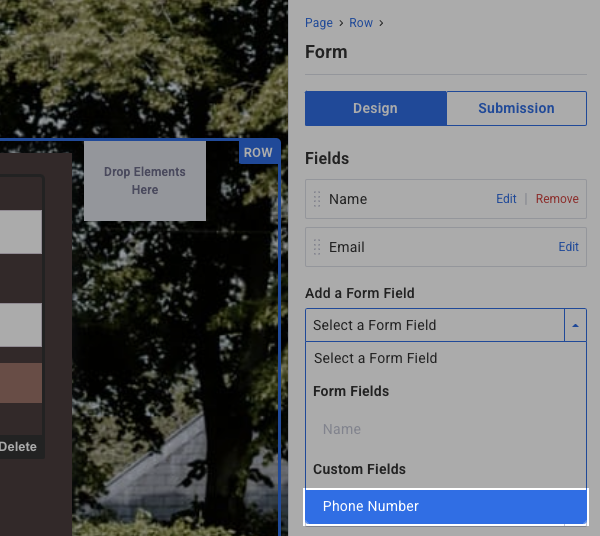
If you haven't created your custom fields yet, you can do so by clicking the custom fields link below "Select a Form Field." After creating your custom fields you can then go back to your landing page to add your custom fields.

-
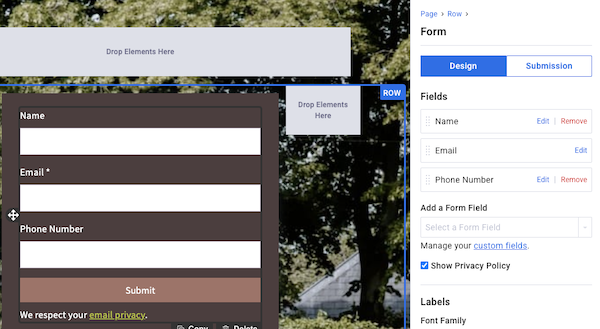
After selecting the custom field from the dropdown, you will see it added to your sign up form, and see it displayed below the Fields section.
-
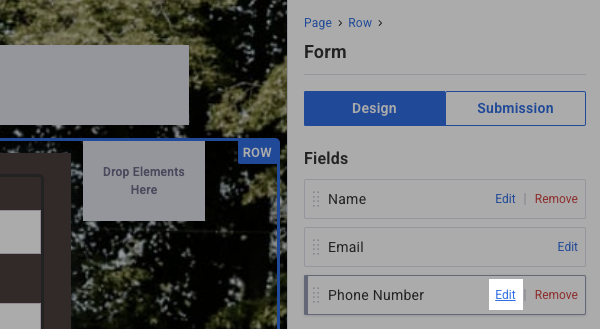
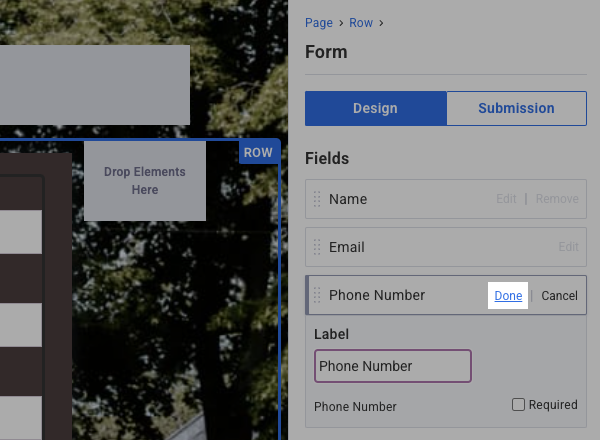
If you would like to make any changes to the custom field, you can do so by clicking the "Edit" button next to the custom field you added.
Here you can either change the Label, or make the field be required when someone is signing up.
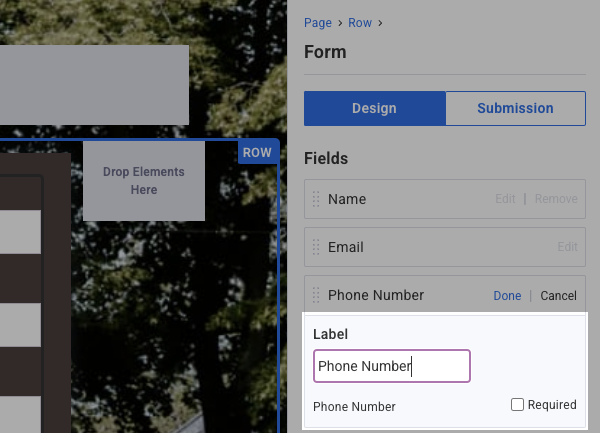
After you've made the changes you want be sure to click "Done" to save those changes.
That's it! You've successfully adding your custom fields to your landing page. Now when people visit your landing page you can collect additional information using these custom fields.