
The drag-and-drop landing page builder makes it easy to create professional pages without coding. This guide covers the basic steps to build and publish your first landing page.
Watch Video
Step 1: Access the Landing Page Builder
-
Log into your AWeber account
-
Click the "Landing Pages" tab in the main navigation
-
Click Create New Landing Page

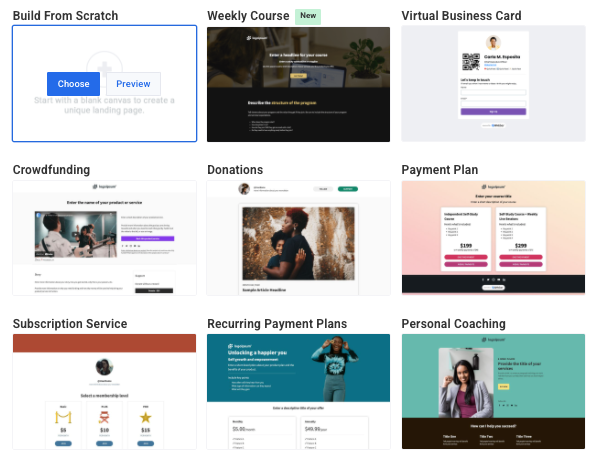
Step 2: Choose a Template
-
Browse the template categories (Lead Generation, Product Promotion, Event Registration)
-
Click on a template to preview it
-
Use the desktop/mobile preview toggles to see how it looks on different devices
-
Click Use This Template when you find one you like
-
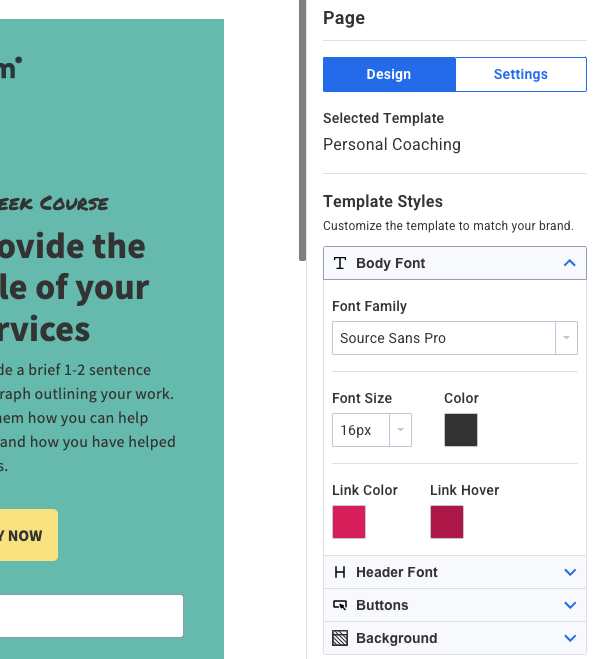
Once a template is selected, you can adjust the Template Styles on the right side of the screen to match your branding.
Step 3: Customize Your Page
-
Name your Landing Page: Enter a landing page name in the top left of the editor.
-
Add Elements: Elements can be dragged and dropped onto the Landing Page canvas. For a full breakdown of elements, view Landing Page Elements.
-
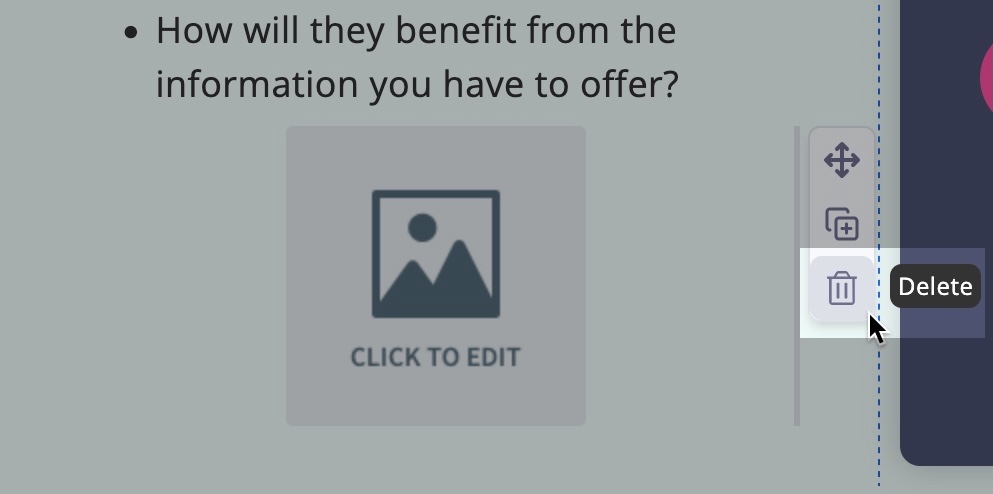
Delete Elements: To delete elements, mouse over the element and click the “delete” icon.
-
Move Elements: To move elements, mouse over the element and click and drag the “move” icon.
-
Edit Text: To edit text, simply click on the text you would like to edit and type directly in-line on the page. Font formatting can be adjusted using the font formatting bar above the text.

Step 4: Set Up Your Form
-
Click on the form element
-
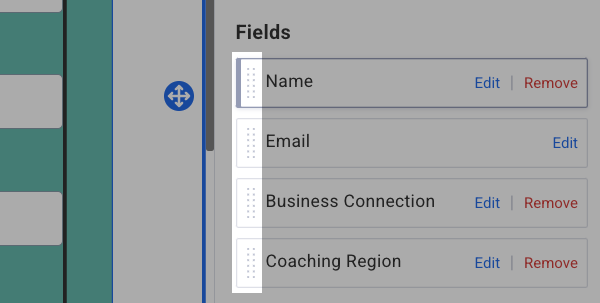
Add or remove form fields as needed
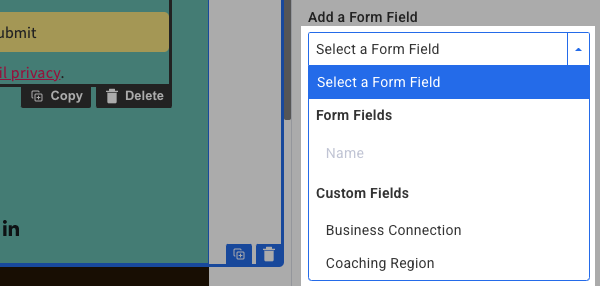
Note: form fields can be reordered by clicking the sidebar of the field and dragging it below or above the other fields.
-
Customize the submit button text
-
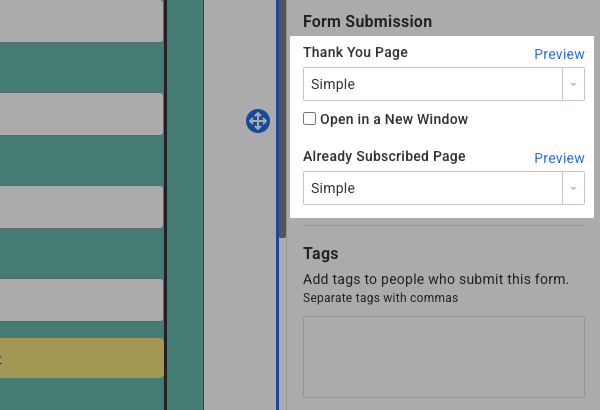
Set up your thank you page. First, click on the “Submission” tab.

Then, update the thank you page.
-
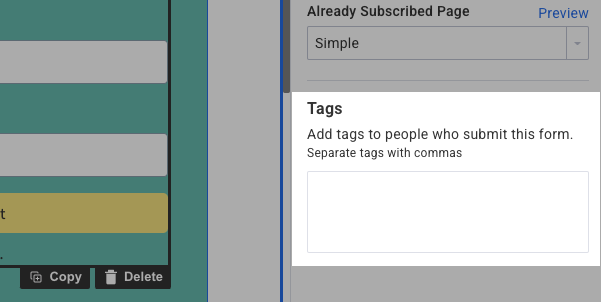
Tag your form (optional): Apply tags to your sign up form. You can use these tags to start a Workflow or segment your subscribers.
Looking to create multiple landing pages?
Depending on the plan you’re on, you may have reached the allowed landing page amount. For example, the Free plan provides up to 1 landing page and the Lite plan provides up to 3 landing pages. If you’re at your allowed limit on your plan and attempt to create another landing page, you’ll see an error of “There was a problem with your request.”. To resolve, you can upgrade your account to a Plus plan at any time for unlimited landing pages.
Related Guides
-
Landing Page Elements - Detailed guide to all available elements