
AWeber's Campaigns is a great way to send targeted messages to your subscribers. Using tags, you can decide which subscribers you would like to receive your Campaigns. You can also send a Broadcast directly to subscribers based on tags they do, or do not have. In this article, we'll walk through how to add and remove tags in bulk.
Step By Step Instructions
-
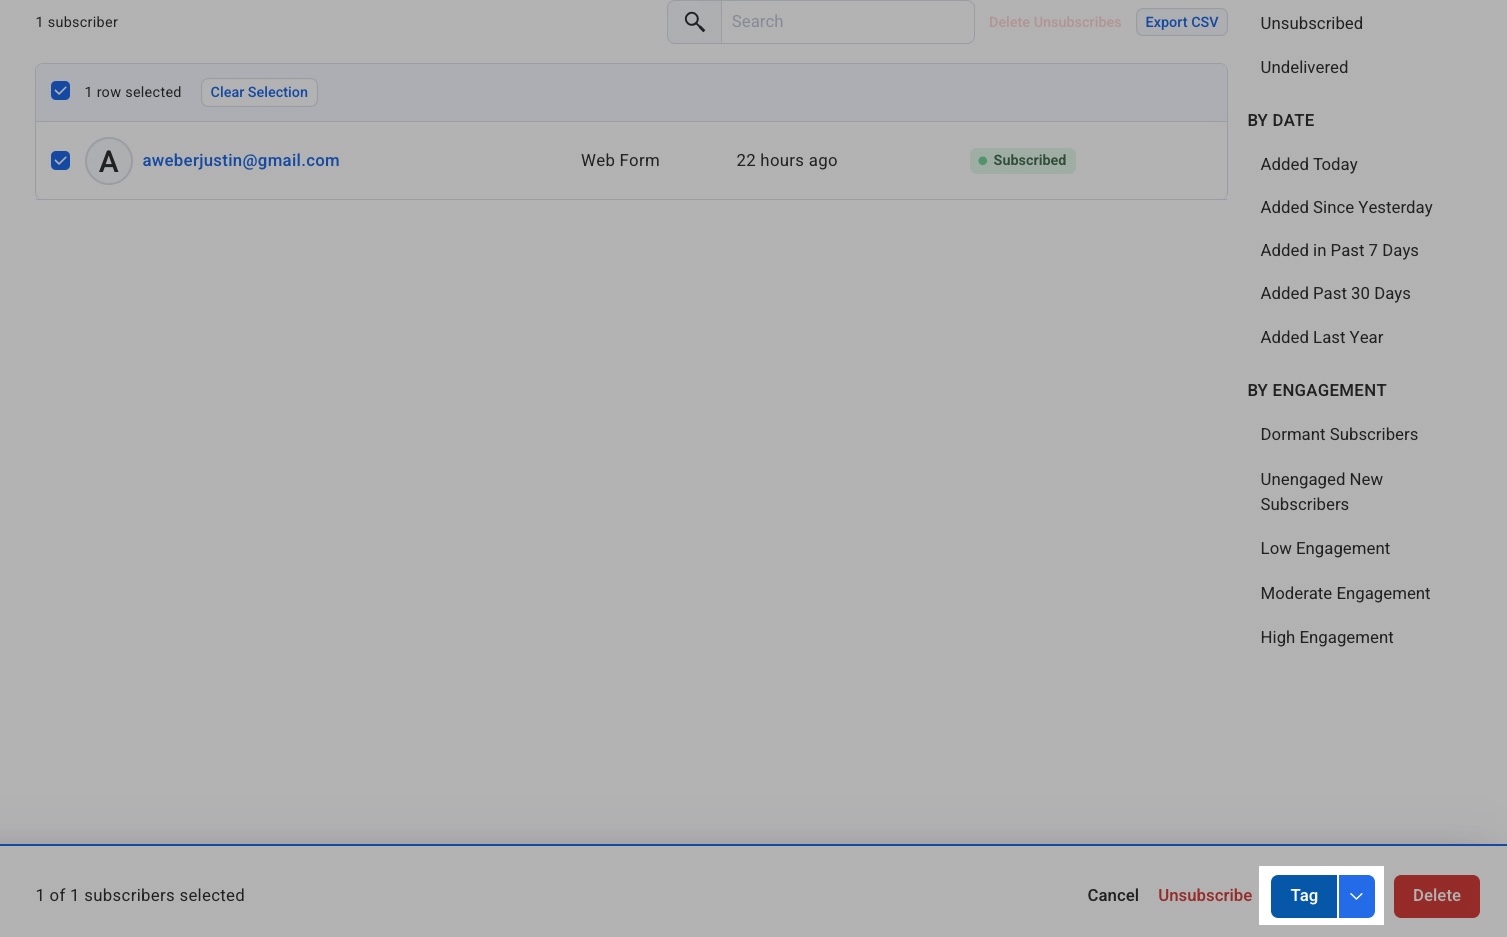
Go to the Subscribers page.
-
Then, check the box next to the subscriber's email address for anyone you would like to tag.

-
To tag the selected subscribers, click the "Tag" button in the bottom right of the screen.
-
If you want to tag all the subscribers in your current filter, click the arrow next to the tag button and then press "Tag All" to tag all the subscribers in your current filter at once.

-
You'll then have the option to add or remove tags from the previously selected subscribers. You can enter up to 10 tags in each box separated by commas ( , ). When you're ready, click "Tag Subscribers."

-
After you have made your changes, added tags will appear under the 'Tags' section of the Subscriber Information. Removed tags will no longer be present.

Note: You can also view your bulk tag history on the Bulk Tag History page. On this page, you can view processing, pending, and completed bulk tag actions from the last 30 days.
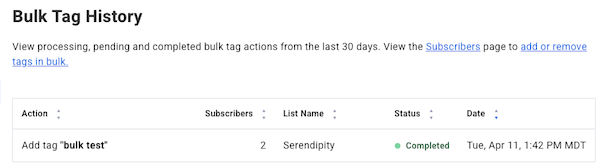
Status:
Processing: Job to append or remove tag is in progress.
Pending: Job to update subscribers is in queue to begin processing.
Completed: Jobs that have been completed in the past 30 days.
And that's it! Now that you've completed a bulk action, your subscribers can be more diversely added to an existing campaign or a segment you have created.
Note: You can bulk tag up to 50,000 subscribers at a time. For larger lists, use filters like "date added" to create smaller segments under 50,000 subscribers, then tag each segment separately.