
Managing your subscriber list efficiently is crucial for successful email marketing. AWeber provides a suite of bulk actions accessible through the Subscribers page and Subscriber Tools page, enabling you to organize, update, and maintain your subscriber base effectively.
Bulk Action Selection
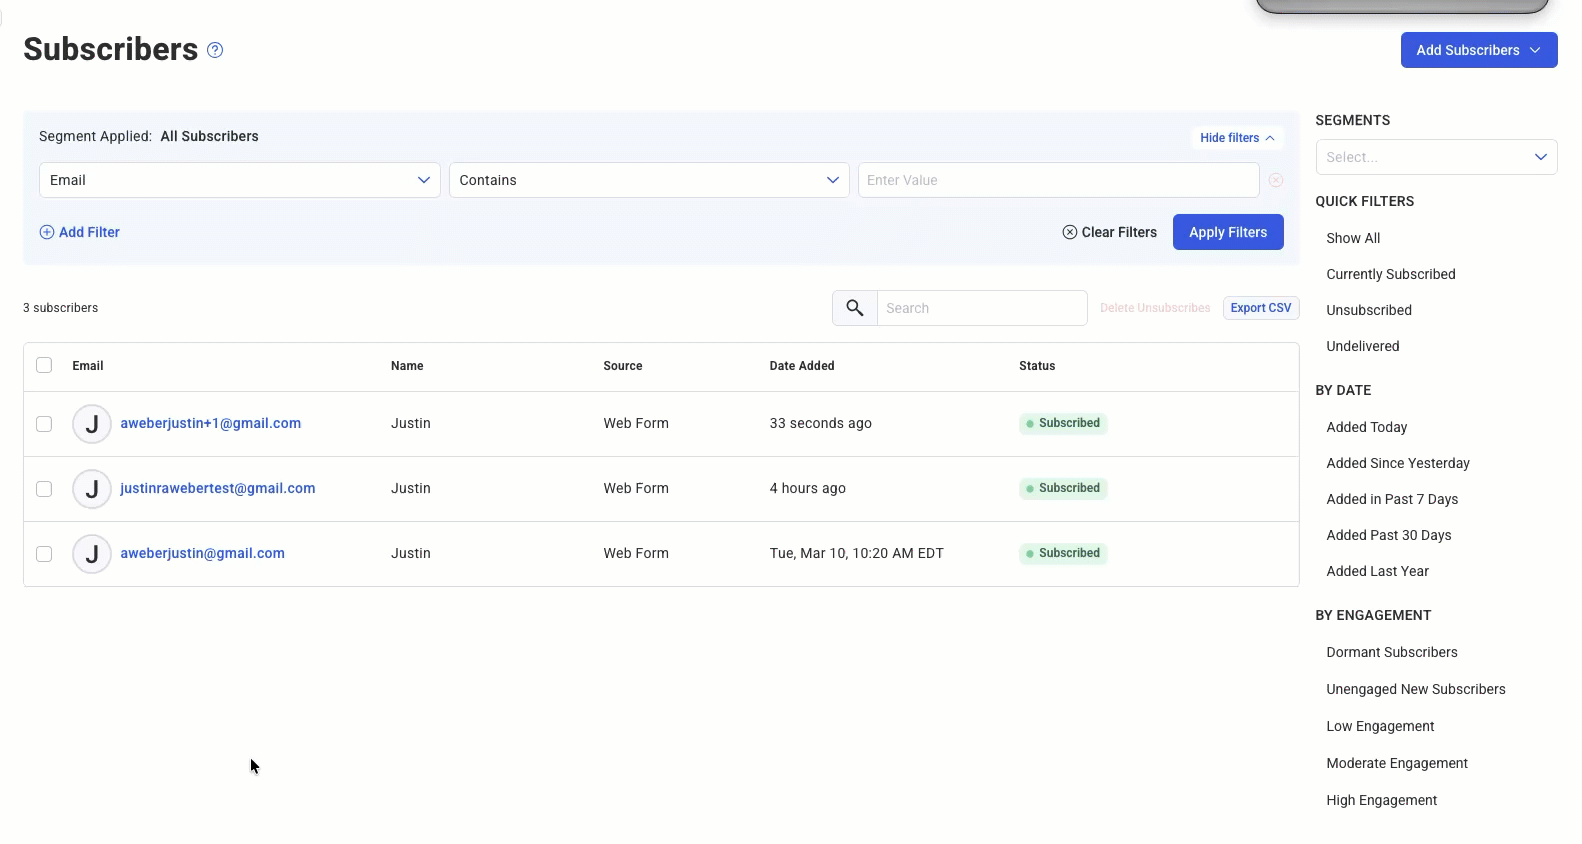
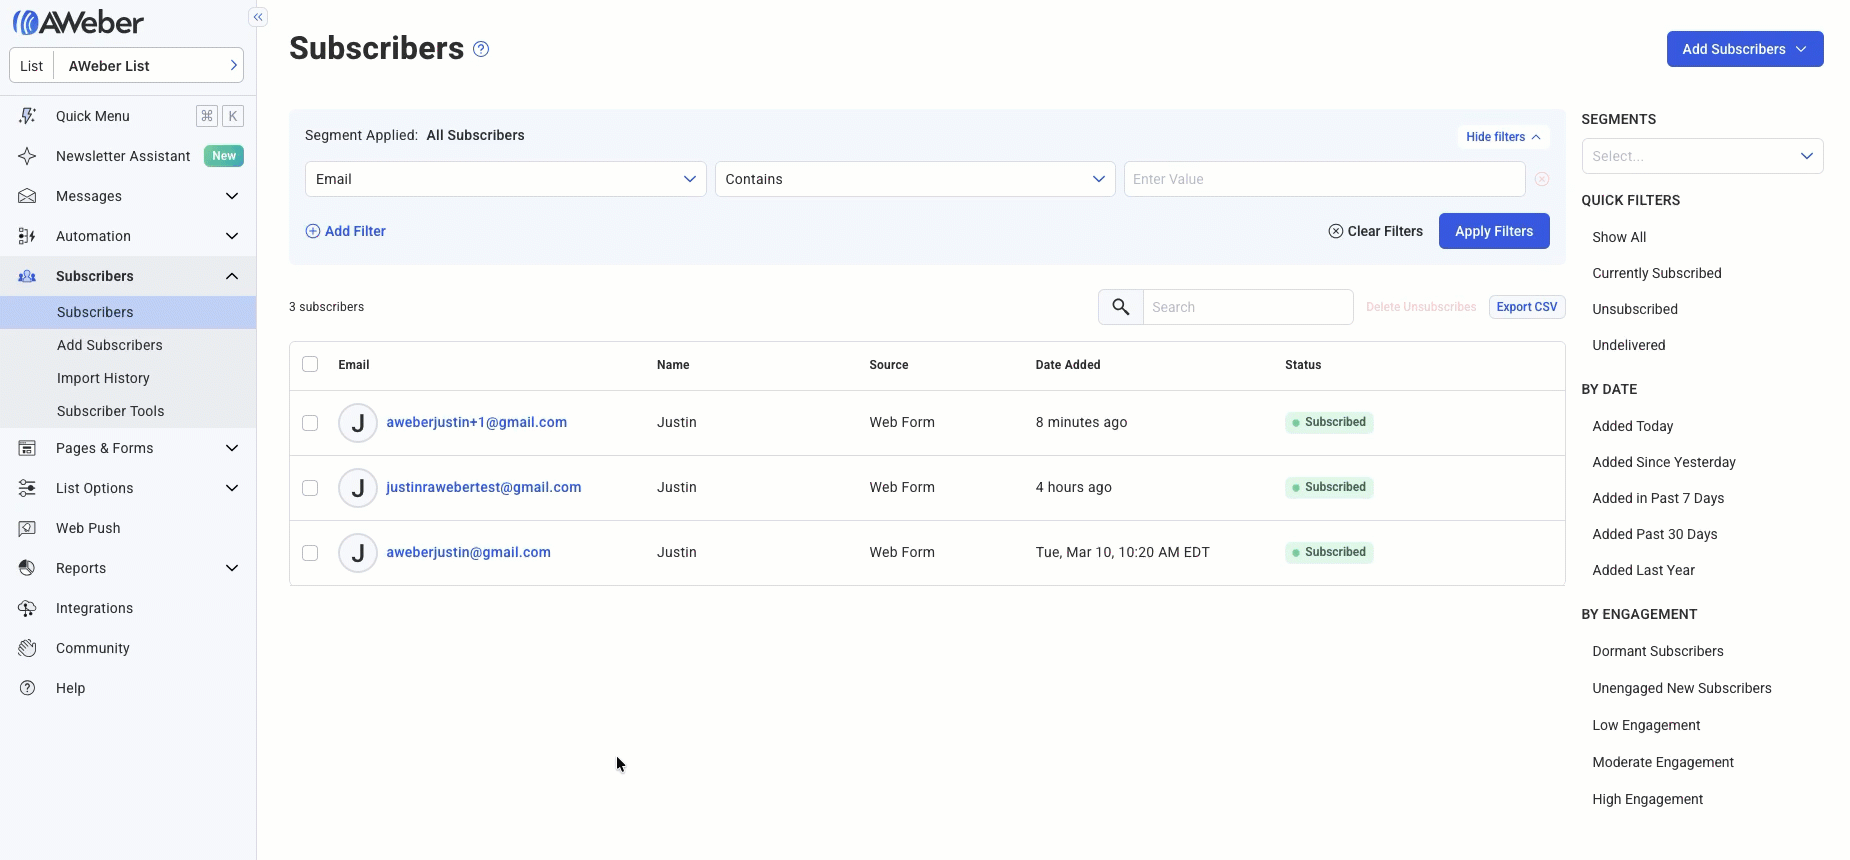
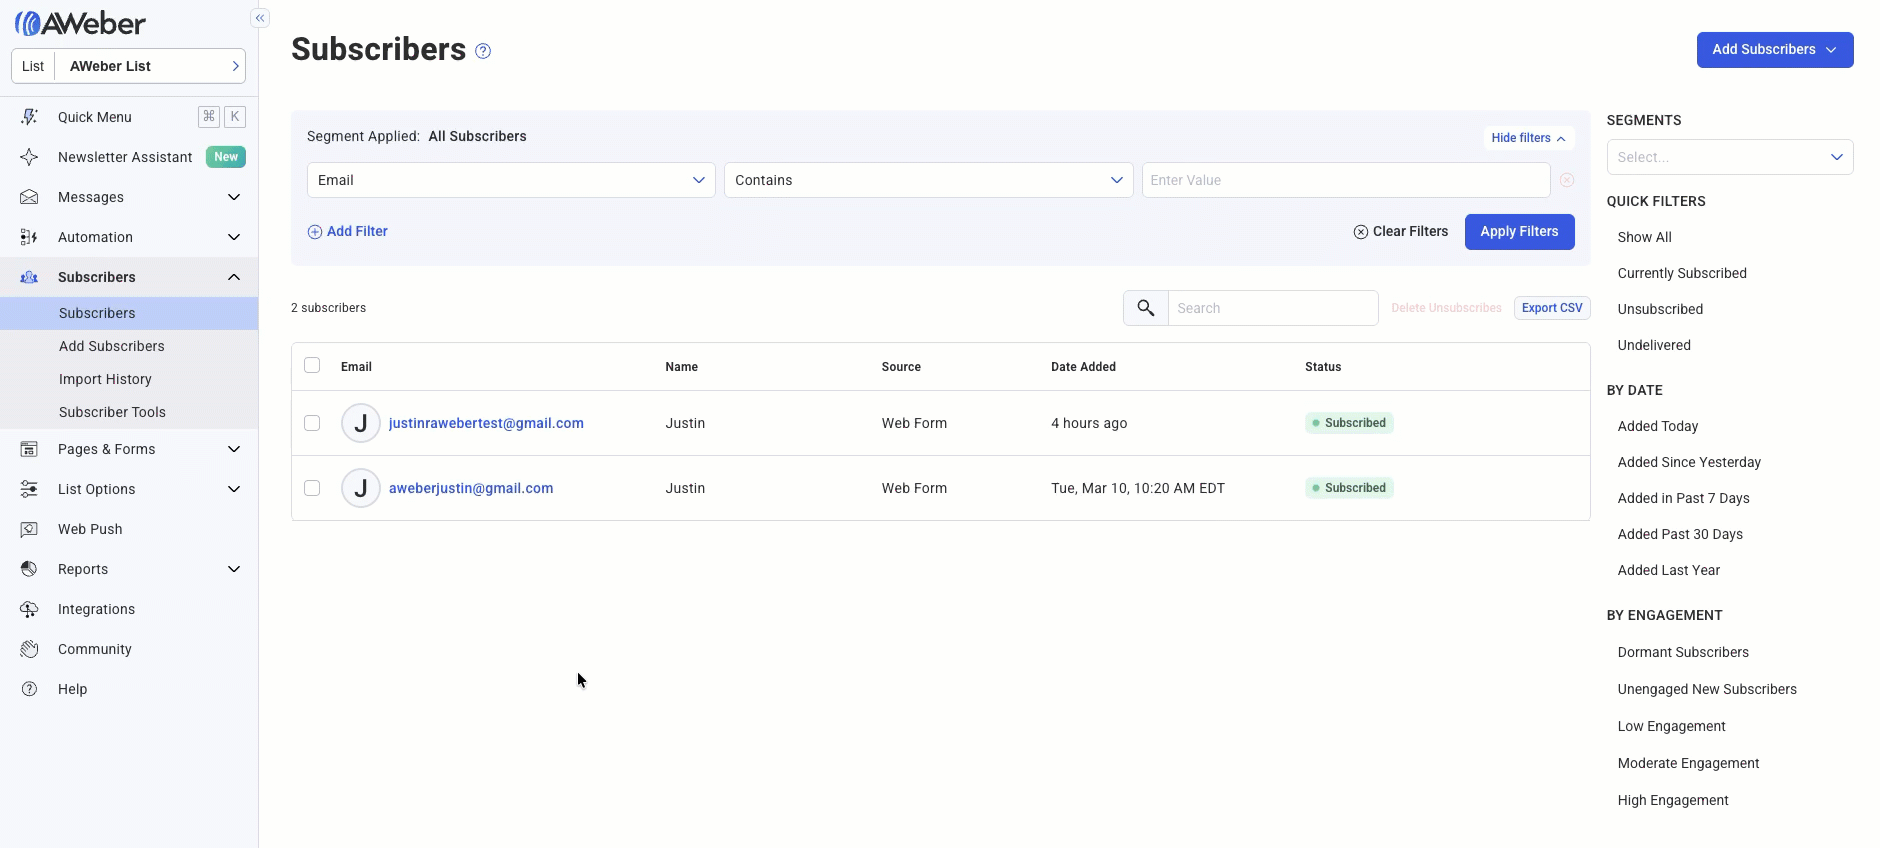
Bulk actions are accessible on the Subscribers page after selecting one or more subscribers. To select a subscriber, click on the checkbox next to the subscriber’s name.
Note: All subscribers can be selected in bulk by clicking on the top checkbox on the page.
Bulk Tag
To add or remove tags from multiple subscribers simultaneously:
-
Select the desired subscribers
-
Click “Tag” at the bottom of the page.
-
Enter up to 10 tags to add or remove
-
Click Apply.
-
Note: To tag all subscribers in your current filter: click the arrow next to the tag button and then press “Tag All”.
-
Note: Most bulk tag actions will be completed within a few minutes. When tagging a large number of subscribers, this process may take longer to complete. You can click the option to view your bulk tag history to view the status of your recent bulk tag actions.
Delete Subscribers
To permanently remove subscribers from your list:
-
Select the desired subscribers
-
Click “Delete” at the bottom of the page.
-
Click “Delete” again to confirm the deletion.
Note: Deleted subscribers will not receive any emails from your list after they are deleted. Once a subscriber is deleted, their information is no longer available within your account.
Note: Up to 100 subscribers can be deleted or unsubscribed at a time after bulk selecting them. Subscribers can still be unsubscribed in bulk by exporting them and pasting the exported emails into the bulk unsubscribe tool. Those unsubscribes can then be deleted in bulk from your list.
Unsubscribe Subscribers
To unsubscribe subscribers from your list:
-
Select the desired subscribers
-
Click “Unsubscribe” at the bottom of the page.
-
Click “Unsubscribe” again to confirm the deletion.
Note: Unsubscribed subscribers will not receive any emails from your list while they are unsubscribed. Unsubscribed users' information will remain on your list until you choose to delete them.

Note: Up to 100 subscribers can be deleted or unsubscribed at a time after bulk selecting them. Subscribers can still be unsubscribed in bulk by exporting them and pasting the exported emails into the bulk unsubscribe tool. Those unsubscribes can then be deleted in bulk from your list.
Additional Bulk Actions
Accessible from the account sidebar under the “List Options” menu.
View Tags
To view all tags used in your current list:
-
Click the “List Options” dropdown menu in the account sidebar.
-
Click Tags.
From here, you can:
-
View subscribers that have a specific tag.
-
Archive a tag to remove it from the tag list. Archived tags can be restored from the “Archived” tab at the top of the page.
Bulk Tag History
To view a history of your list’s bulk tag actions:
-
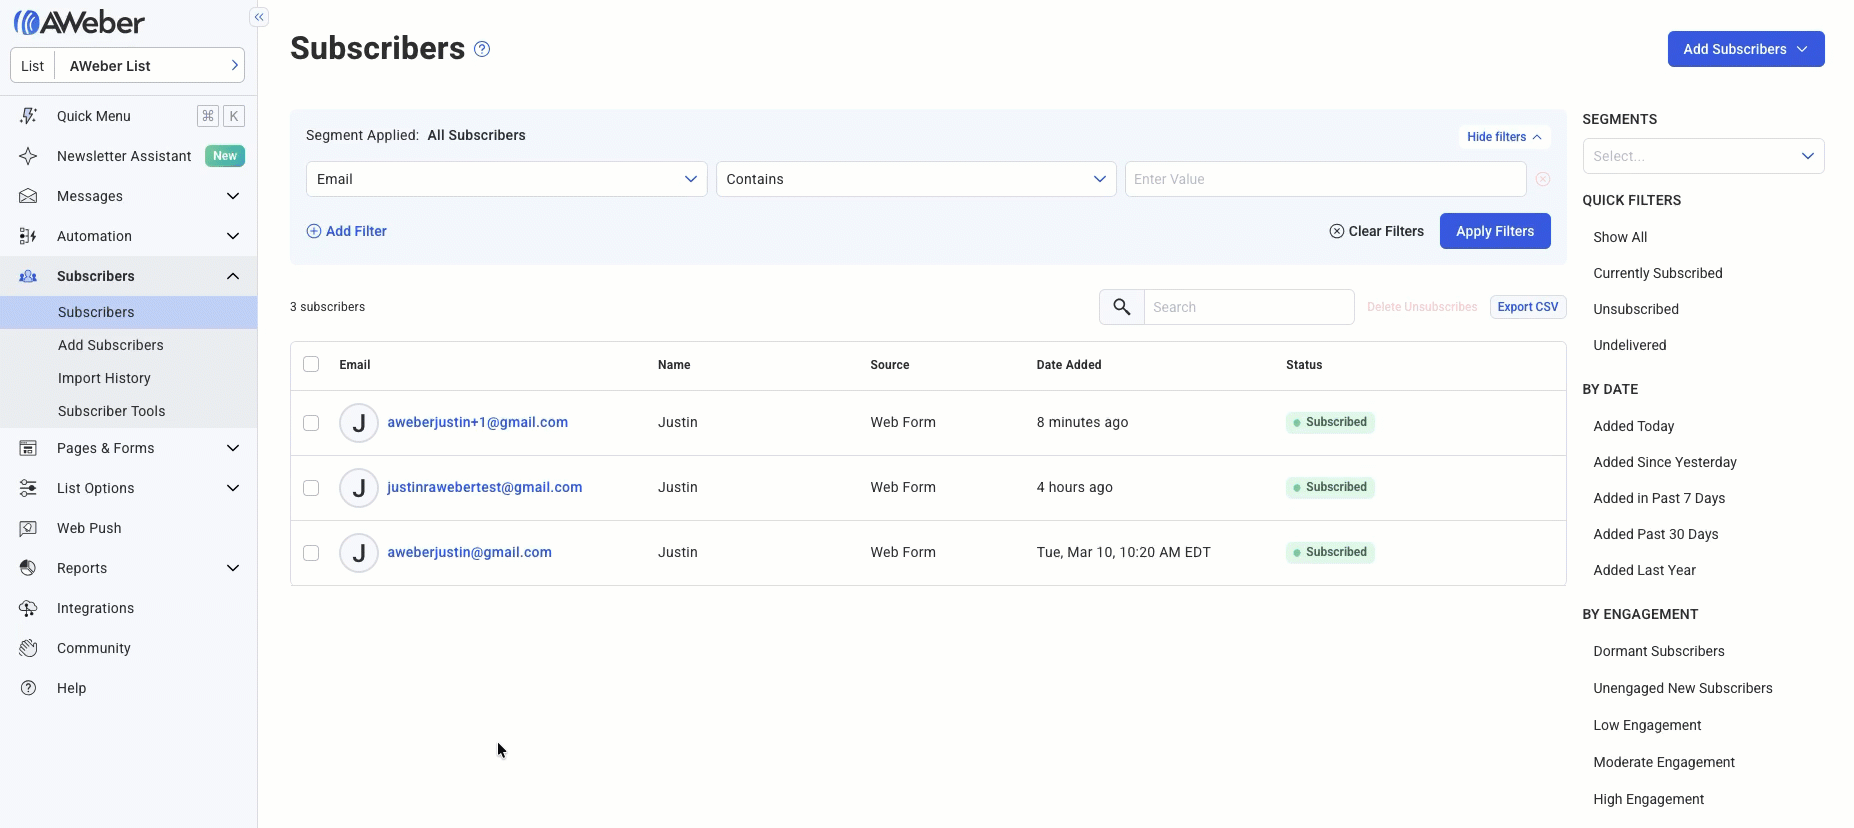
Click “Subscriber Tools” on the sidebar of the account under “Subscribers”.
-
Click Bulk Tag History.
Import History
To review the history of subscriber imports:
-
Click Import History on the sidebar of the account under “Subscribers”.
-
To view more details about an import, mouse over the import and click “View Details”.
Note: All imports are subject to a combination of automatic review by our system and manual review by our Import Team for quality assurance. If an import is sent to manual review, this review should take no longer than one business day to complete. Once this review has been completed, this will be visible from the Import History page, and we will also send you an email notification.
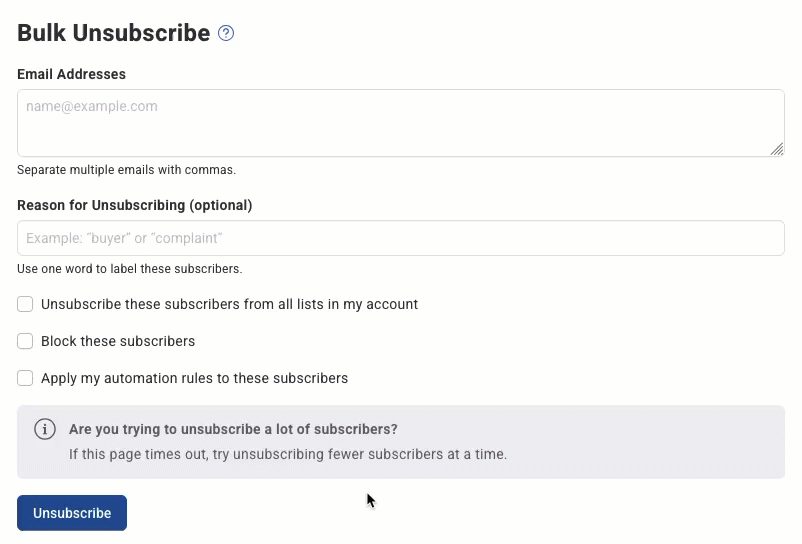
Bulk Unsubscribe Tool
The Bulk Unsubscribe Tool can be used to unsubscribe a list of subscribers in bulk.
-
Click “Subscriber Tools” on the sidebar of the account under “Subscribers”.
-
Click Bulk Unsubscribe.
-
Enter the email addresses you want to unsubscribe, separated by commas.
-
Enter a reason for unsubscribing them (optional).
-
Click the “unsubscribe” option to unsubscribe the entered email addresses.
There are additional options when bulk unsubscribing your subscribers:
-
Unsubscribe the subscribers from all lists in your account (subscribers are only deleted from the current list by default).
-
Block the unsubscribed subscribers: prevent these subscribers from being re-added in the future.
-
Apply automation rules to these subscribers.
Delete Unsubscribes
All unsubscribed users can be deleted from your list in bulk. This will fully remove their information from your list.
To delete unsubscribes:
-
Click “Delete Unsubscribes” above the subscriber list on the subscribers page.
-
Click “Delete” to confirm the deletion.

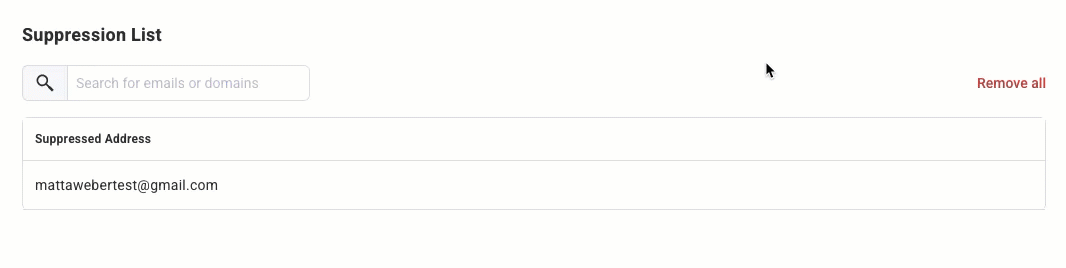
Suppress Subscribers
Suppressed subscribers will not receive any Broadcast messages from you.
To suppress subscribers:
-
Click “Subscriber Tools” on the sidebar of the account under “Subscribers”.
-
Click Supress.
-
Enter the email addresses that you want to suppress.
-
Click “Suppress”.

Note: Subscribers can be removed from the suppression list by clicking “remove all”, or mousing over the email address and clicking the trashcan icon.
Block Subscribers
Blocked subscribers will be blocked from being added to your mailing list. Blocking a domain will prevent any subscribers with that domain from being added to your mailing list.
To block subscribers:
-
Click “Subscriber Tools” on the sidebar of the account under “Subscribers”.
-
Click Block.
-
Enter the email addresses or domain that you want to block.
-
Click “Block”.
Note: Subscribers can be unblocked by mousing over the email address or domain and clicking the trashcan icon.

Export Subscribers
To export subscribers from your list:
-
Navigate to the Subscribers page.
-
By default, the subscriber search will show all subscribers. To export a specific group of subscribers, use the filter drop-down to filter subscribers based on criteria such as status, tags, or actions. Selecting the “Currently Subscribed” filter is generally a best practice to ensure that unsubscribes are not exported by mistake.
-
After applying the desired filters, scroll to the bottom of the subscriber list.
-
Click the Export CSV button located to the top right of the subscriber list to download a CSV file containing the selected subscriber information.
.gif?cb=c0f5ffce28cec0dac98adc5449d79d96)