
Zapier is a service designed around allowing users to create custom integrations between different services in just a few clicks. For more information about how this works, head over to their website.
In this article, we will review how to integrate Zapier with AWeber to add subscribers and tags when triggered by another service.
Need to set up your AWeber account first? Create your account now.
Step By Step Instructions
-
After logging into your account, click the "Create Zap".
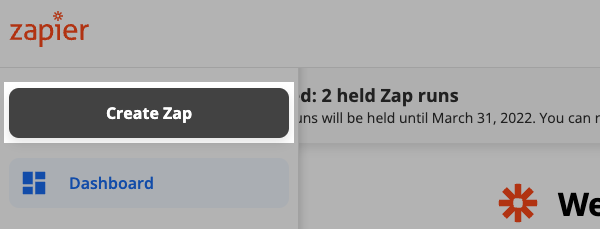
Then, you will be prompted to choose the app you want to set for the trigger in this Zap.
-
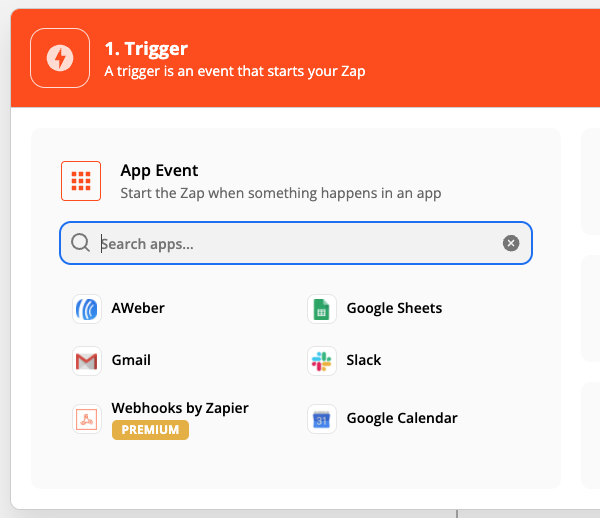
Next, select the app you want to use from the "Trigger" options.
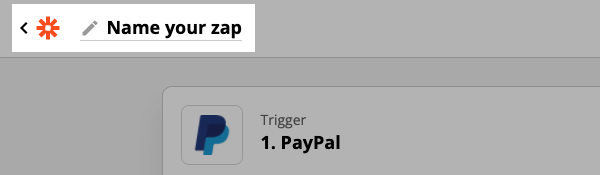
Note: You can name your Zap at this time. We suggest doing that to keep everything organized in your Zapier dashboard.
-
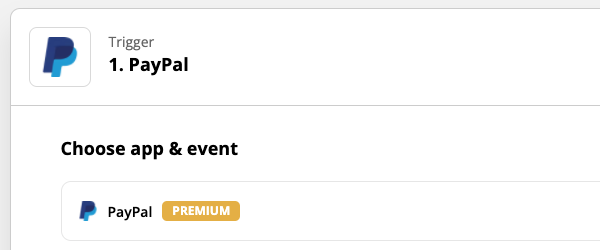
After choosing the app you want, Zapier will prompt you to choose a trigger from those available for this app.
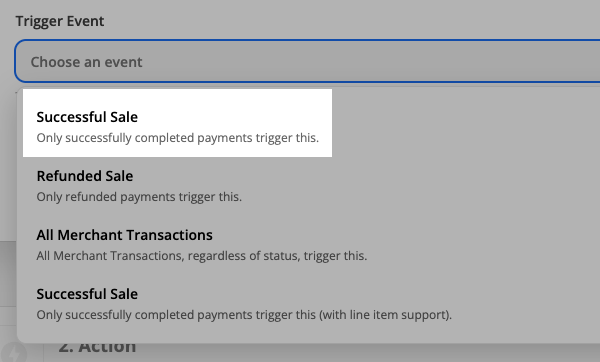
-
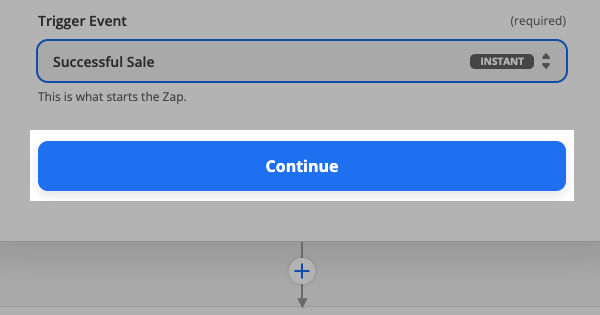
Once you have selected your Trigger Event, click "Continue".
-
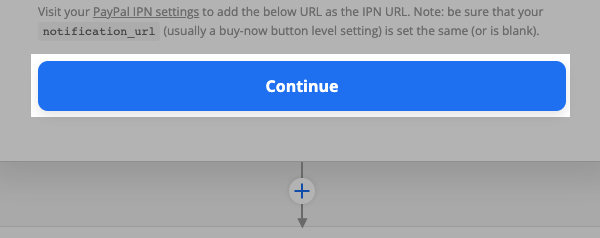
Many different services can connect to AWeber through Zapier. Depending on which service you're connecting to AWeber will determine the next steps. Once you have completed these app specific steps, click the "Continue" button in the bottom right.
-
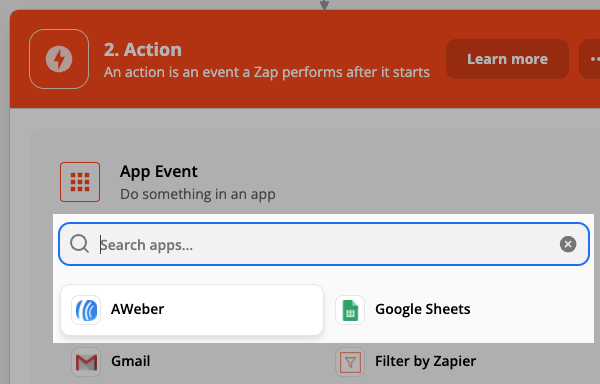
Great! You've created the trigger for this Zap. Next, you will be prompted to select the app that serves as the action. Select this app under the "Choose an Action App" menu.
-
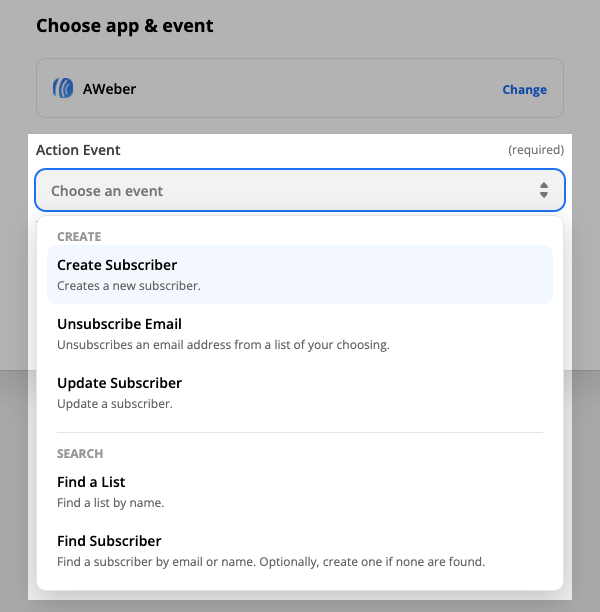
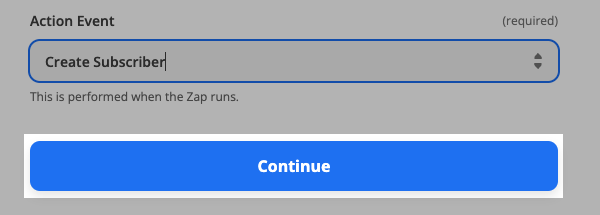
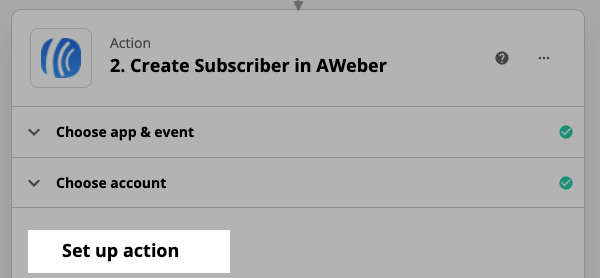
Next, select the action you would like performed by when your trigger occurs.
-
Once selected, click the "Continue" button.
-
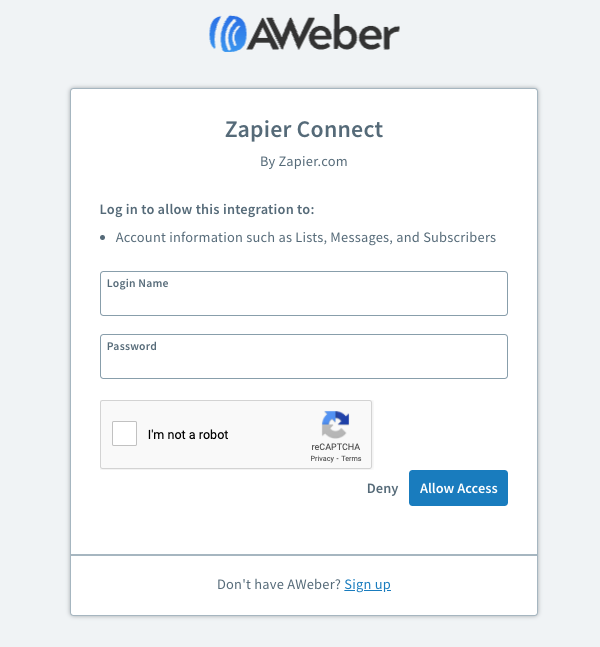
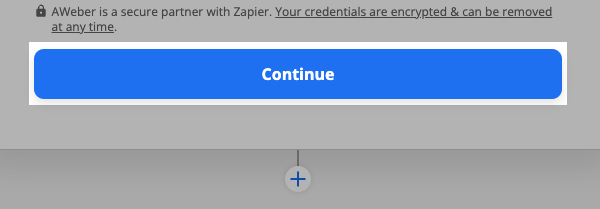
Next, you will be prompted to connect to your AWeber account if you have not already done so in the past. Enter your Login Name and Password and click "Allow Access".
-
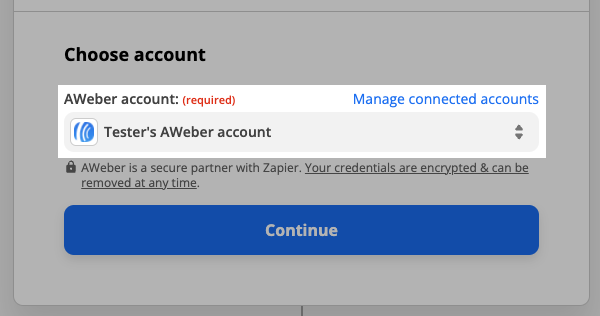
Once connected, you have the option to select your account. You will see this under the "Select AWeber Account" options.
-
Select your account and click "Continue".
-
Now, choose your account ID and the list you would like subscribers added to when the trigger action occurs. These will be available in the drop down menu for each option. Select the relevant email address for the "Email" field, and apply any optional fields you would like.

-
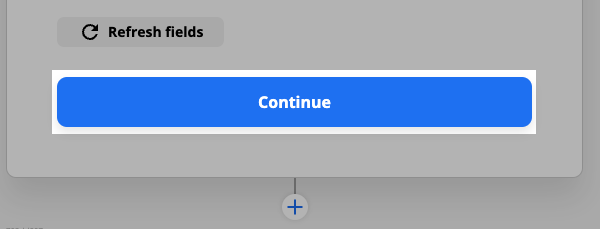
Once you've matched this information, click the "Continue" button.
-
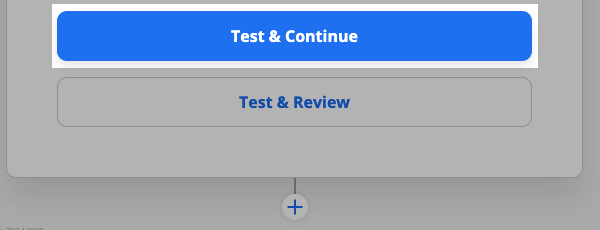
Next, you'll be prompted to test this action. We recommend performing this test to make sure everything is working correctly. To perform this test, click the "Create & Continue" button in the bottom right.
-
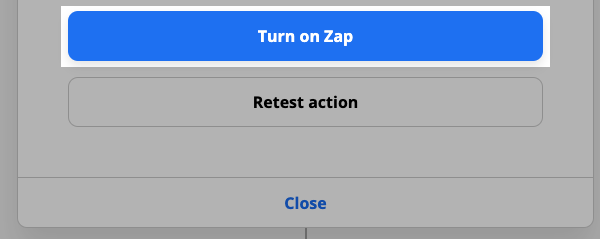
Once you have tested this Zap, or skipped the test, you will have the option to continue adding actions or "Turn on Zap". If you have more actions you wish to occur, you can add them now, otherwise, click "Turn on Zap" button in the bottom right.
Congratulations! You will now see this Zap listed as ON in your Zapier dashboard. Anyone who performs the trigger in this Zap will automatically be added to your AWeber account.

Applying tags with Zapier
Using Zapier, you have the ability to apply tags to your subscribers during Set up action step.
Here, you can enter the tags used to trigger a campaign within your list.
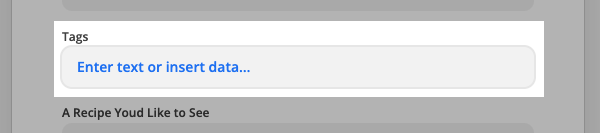
To add additional tags, enter a tag in the next text box that appears.

Be sure to click "Continue" to save any changes.
That's it! Your Zap will now add tags to your subscribers.