Thinkific is a service where you can create and sell your own online courses. Thinkific helps teachers and instructors build online businesses and get paid for being great teachers.
With the AWeber integration, you can add subscribers to your mailing list after they purchase your online course. This article explains how to integrate Thinkific with AWeber.
Step By Step Instructions
-
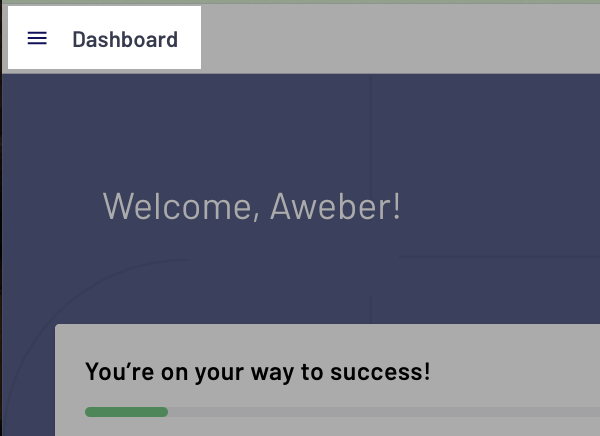
After you've setup your courses in Thinkific, you will need to install the AWeber "App." Click on the "Dashboard" menu.
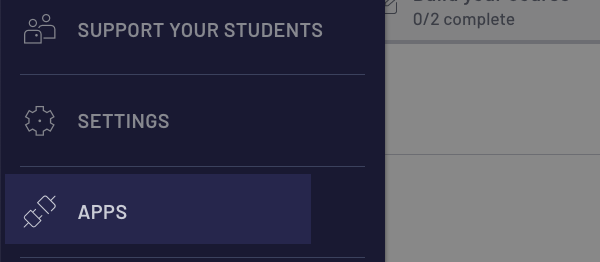
Select the "Apps" option from the dropdown menu.
-
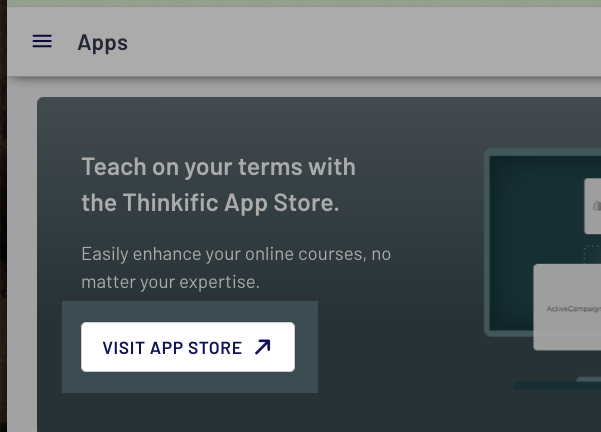
Click "Visit App Store"
Search for "AWeber," click on the AWeber logo to select the AWeber App for Thinkific.
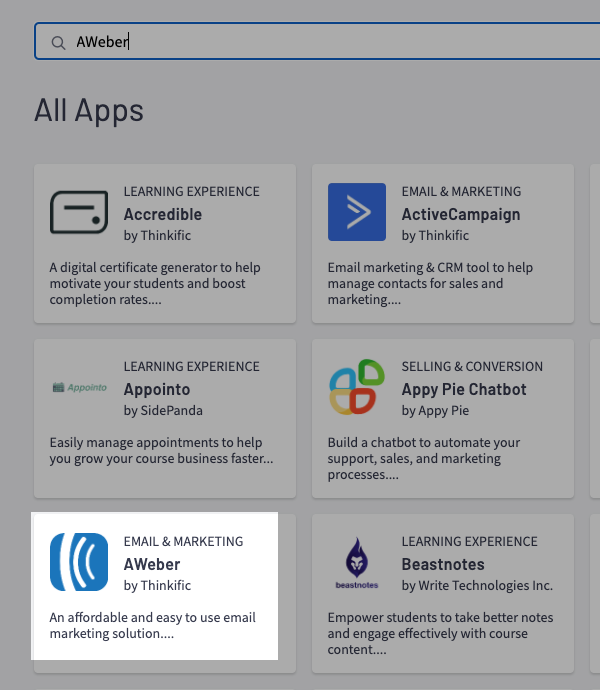
Click to install the AWeber App.

-
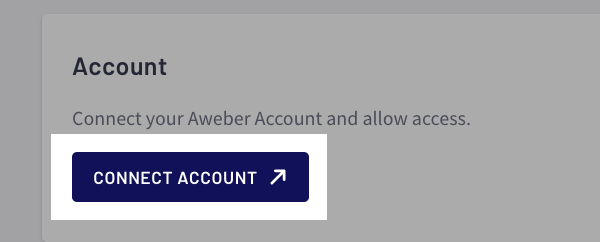
On the new webpage that displays, select "Connect Account" to integrate AWeber with Thinkific.
-
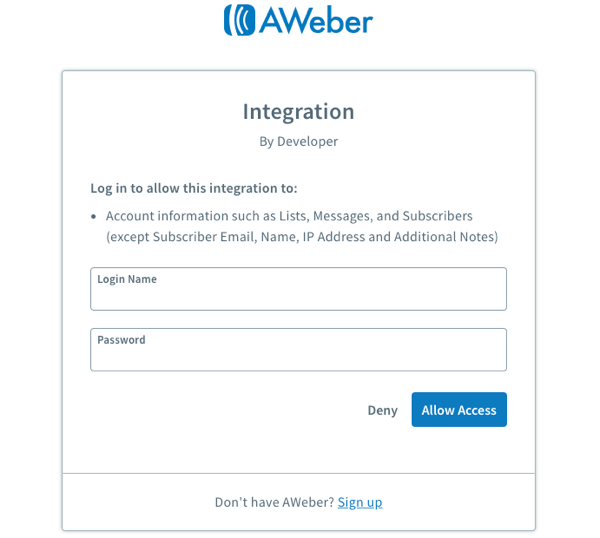
Next, you will need to enter your AWeber account login and password in order to authorize the integration. Once you have entered your login information, click on the "Allow Access" button.
-
From the drop down menu, select the list you would like subscribers added to, and click the "Save" button.
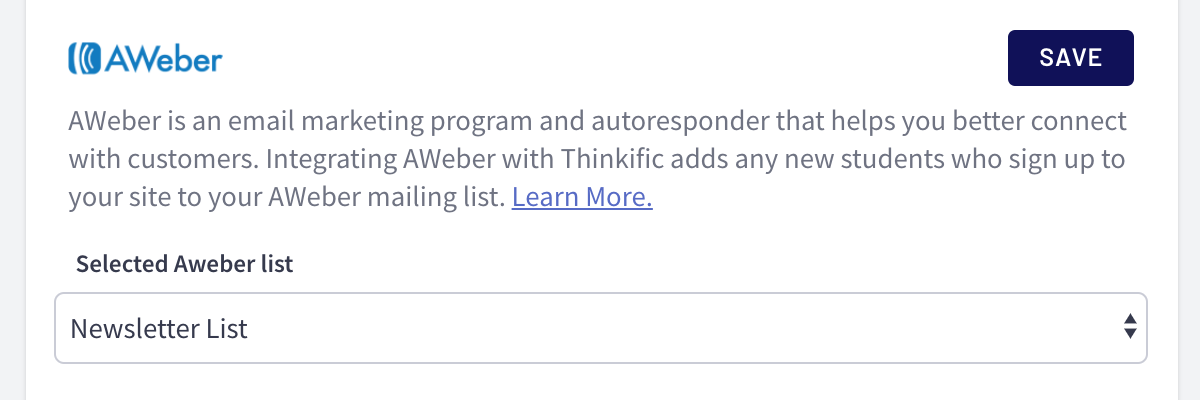
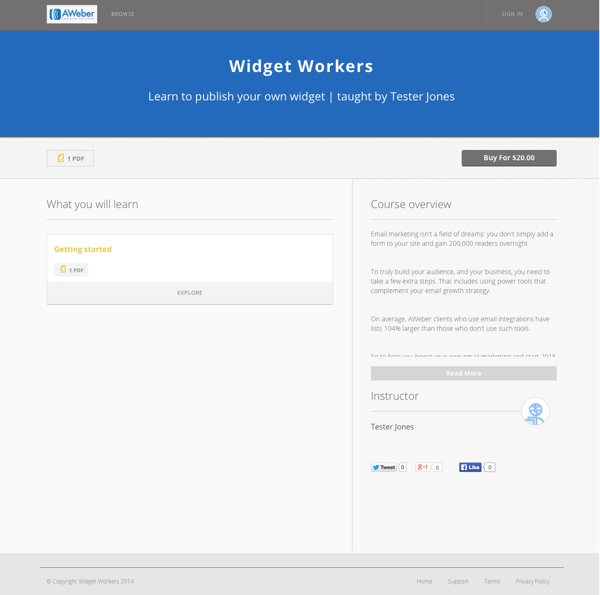
That's it! Now, when customers purchase your course, they'll be added to the AWeber mailing list you've selected. Here is an example how how your Thinkific course offer could look.