
Wishloop is a service where you to design custom capture pages with multiple steps, dynamic pop-overs, scroll boxes, and exit offers. With Wishloop, you will be able collect subscribers with any number of opt-in forms and have them sent directly into your AWeber account. This article explains how you can integrate Wishloop with AWeber.
Step By Step Instructions
-
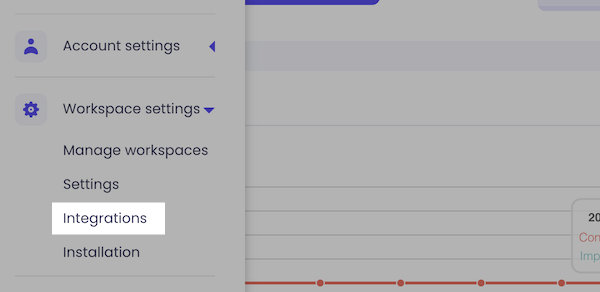
In Wishloop, click the "Workspace settings" dropdown from the left hand sidebar. Then, click "Integrations".
-
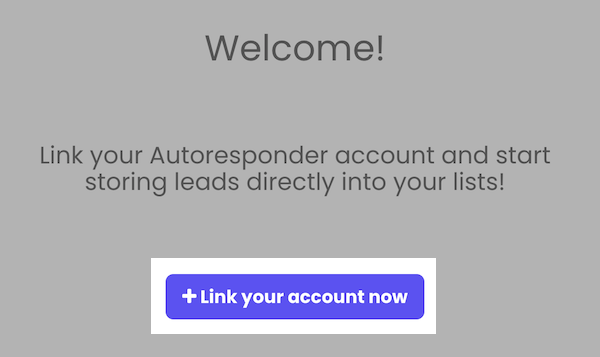
Click the "Link your account now" button.
-
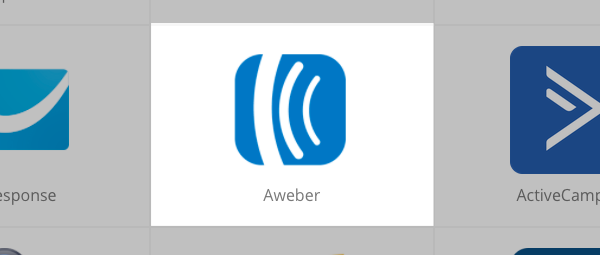
Click "AWeber" from the options provided.
-
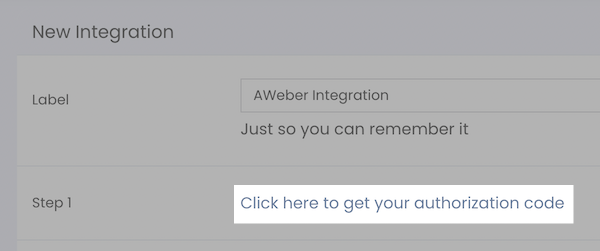
You can name this integration within Wishloop to keep track of it.

-
Click "Click here to get your authorization code".
-
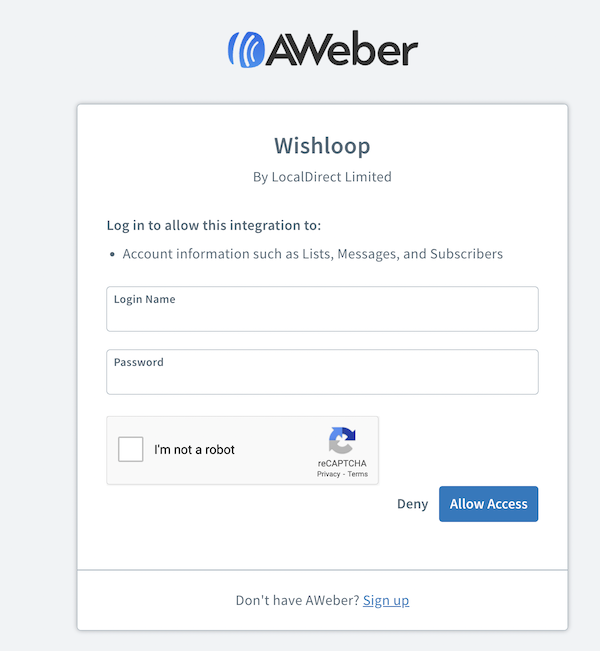
You will be taken to AWeber and prompted to enter your AWeber login name and password. Then, click "Allow Access".
-
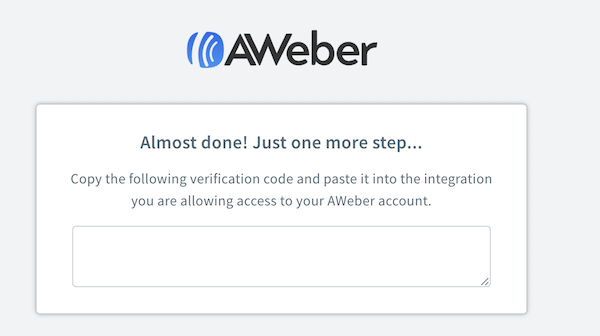
Highlight and copy the authorization code.
-
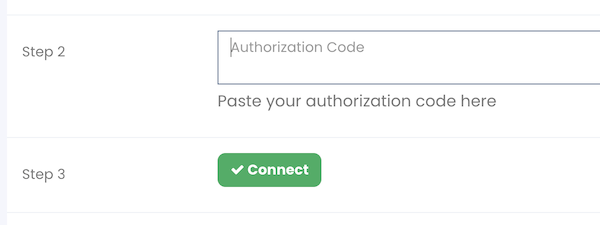
Back in Wishloop, paste the code into the box and click "Connect".
-
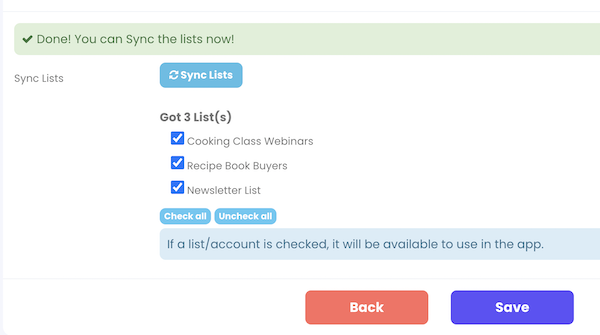
After it is connected, click "Sync Lists".
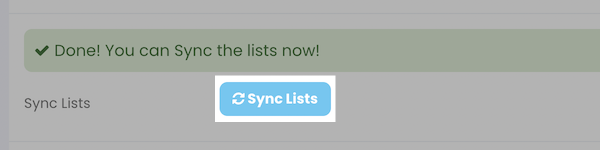
Once your lists are showing and you've selected which lists you'd like to connect to, click "Save".
-
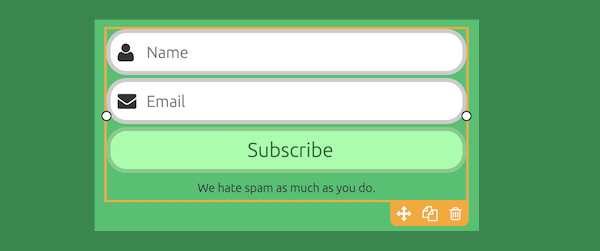
Now, access the form you would like to connect to AWeber. In the page editor, select the optin boxes.
-
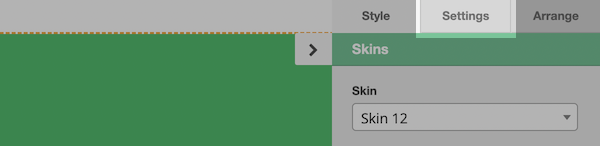
From the options on the upper right of the editor, click the "Settings" tab.
-
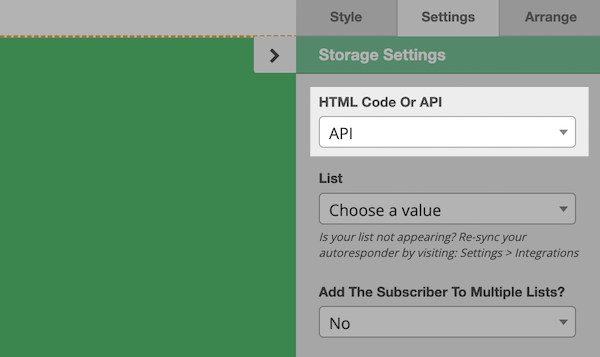
For 'HTML Code Or API' dropdown select "API".
-
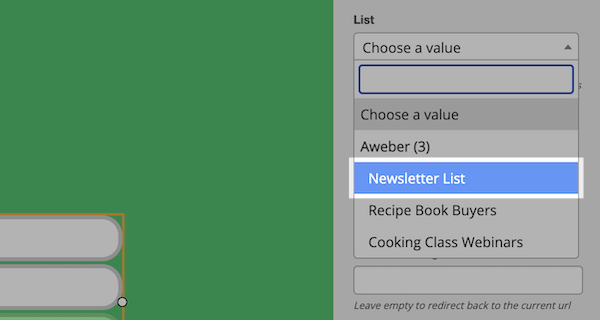
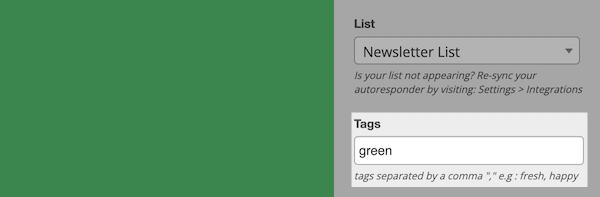
Select the mailing list that you would want to connect in AWeber with this form.
You will also have the option to have tags applied when a subscriber passes through the form or have subscribers added to multiple lists as well.
-
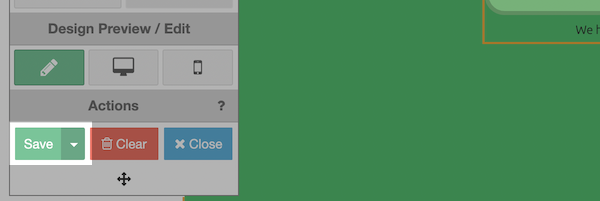
Once complete, just click "Save" from the left-hand options.
Congratulations! You have now successfully connected your AWeber account with Wishloop! Subscribers will be added when coming through your Wishloop forms connected to your AWeber list.