
Payhip is an eCommerce platform where you can sell digital products like downloads, or physical products. You can also create subscription services. With the AWeber integration, you can automatically add customers to your lists.
In this article, we are going to walkthrough the steps to integrate AWeber and Payhip and connect your product to your list.
Step By Step Instructions
-
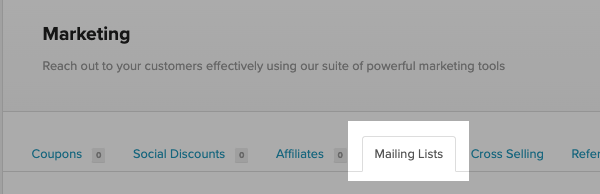
First, login to your Payhip account and click "Marketing" from the menu options at the top of your dashboard.

-
Then, select the "Mailing Lists" tab.
-
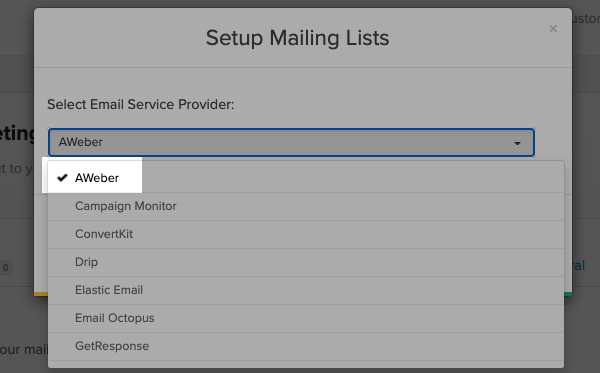
Click the "Setup Mailing Lists" button to connect to your AWeber account.

-
In the window that pops over the page, select AWeber from the available options.
-
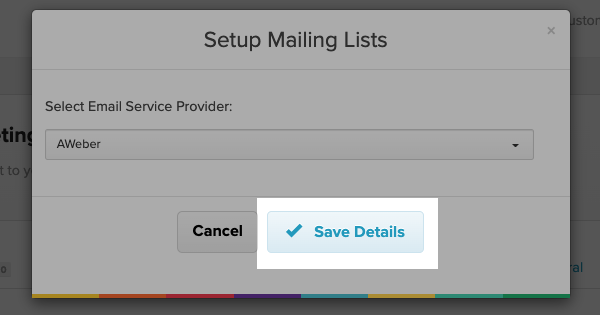
Next, click "Save Details."
-
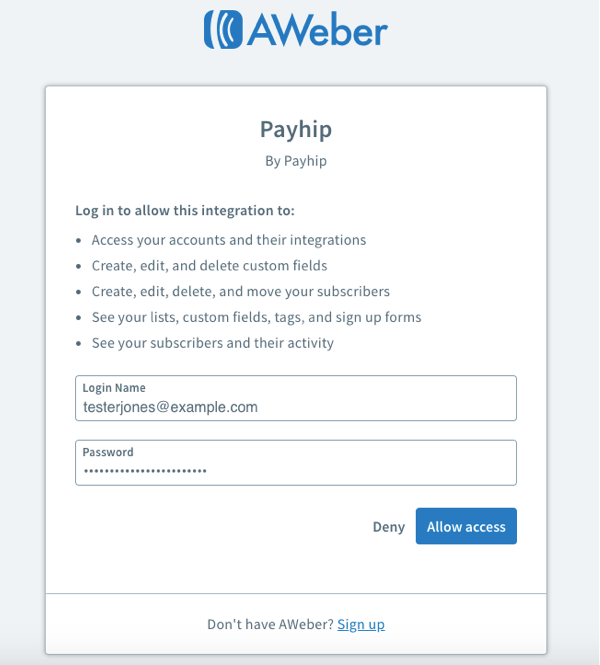
You will have to allow Payhip to access your AWeber account information, including your lists, messages, and subscribers. Enter your login credentials and click "Allow Access."
-
After you authorize the integration, you will have to connect a product to your AWeber list. To do this, first click the "Products" tab from the menu bar.

-
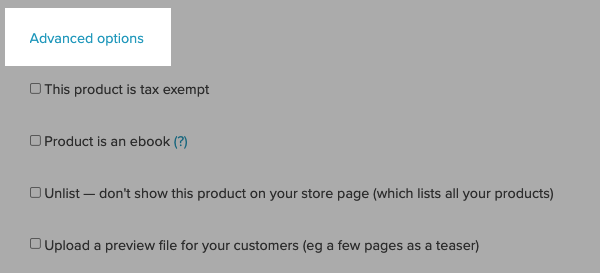
If you have not done so already, create a product. Then, click the "Advanced Options" link in the product settings.
-
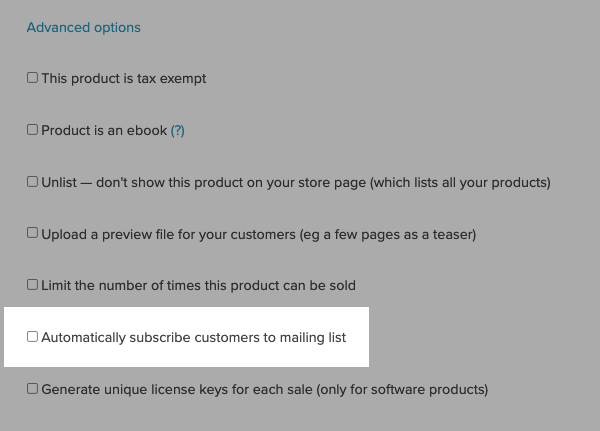
Click the checkbox to automatically add subscribers to your mailing list.
-
Select the list to which you would like subscribers added.

And that's it! Congratulations, you have successfully integrated with Payhip. Customers who purchase your digital or physical products will be added to the respective list in AWeber.