
Kickbox is a service that makes it easy to verify your subscriber lists, or integrate email verification into your application with their API. Integrating Kickbox with AWeber can help clean your list of subscribers in order to ensure that you're not sending any messages to undeliverable or risky subscribers. Having a clean list can help boost your deliverability rates to ensure that subscribers receive your messages.
This article explains how you can integrate Kickbox with AWeber.
Step By Step Instructions
-
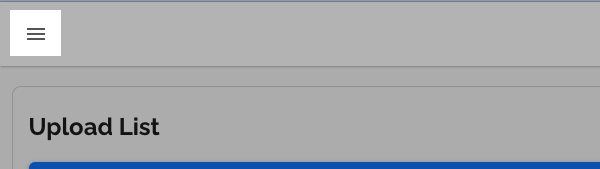
Log into your Kickbox account and click the menu to display Verification options.
-
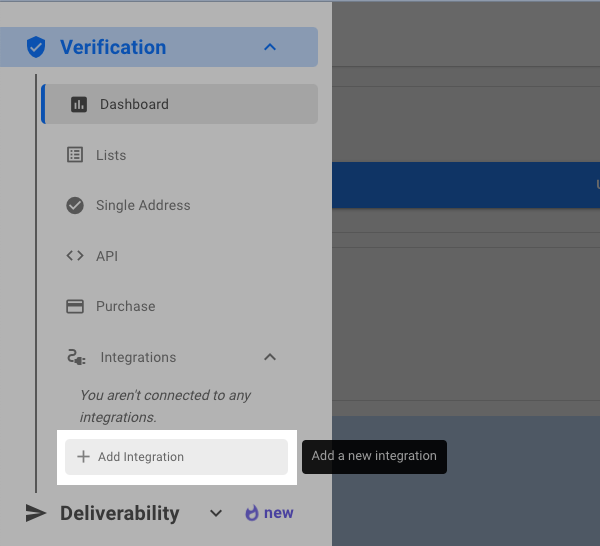
Choose "+ Add Integration" from the Verification Menu.
-
Choose "AWeber" from the "Add a New Integration" pop up window.

-
Next, enter your AWeber login email and password in to authorize the integration.

Note: You will only have to authorize this app the first time that you connect Kickbox with AWeber.
-
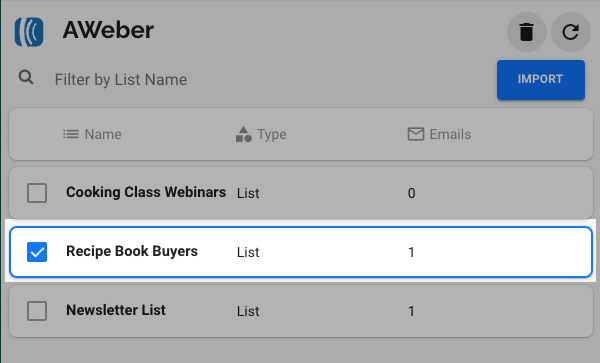
Once you have completed this integration, select your list from the "AWeber" options.
-
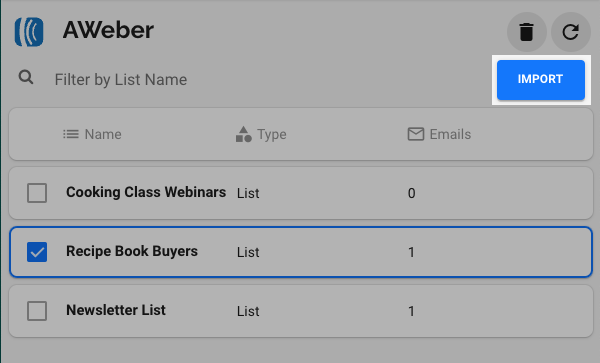
Click the "Import" button on the right.
-
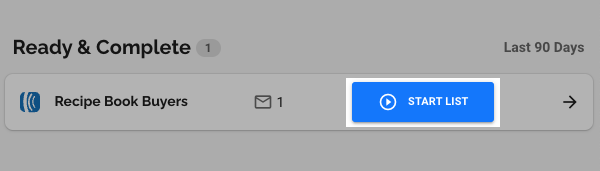
You will now see this list under the "Ready & Completed Lists" section of your account. To begin the review process, click the "Start List" option on the right.
-
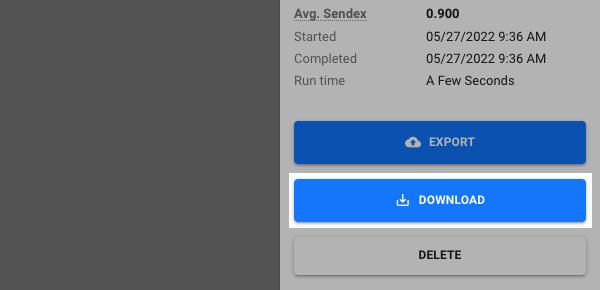
Once Kickbox has finished reviewing the list, it will provide you with a breakdown of your CSV file under the "List Details" on the right of your account. Click the "Download" button at the bottom of this box.
-
To clean up your list in AWeber select the "Download" option. You can download different options like only the email addresses that Kickbox determined as being deliverable or the entire list. Once complete, click either the "Download" or "Filter" button depending on the option you've chosen.
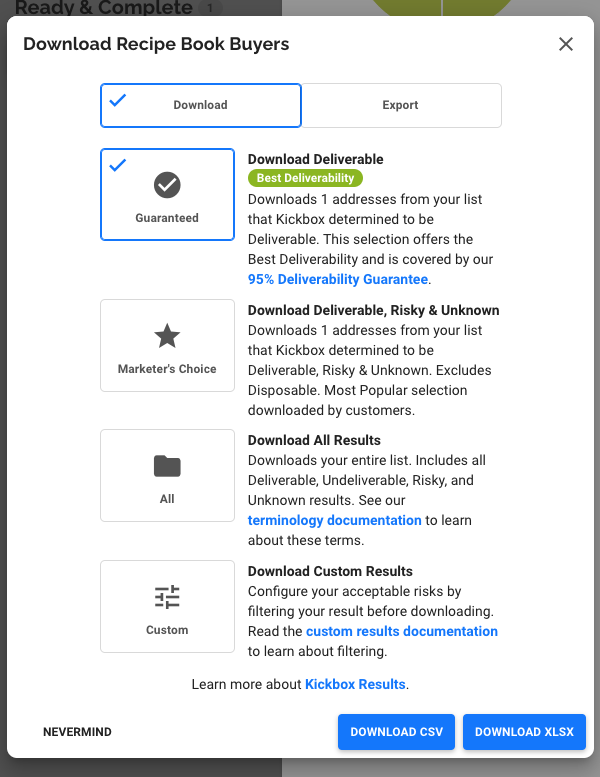
That's it! Now, you will have a .csv file of the subscribers based on the filters selected or your subscribers in AWeber would be unsubscribed depending on which category they fell into: undeliverable, risky, or unknown.