
In this article, we will walk through the steps to add a sign up form to a page in your Wordpress site using both the Classic and Gutenberg Wordpress editors, as well as shortcodes.
After you install the AWeber for WordPress Widget, you will be able to view the stats information for every form on your list. Within the page editor, you'll find an AWeber icon which will enable you to select the form that you would like to be displayed on your page. The process for doing so will vary depending on the version of Wordpress editor you're using. You can also add a sign up form to your page using shortcodes.
Using the Classic Wordpress Editor
-
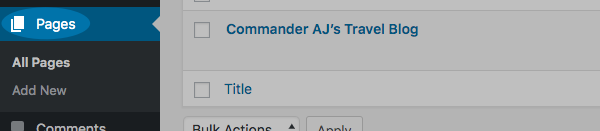
First, navigate to the page that you would like to display an AWeber form. You can access your existing pages from the 'Pages' item in the lefthand menu.

-
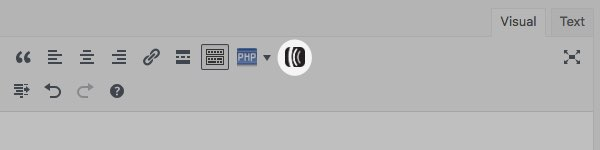
You'll find an AWeber icon in the styling section at the top of the page. Clicking on it will reveal the existing forms you have created within your AWeber account.
-
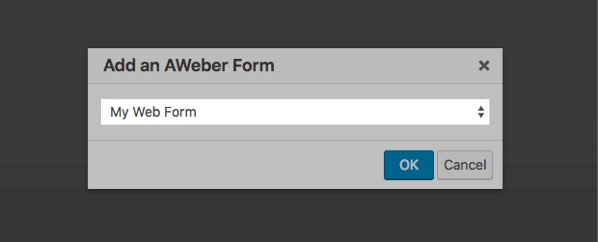
Select the form you would like to display on this page in the dropdown menu on the pop-up that appears and click 'OK.'
-
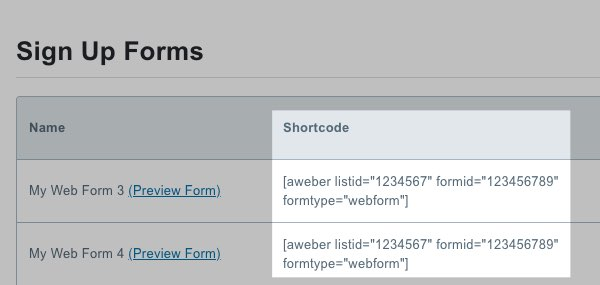
After selecting your form, our plugin will add the corresponding shortcode into your page, which will render the form when the page is published. If you'd like to manually copy and paste your sign up form shortcode onto your page, first, copy the shortcode associated with the form you'd like to add from the Forms section of the AWeber widget.
Back on your page, paste your copied shortcode wherever you'd like for it to appear on the page.
Make sure you paste your shortcode into a shortcode block or a text block. Your form will not be displayed through the HTML block.
Using the Gutenberg Wordpress Editor
-
First, navigate to the page that you would like to display an AWeber form. You can access your existing pages from the 'Pages' item in the lefthand menu.
-
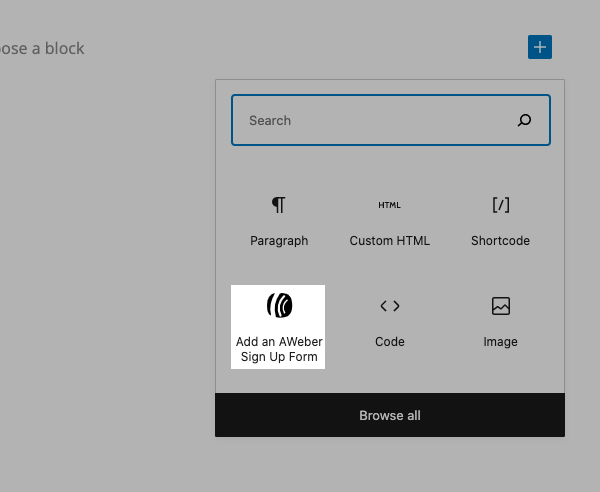
Select the 'Add Block' button on the right-hand side of the page to display the various item blocks you can add to your page. Then, click 'Add an AWeber Signup Form.'
-
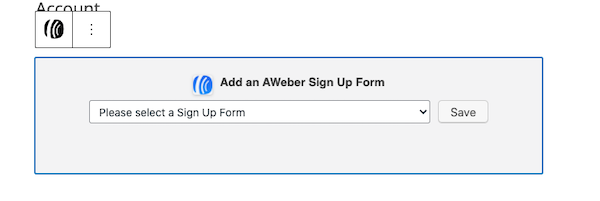
Select the AWeber Signup Form that you would like displayed on your page, and click 'Save.'
-
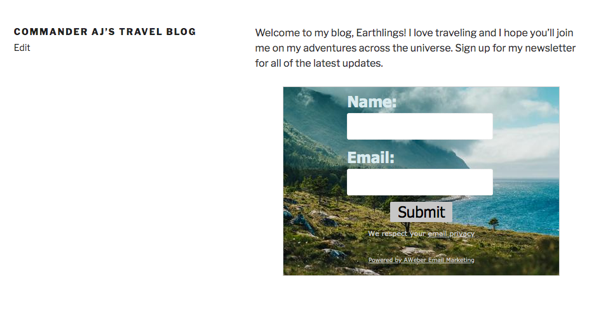
Congratulations! You will now see your form displayed on that specific page on your WordPress blog. You can preview the page to view the form.
-
If you'd like to manually copy and paste your sign up form shortcode onto your page, first, copy the shortcode associated with the form you'd like to add from the Forms section of the AWeber widget.

-
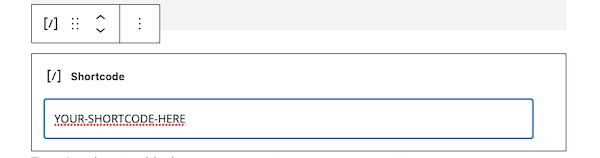
Select the 'Add Block' button to display the various item blocks you can add to your page. Then, select "Shortcode" or "Paragraph." Your form will not be displayed through an HTML block when using shortcodes.
-
Finally, paste your copied shortcode into the textbox that appears.
And that's it! Now your form will be displayed on your page through the use of shortcodes.