
Contact Form 7 is a WordPress plugin that allows you to create contact forms for visitors to your website. Visitors to your website can use these forms to request more information from you or send messages and questions directly to you. With the AWeber integration, you can have these contacts submitted to your list.
In this article, we'll cover how to integrate Contact Form 7 with your AWeber account.
Step By Step Instructions
-
If you haven't done so already, download the Contact Form 7 plugin and AWeber extension.
-
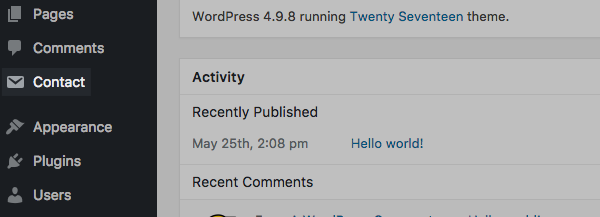
After you've installed the plugin and activated it, click the "Contact" link from the menu options on the left-hand side of the page.
-
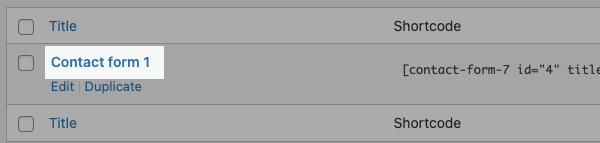
Click on the name of the form that you want to connect to your list from the "Contact Forms" page.
-
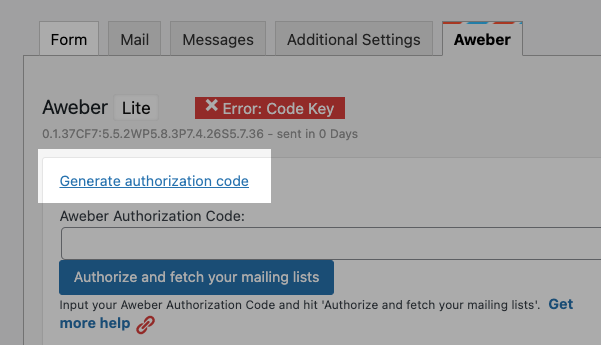
On the "Edit Contact Form" page, click the AWeber tab.

-
Then, click the "Generate authorization code" link.
-
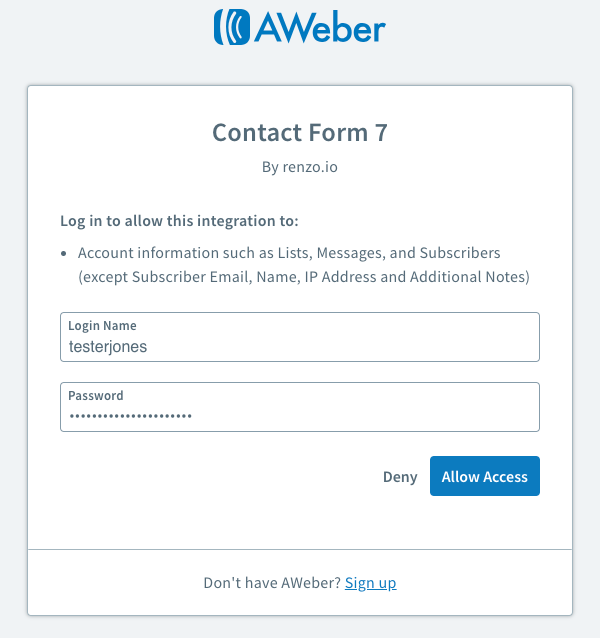
Next, you will have to allow Contact Form 7 to access your account information. Enter your login credentials and click "Allow Access".
-
After you click "Allow Access," your unique authorization code will generate. Copy this code. The code will generate in a new browser window.

-
Return to the "Edit Contact Form" page, and paste your authorization in the "Aweber Authorization Code" box. Click "Authorize and fetch your mailing lists" once complete.

-
Then, select the list you want subscribers added to from the "Aweber List Name & ID" drop-box. Once you've selected your list, click "Connect List".

-
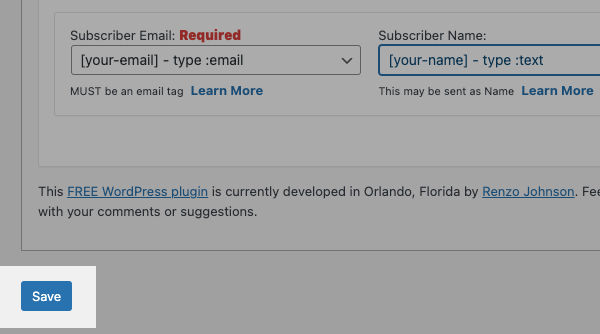
Next, you will need to map out the fields on your form. You can view the available Contact Form 7 tags under the "Mail" tab. In this example, we have two fields: name and email.
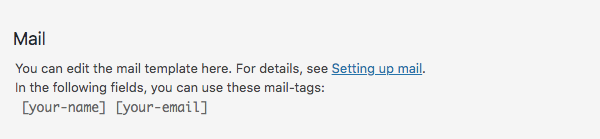
Enter those tags in the corresponding section under your list information in the "AWeber" tab.

-
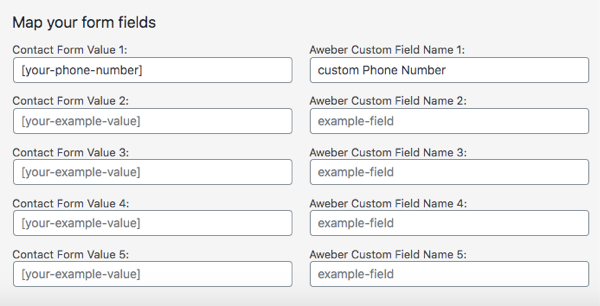
You can map any custom fields in your AWeber account that are on your contact form in the next section.
-
Once you're done, make sure to click "Save" at the bottom of the page.
And that's it! Congratulations, you have successfully integrated Contact Form 7 with AWeber. Whenever a visitor to your website submits their email address to your form, they will also be added to your AWeber list!