
aMember is a membership and subscription tool. With aMember, you can accept subscription payments, manage customer profiles, deliver digital content, integrate with your blog, forum, or CMS, and run your own referral program.
With the aMember integration, you can have your members added to different lists in your AWeber account depending on the membership level that they are a part of. You have full member management with aMember where you can easily add, edit, and delete customers and their subscriptions. There are are a variety of shopping carts you can integrate with aMember to process payments for different membership levels.
Step By Step Instructions
-
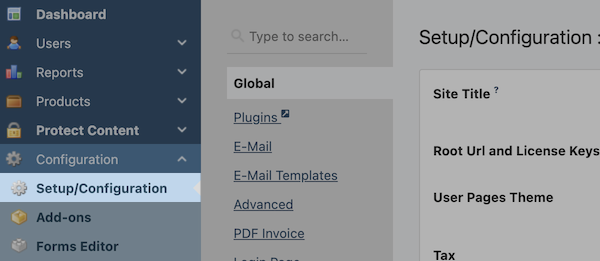
First, log into aMember. Once you are logged in, from the left hand sidebar options, click on the option for "Setup/Configuration" located under the "Configuration" section.
-
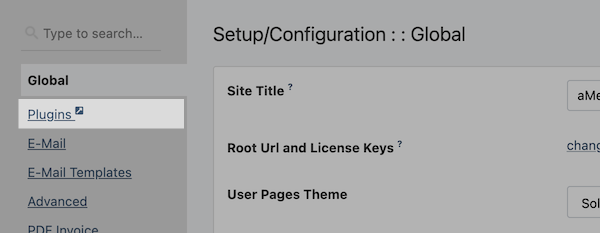
Next, from the top buttons provided, click on "Plugins".
-
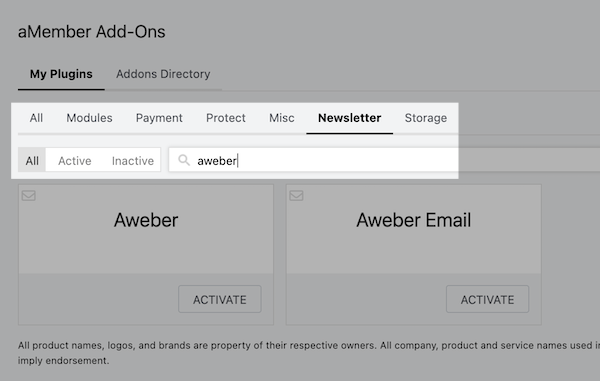
Here, select the "Newsletter" tab and search for AWeber.
-
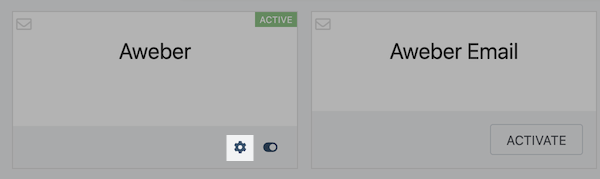
Click Activate on the "Aweber" option.
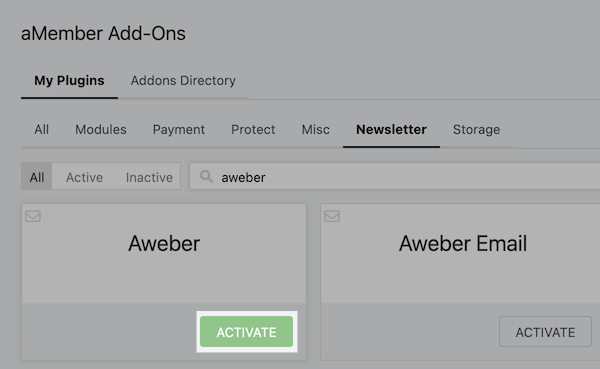
Note: Do not select the "Aweber Email" option from the drop down menu as that is for a different method for integrating aMember with AWeber.
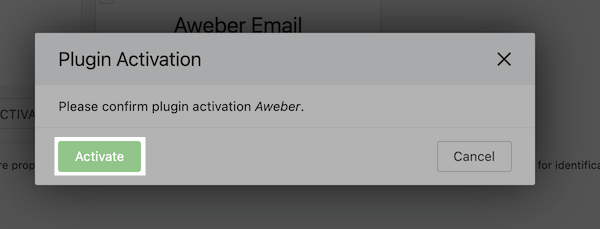
Click "Activate" in the Plugin Activation Pop-Up.
-
Select the Settings logo on the AWeber plugin.
-
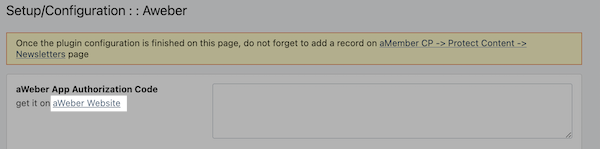
At this page, you will be acquiring the app authorization code. To receive this code, click the "aWeber Website" link provided.
-
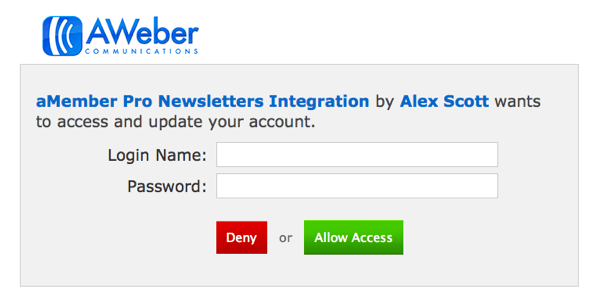
Next, you will need to enter your AWeber account login and password in order to authorize the integration. Once you have entered your login information, click on the "Allow Access" button.
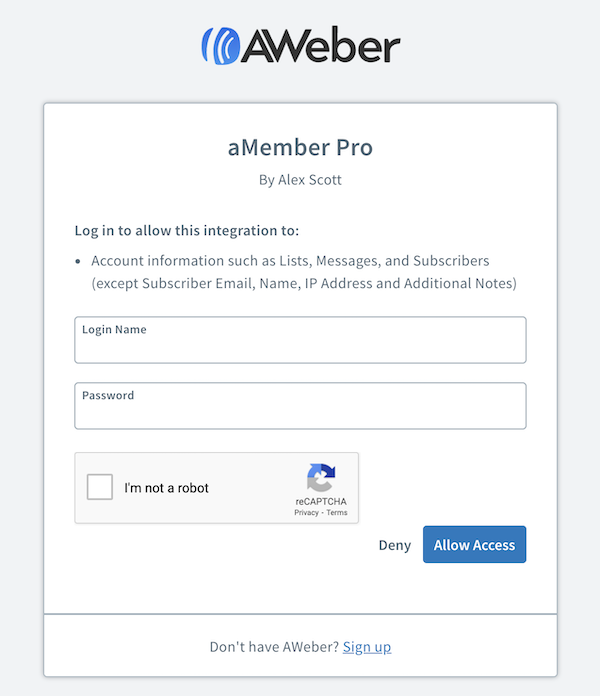
Copy the code that appears once you've clicked Allow Access and navigate back to aMember.
-
In aMember, paste in your authorization code that was copied.

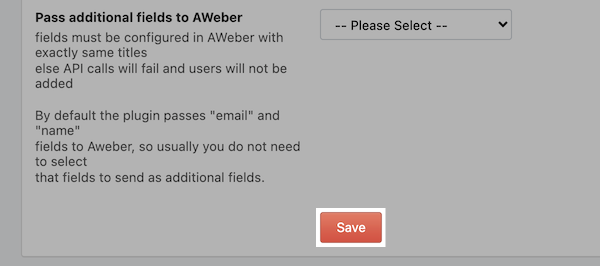
You can select additional fields to send to AWeber if needed.
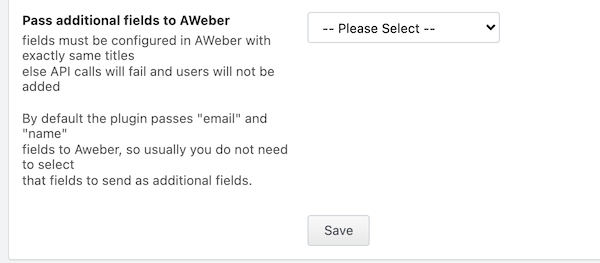
Once complete, click the "Save" button.
-
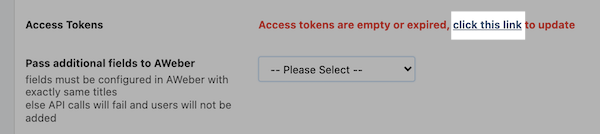
Now that you've saved the authorization code, you need to update the "Access tokens". To do so, click the link provided on this page.
-
Re-enter your AWeber login credentials and click the "Allow Access" button.
-
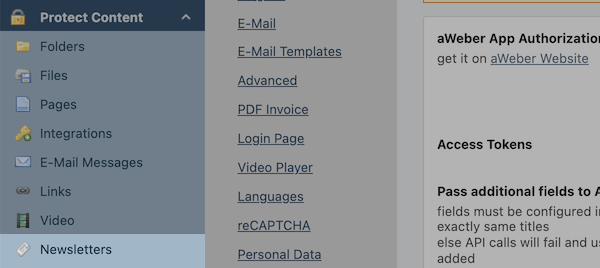
From the left hand sidebar options, click on the option for "Newsletters" located under the "Protect Content" section.
-
The lists from your AWeber account are provided. From the "Actions" section, click on the "edit" button to allow your membership permissions for the list.

-
Set your actions to automatically subscribe users to the list in aMember, and set your permissions for your different memberships. Once finished, click "Save".

You are now finished with integrating aMember with AWeber. Now anyone that becomes a member of yours through aMember will be added to your corresponding AWeber mailing list!