
In this article, we will walk through the steps to integrate your Gravity Form to your AWeber account.
Gravity Forms is form builder WordPress plugin. You can create different types of forms, like regular newsletter forms, contact forms, etc. Gravity Forms will pass over any custom fields that you have and supports tags, too.
Step By Step Instructions
-
First, you will need to download and install the AWeber add-on for Gravity Forms.First, you will need to download and install the AWeber add-on for Gravity Forms.
-
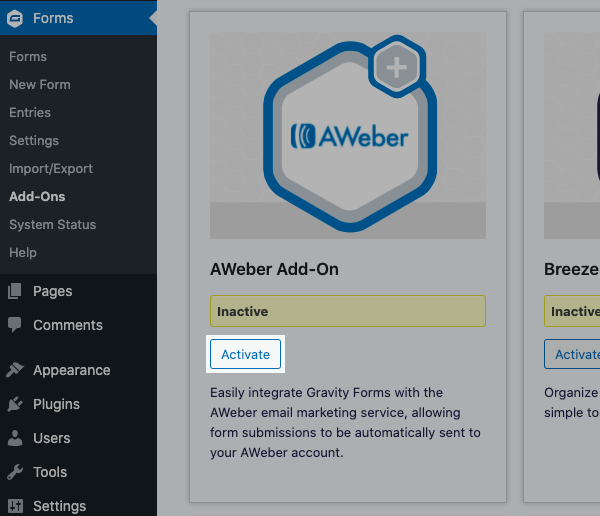
Then, go to the "Add-Ons" tab from the menu options on the left-hand side of the page. Click "Activate" under the AWeber add-on.
-
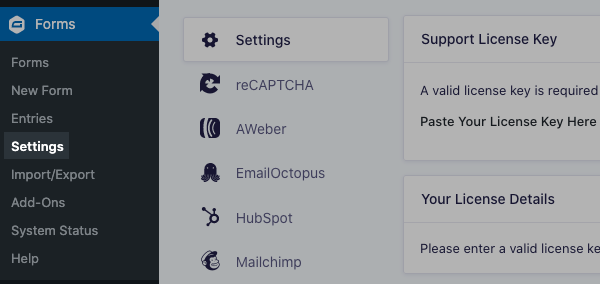
After activating the add-on, click the "Settings" tab from the menu options.
-
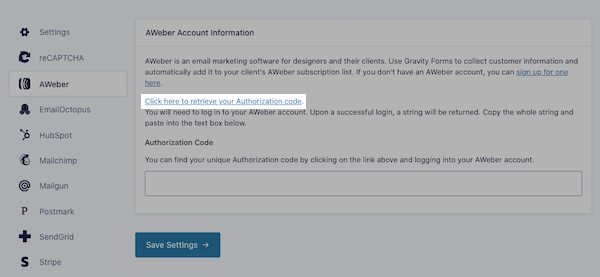
Select the AWeber tab and click the hyperlink to authorize the integration.
-
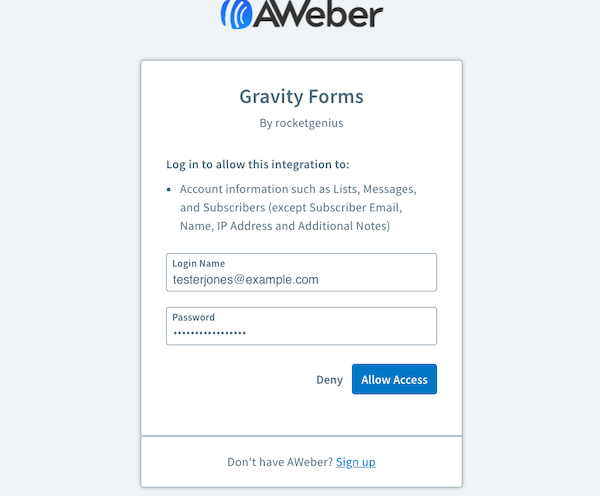
You will have to allow Gravity Forms to access your AWeber account information, including your lists, messages, and subscribers. Enter your login credentials and click "Allow Access."
-
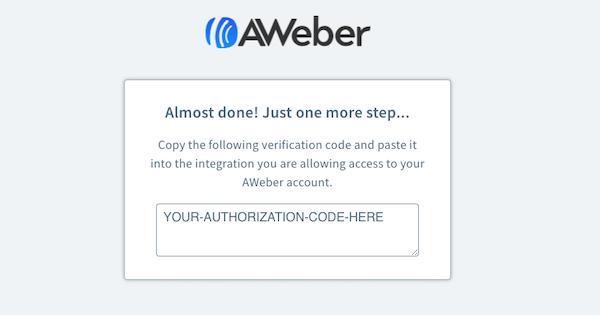
Copy your unique authorization code.
-
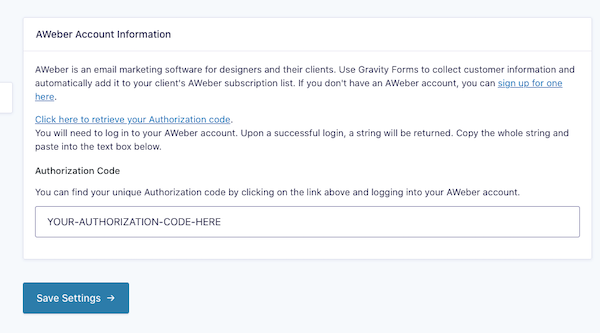
Return to your Gravity Forms settings and paste your authorization code into the textbox. Once complete, click "Save Settings."
-
Now, you can connect a form to your AWeber list. Click the "Forms" option from the left-hand menu.

-
You can create a new form or edit the settings for an existing form. In this example, we're going to edit the settings for an existing form. Hover over the name of your form and click "Settings."

-
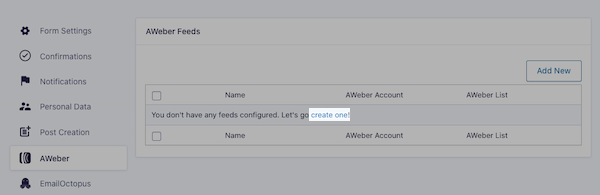
Select the AWeber tab and click the link to create a new feed. The feed is just another term for a connection to your AWeber list.
-
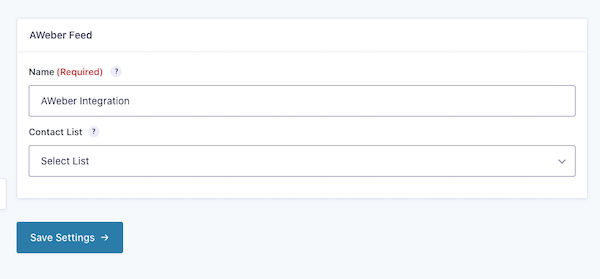
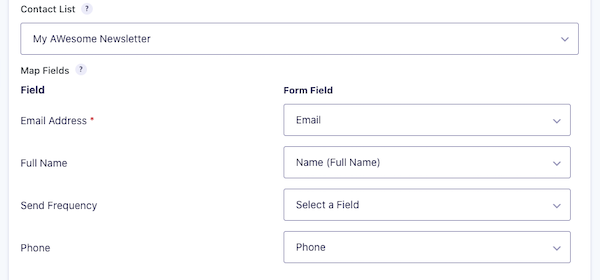
Name your feed and select the list you want subscribers added to.
-
Next, you will need to map the fields on your Gravity Form to the respective field within AWeber.
-
You can apply tags to the form.
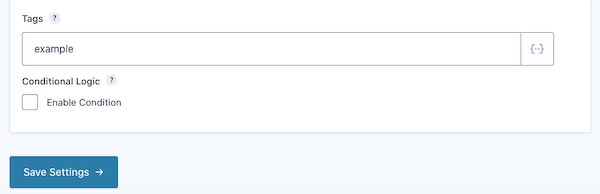
Note: Tags will be applied to new subscribers, but will not update existing subscribers who submit your form.
-
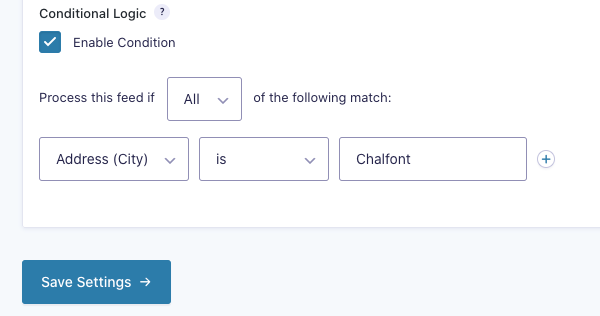
Lastly, you can enable conditional logic on the form. With conditional logic, you can set up rules so that only certain subscribers get added to the list based on the information they enter. For example, if you only wanted subscribers from a specific city, you could set up a rule for City > is > (whatever city you want).
-
Once complete, click "Save Settings."
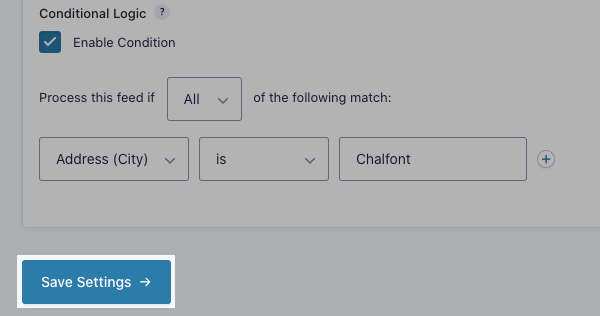
And that's it! Your Gravity Form is now successfully connected to your list.