
Wufoo is a service that allows you to create and manage multiple forms using a single dashboard. Using the different templates provided by Wufoo, you can easily create survey, invitation, or registration forms. With the AWeber integration through Zapier, you can benefit from Wufoo by capturing subscribers who create an entry on your form.
The AWeber integration with Wufoo through Zapier allows you to have subscribers added to your AWeber mailing list when they create an entry on your form.
Step By Step Instructions
-
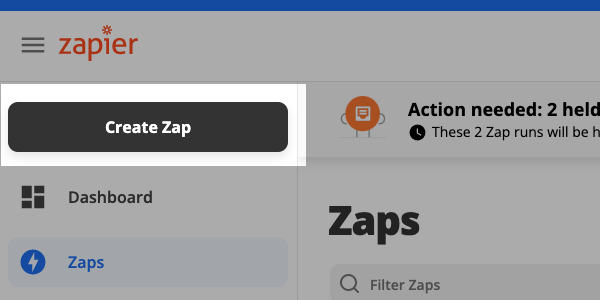
If you haven't done so already, create a form in Wufoo. Once created, your first step will be to go into your Zapier account to create a zap for Wufoo and AWeber.
-
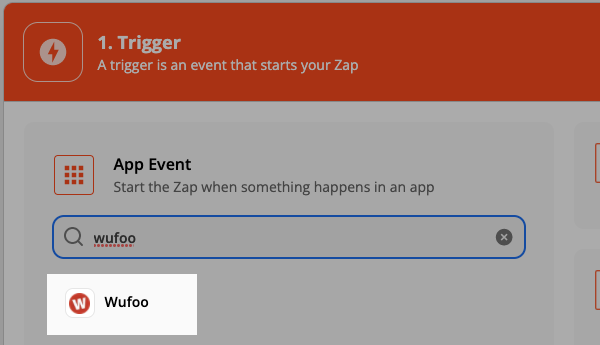
Next, select or search for "Wufoo" from the "Choose a Trigger App" menu.
-
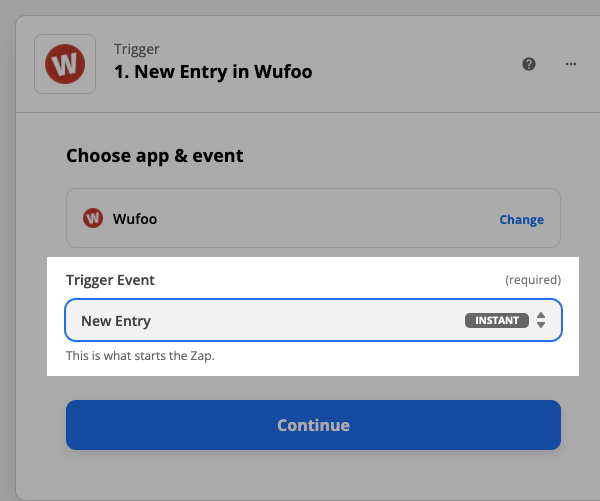
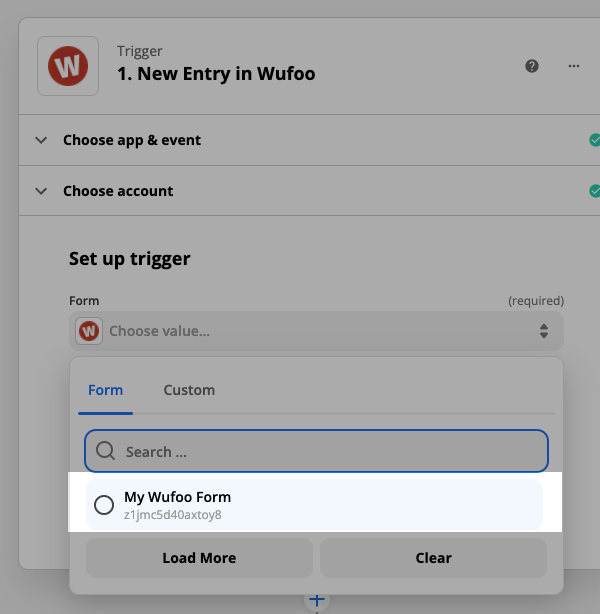
Then, choose the trigger you would like to use for this integration. For this example, we've chosen "New Entry".
-
Click "Continue"
-
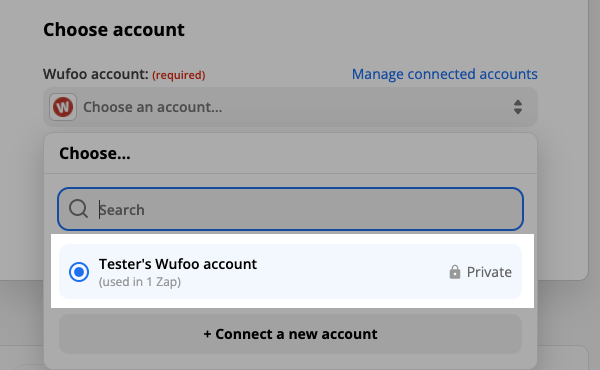
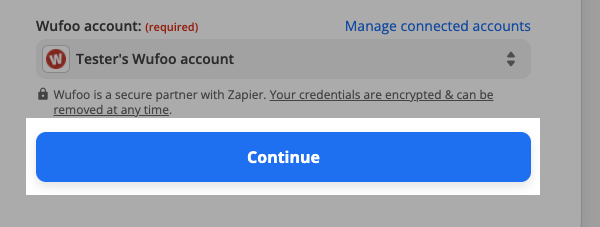
Then, choose the Wufoo account you want to use.
-
Click "Continue".
-
Next, select the form you would like to connect from the options in the "Set up Wufoo Entry" menu.
-
Click "Continue".

-
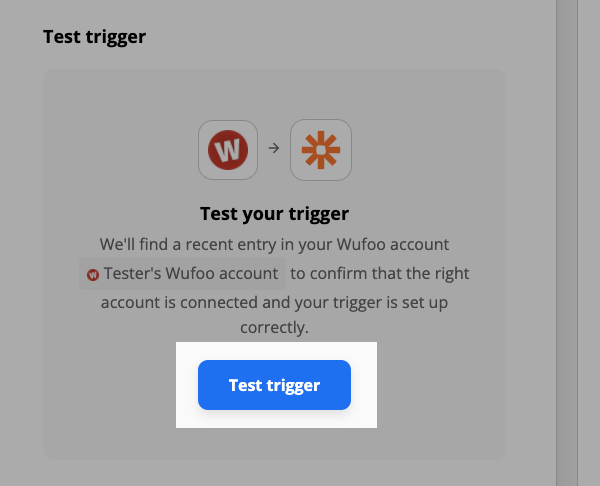
Now, you'll be given the option to test your Wufoo integration.
-
Once you've fetched the information from Wufoo, you can test again, or skip the test. Click either "Skip Test" or "Test Trigger".

-
Then, to complete the Trigger step click "Continue".

-
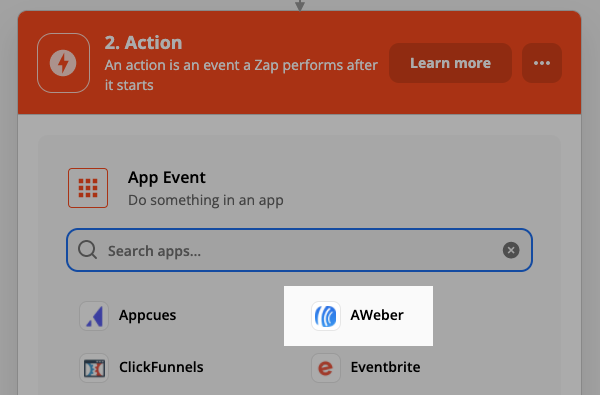
Now, select "AWeber" from the "Choose an Action App" menu.
-
After that, select the action you would like to occur when Wufoo triggers the integration.
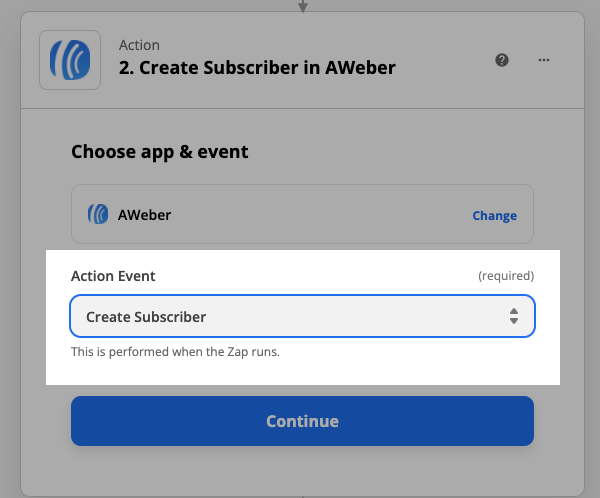
-
Click Continue.
-
Next, choose the account you would like to connect to this action.
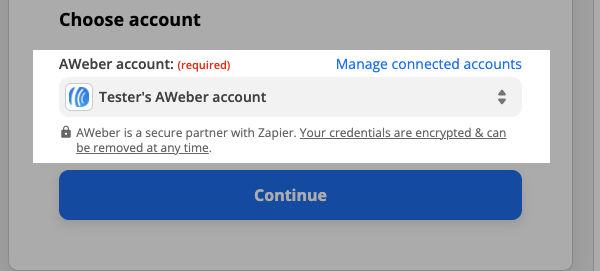
-
Click "Continue".
-
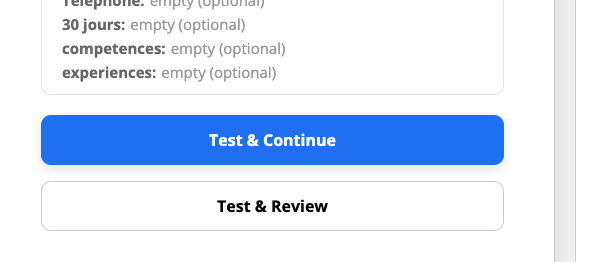
Now, you'll be prompted to match your AWeber information. Account ID, List ID, and Email are required, all other fields are optional.
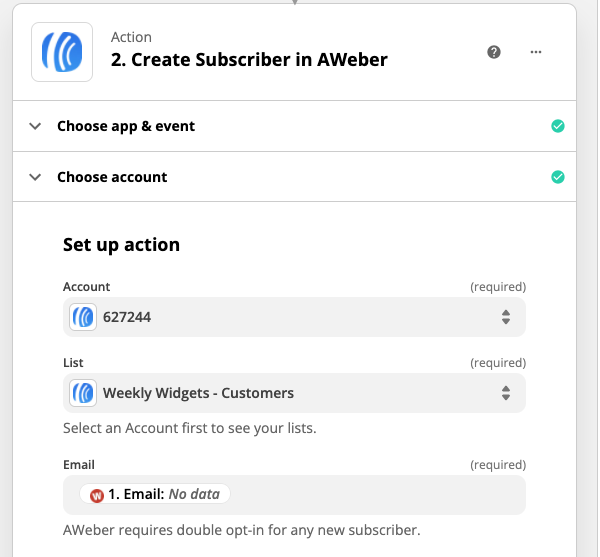
-
Click "Continue".
-
Then, you'll be given the option to test the action step. Click either "Test & Continue" or "Test & Review".
-
After testing the action step, click "Continue" to complete your setup.

-
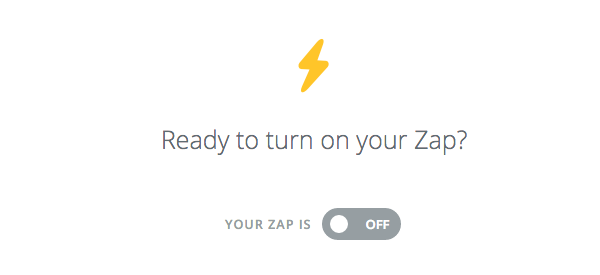
Lastly, be sure to turn on your zap by toggling the "Your Zap Is..." switch to ON.
Congratulations! You've successfully connected Wufoo to AWeber. Those subscribers who enter their information in your Wufoo form will be added to the AWeber list you selected. Check out the section below for the most used Zaps.