
With Poptin, you can create pop-up and embeddable forms for your website. You can customize the design and layout of your pop-up forms, as well as the behavior of the forms.
In this article, we are going to walk through the steps to integrate your Poptin form to AWeber.
Note: This integration applies tags.
Step By Step Instructions
-
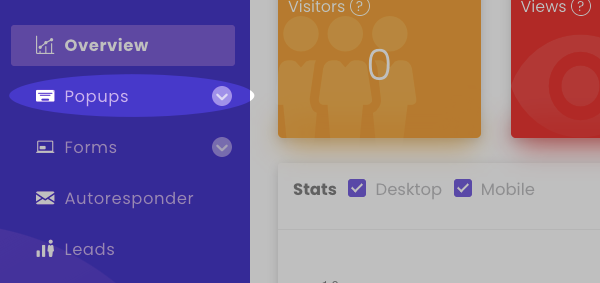
Click the "Popups" or "Forms" tab to get started creating a form. In this example, we are going to create a pop-up.
-
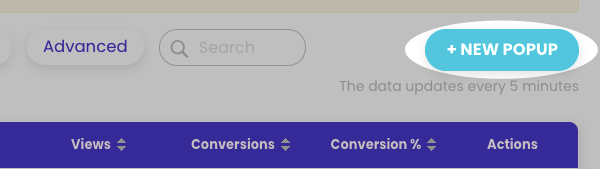
Click the "New Popup" button.
-
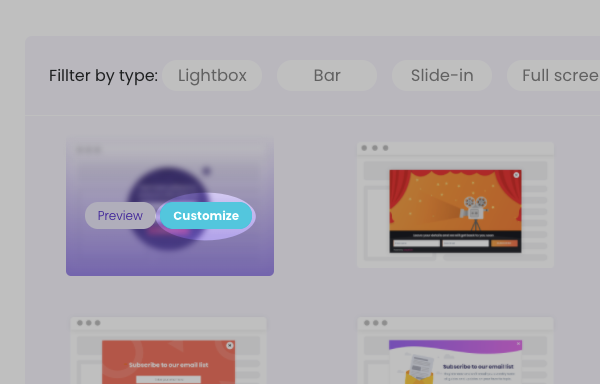
Hover over the form template you want to use and click "Customize."
-
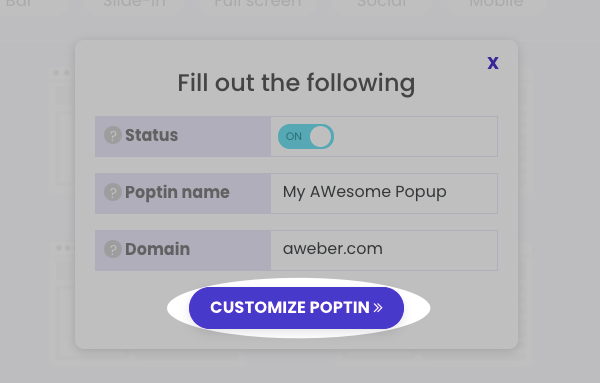
Name your form in the pop-up box that appears and click "Customize Poptin" to continue.
-
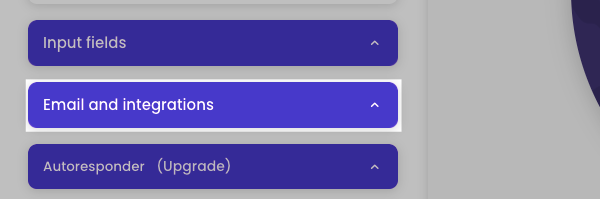
Select the "Email and integrations" tab from the left-hand side of the editor.
-
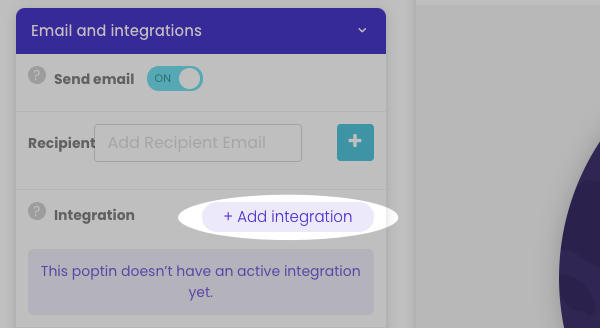
Then, click "Add integration."
-
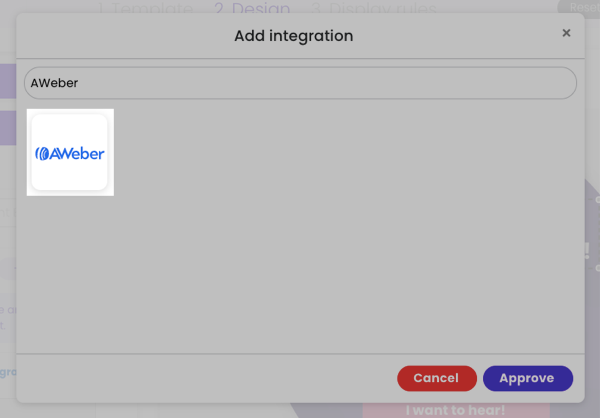
In the "Add integration" window, search for AWeber from the available options.
-
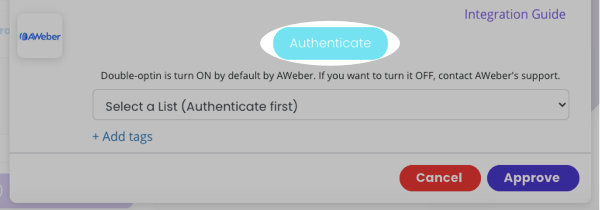
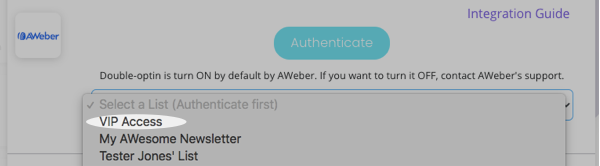
Next, click "Authenticate" to authorize the integration.
-
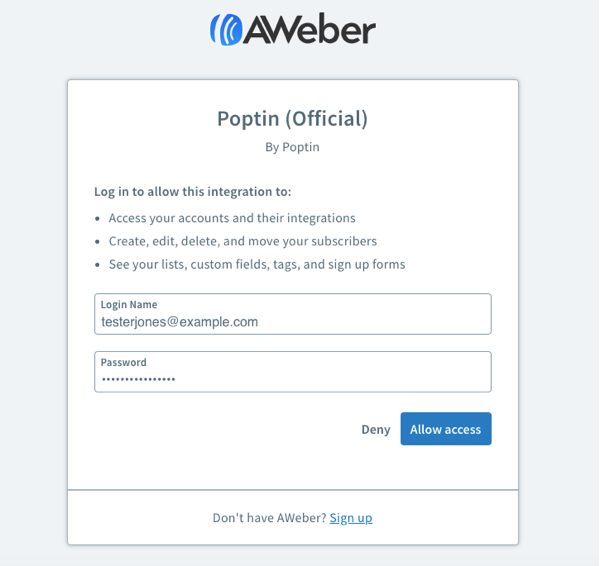
You will have to allow Poptin to access your AWeber account information, including your lists and subscribers. Enter your login credentials and click "Allow Access."
-
Select the list you want subscribers added to from the drop-down menu.
-
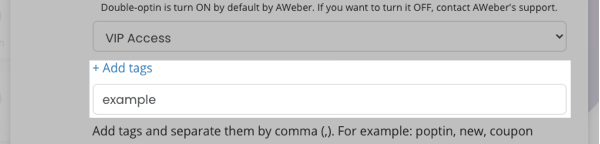
Click "Add tags" to add any tags you want, separated by commas.
-
Once complete, click "Approve."

And that's it! Your Poptin form is now connected to your AWeber list. Visitors who fill out the form will be added to your list with any tags you have added.