
Sending a survey to your subscribers to collect their feedback can be a valuable aspect to your campaign. Integrating with Customer Thermometer enables you to send out a survey in your messages to collect more information on your subscribers. Find out how your subscribers are feeling or get them to rate your newsletter. In this article, we will review how to integrate Customer Thermometer with AWeber.
Step By Step Instructions
-
Once logged into your Customer Thermometer account, click the "Thermometers" tab.

-
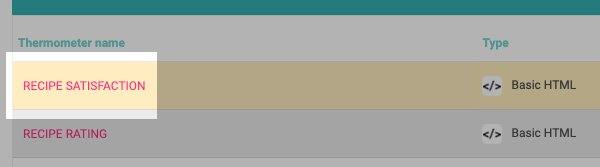
Access your Thermometer settings by selecting the Thermometer name.
-
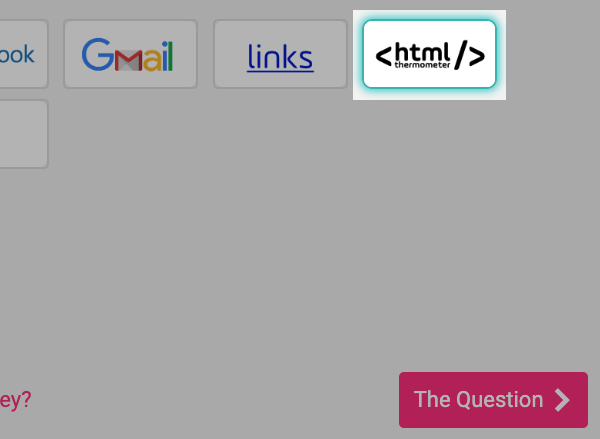
From the "Integrations" menu, choose "html thermometer" and click "The Question".
Note: The remaining settings of your "Embedded Thermometer" can be updated by moving through the steps at the bottom right of the page.
-
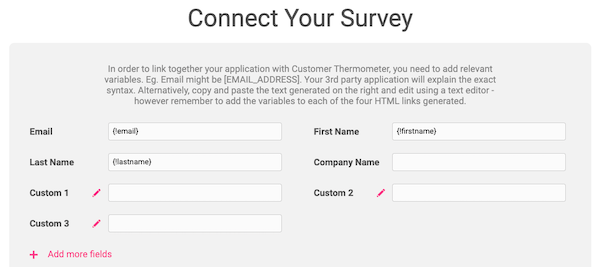
Once on the "Connect Your Survey" step, add any custom fields of personalization needed for your survey. If custom fields are not needed, leave the default fields provided and proceed to the "Thank You Page" settings.
-
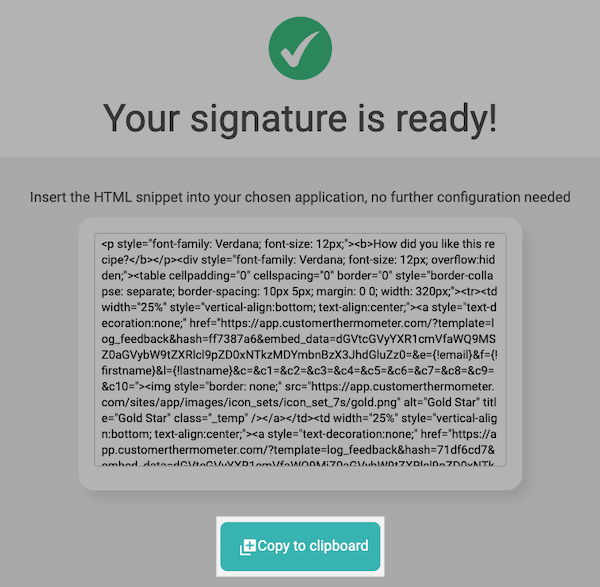
The final step of the setup will take you to the "Give me my Thermometer" page. The HTML code for your survey will be provided to the right. Copy the code by clicking "Copy to clipboard."
-
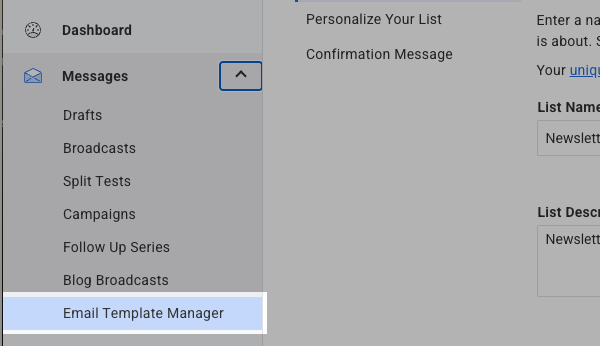
In your AWeber account, access the "Email Template Manager" section. You can access this section by hovering over the "Messages" tab.
-
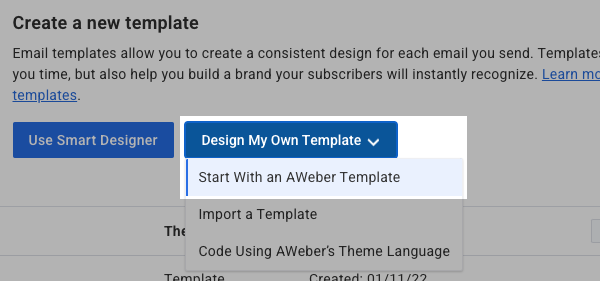
If you need to create a new template, select "Start with an AWeber Template" and proceed with saving your template.
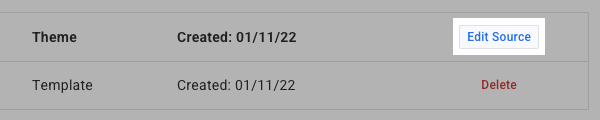
If already have a saved template, click "Edit Source" on the desired template.
-
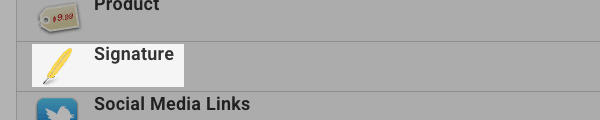
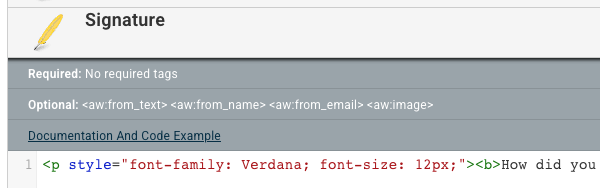
Scroll down in the Template Manager and click on the "Signature" section.
Note: If your signature block was already customized under the "Personalize Your List" section of your list, adding the Customer Thermometer HTML here would not override what you have already written. You can use another one of the blocks in the template manager instead. Updating the block with the Customer Thermometer HTML will use that survey each time.
-
Paste in your previously copied HTML code from Customer Thermometer and click "Save".
-
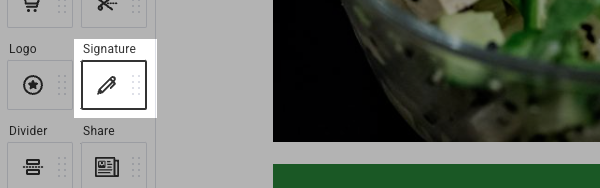
Now you can access a draft message with your template loaded. Drag the "Signature" block into your message.
That's it! Now your message will contain your survey as created in Customer Thermometer. You will be able to see the results under "Reporting" of your Customer Thermometer account.
