
In this article, we will review how to integrate LiveAgent with AWeber. LiveAgent is a web-based online application with multi-channel support. What this means is that you can manage multiple avenues of support (email, voice, live chat, Facebook, Twitter, contact forms) all from one centralized location. You can now integrate LiveAgent with AWeber.
Through this integration you will be able to tell which list(s) the person that you are providing support for is subscribed to within your AWeber account. On top of that you will also have the ability to unsubscribe them from your list(s). If they are not subscribed to any of your list(s) you will be able to subscribe them with just a click of a button.
Step by Step Instructions
-
Once you are logged into your LiveAgent account click on the "Configuration" icon on left side of the page.
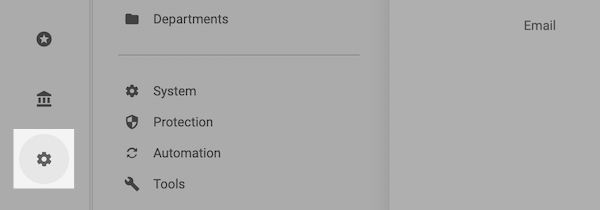
From the options that appear first click on "System" and then click "Plugins."

-
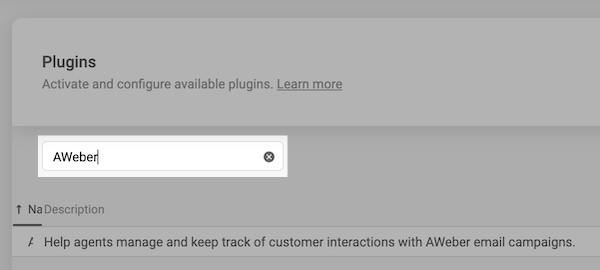
On the next page, search "AWeber".
-
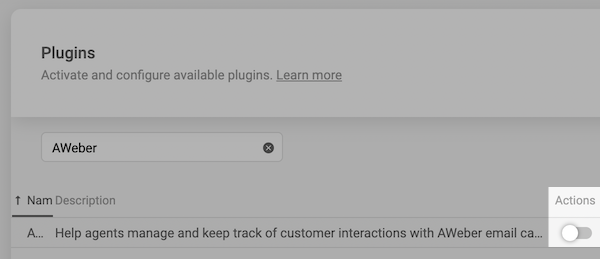
Next to the Plugin, toggle the Actions to "On".
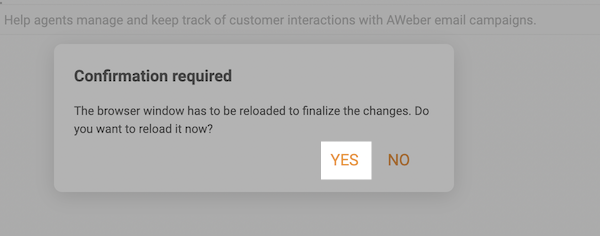
A message will pop up asking if you are sure that you want to activate the plugin. Click "Yes".
-
Click on the "edit" pencil icon next to the "Actions" toggle.

-
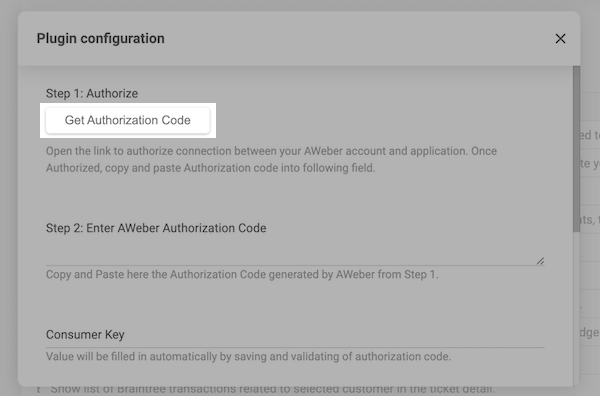
A pop up for "Plugin configuration" will appear. From the pop up you will want to click on the "Get Authorization Code" button.
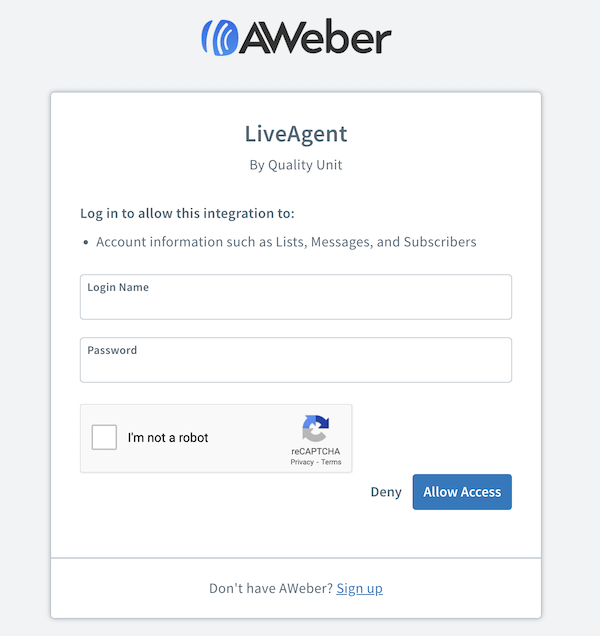
A new window will open asking you to enter your AWeber information. Enter your AWeber login details and then click the "Allow Access" button.
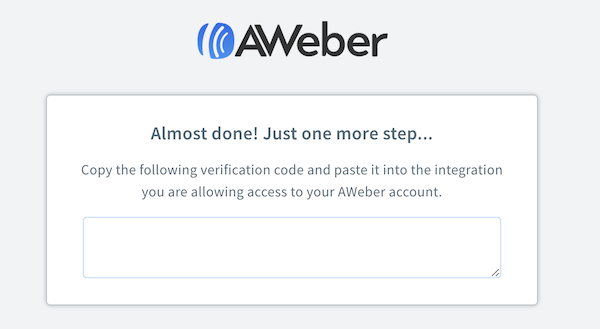
On the next page you will be given an authorization code. Highlight and copy this code.
-
Go back to the window where your LiveAgent account is open. Under the section for "Enter AWeber Authorization Code" paste in the code you got from step 5.
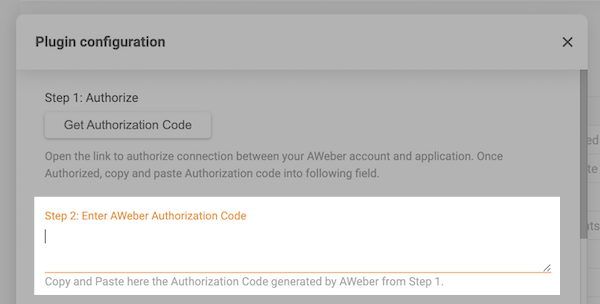
Don't need to worry about filling in the rest as the application will fill that in for you automatically. Scroll down and click the "Save" button.

-
And that's it, the integration with LiveAgent is now complete! This example shows how it would look if you were looking at the subscribers information through a support ticket in LiveAgent. Just click the little AWeber icon to see more details.

Once the icon is clicked you will be able to see each of the lists that the subscriber is subscribed to or the lists that you may want to subscribe them to.
Note: Subscribers that are subscribed through this integration are first sent a confirmation message asking them to confirm into your mailing list. Before they receive any further messages from you they must confirm into the list through the confirmation message. Consider customizing the confirmation message before enabling this integration.