
Animated GIFs are a great way to provide subscribers with something extra in your messages. Not only will they add an extra bit of flair, an animated GIF can better illustrate your point. The article below will walk you through adding an animated GIF to your AWeber message.
Step By Step Instructions
-
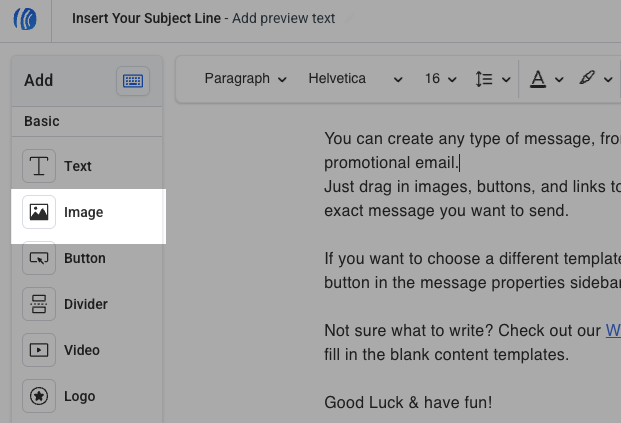
Start by dragging the "Image" block from the left hand sidebar and drop it where you want the image to appear.
-
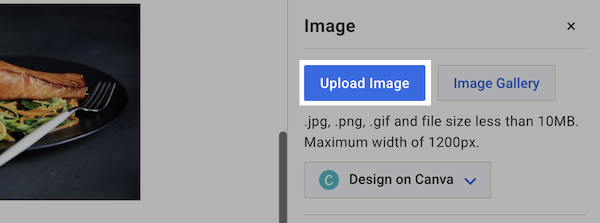
Then, click on the image placeholder and a window will pop up from the right hand side. You can upload a GIF to use, with a maximum size of 10 MB, like a normal image.
-
Once selected, the the GIF will display in the message.
.gif?cb=4811f79d1e83306e4cd310f2933ecedb)
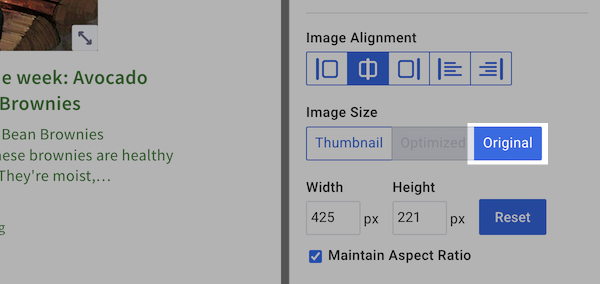
Note: If the GIF is not moving, ensure the Image Size is set to "Original".
-
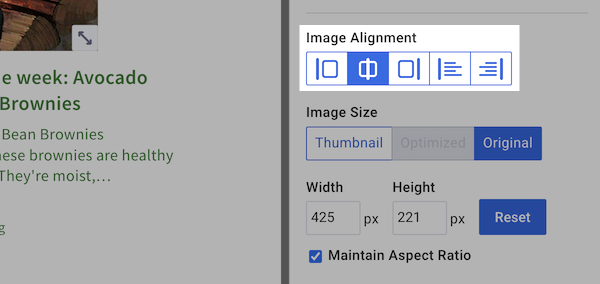
You can adjust the placement of that GIF by clicking the "Image Alignment" option in the toolbar options.
Note: Most email providers will display GIFs automatically, but there can be some rendering issues if any subscriber is using an outdated version.
Congratulations! You've added an animated GIFs to your message. You can continue editing the message and get ready to send it to your subscribers.
For a complete walkthrough on creating and sending a message from start to finish, see our how-to video and watch the message editor in action:
Need help designing your messages?
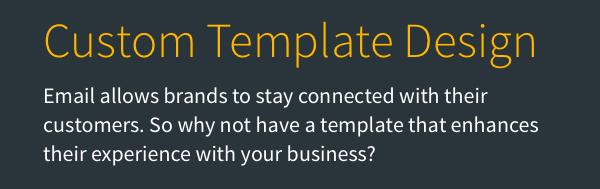
AWeber offers hundreds of templates for you to use. If you need modifications to an existing template or a custom template built to reflect your branding, our Template Team is here to help. We're happy to modify existing templates or design a custom template tailored to your needs.
Ready to enhance your email campaigns with stunning designs? Reach out to our Template Team today!