With Automations, you have the option to start certain actions based on how a subscriber interacts with your message. In this case, when a subscriber clicks a particular link you can have a tag applied, removed, and can stop subscribers from receiving workflow messages with that tag.
Note: If you are using AWeber’s sales tracking in your list, and have the analytics javascript installed, automations will not start for that URL.
Adding a Link Clicked Automation
-
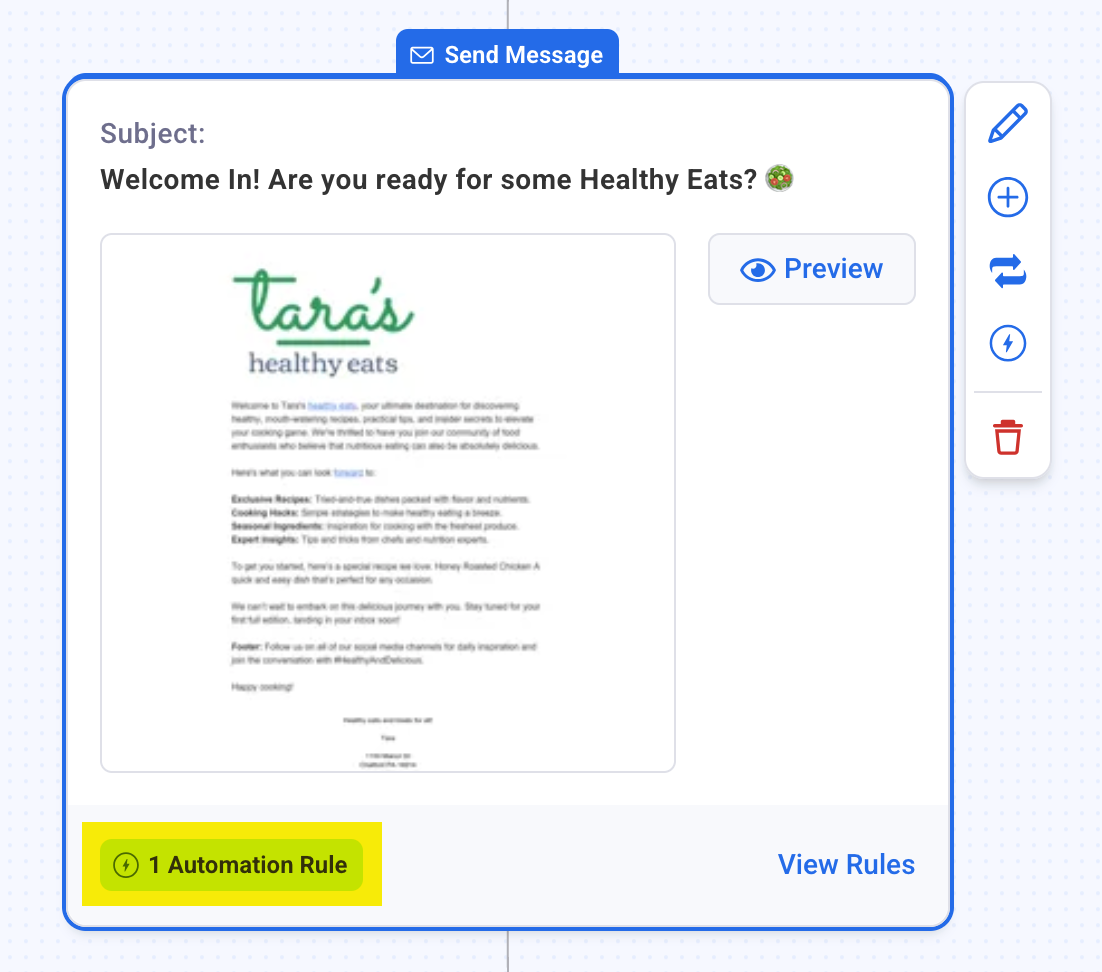
Once you've set up your workflow, click the "Automation Rules" button in the Send Message action you'd like to use for this Automation.
-
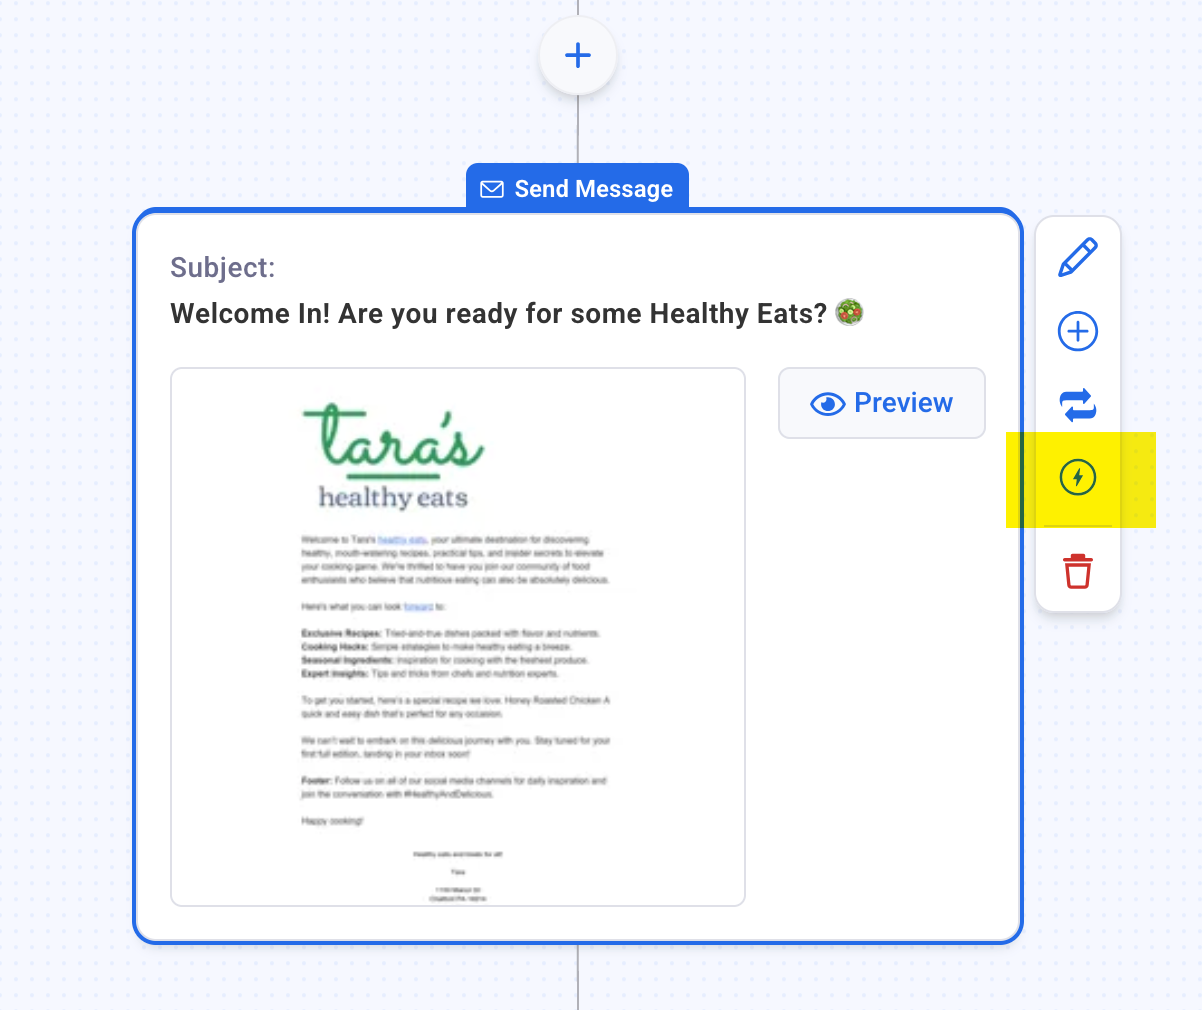
Click the Automation icon in the right hand Settings menu.
-
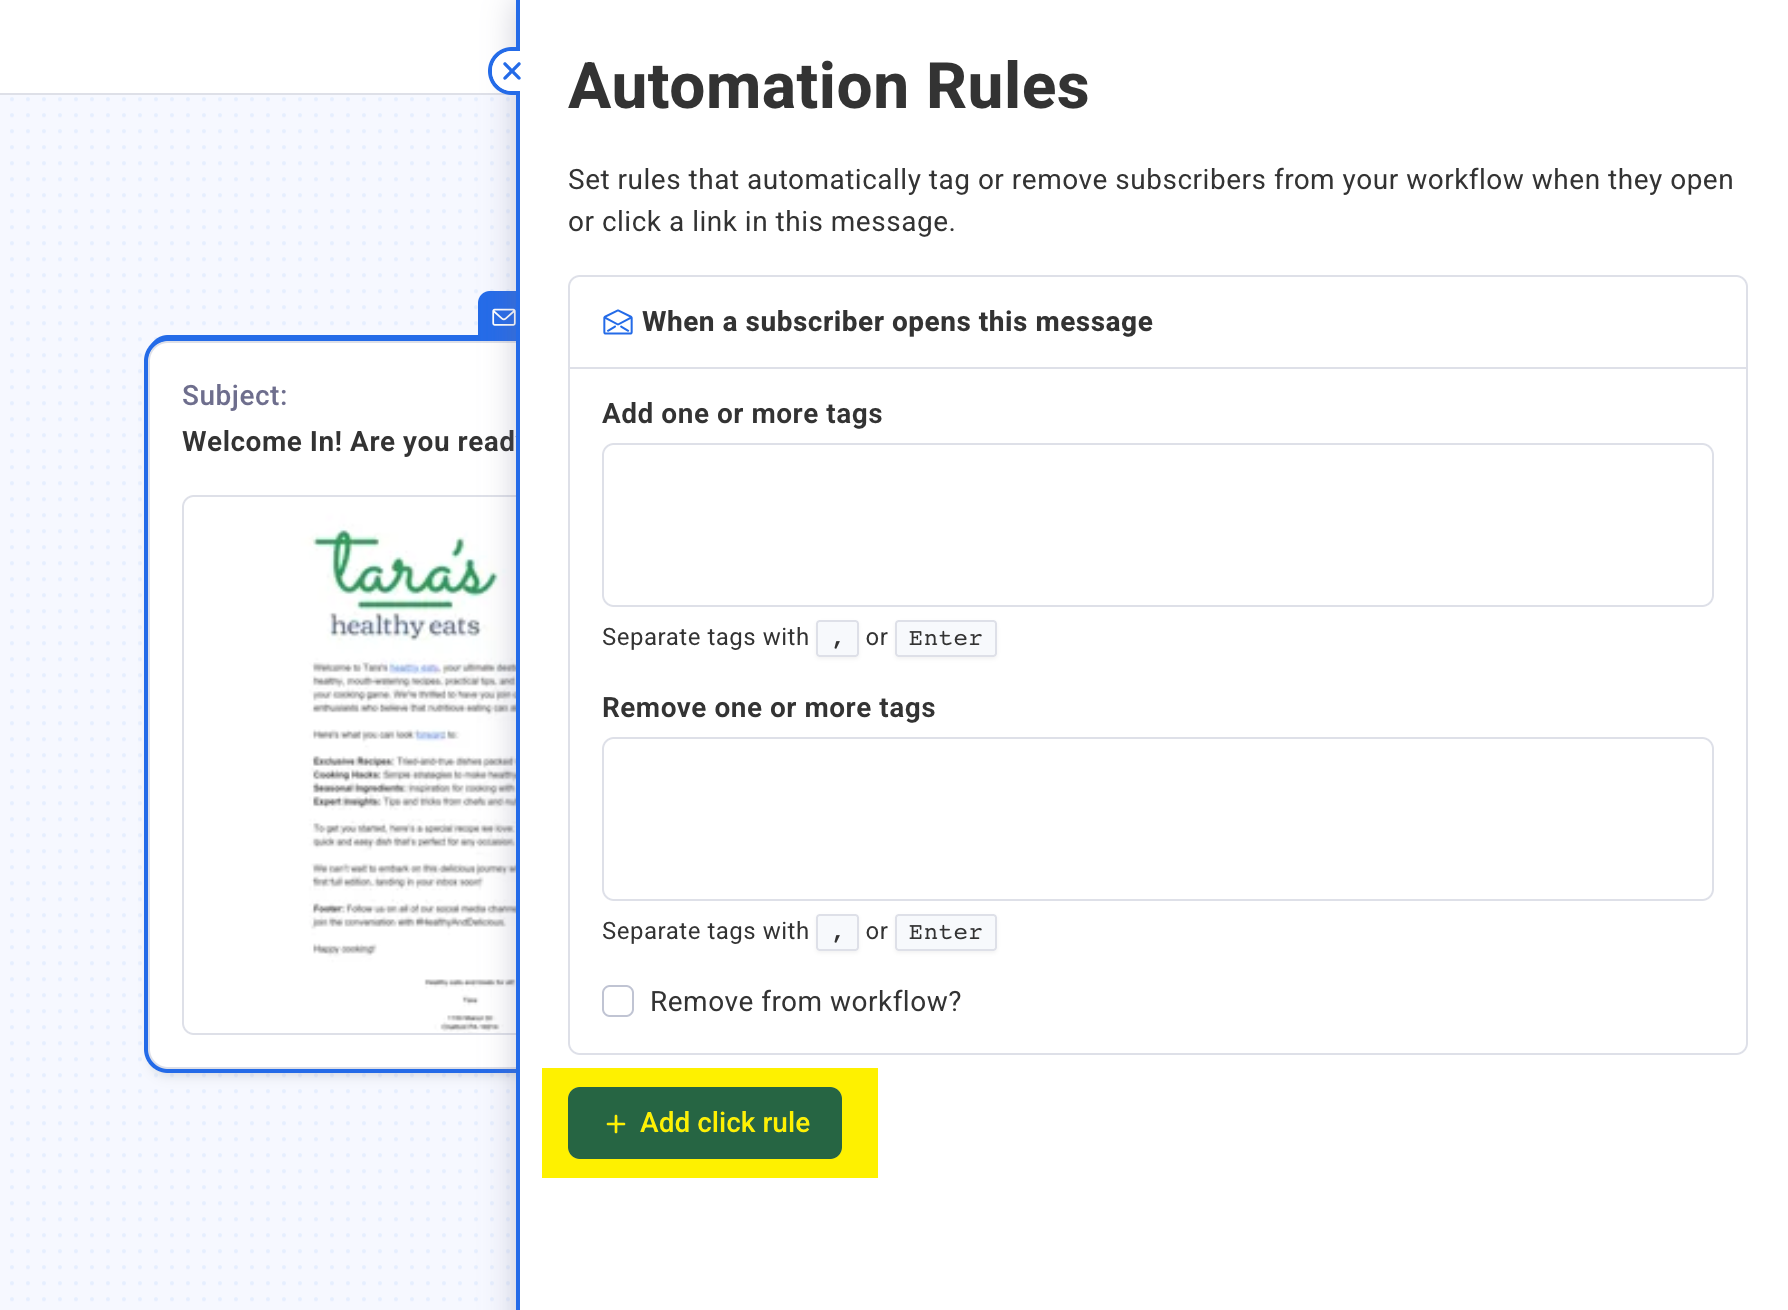
From the Automation Rules panel, click the "Add click rule" button.
-
Then, select the desired link(s) by checking the box next to the URL. If you'd like to add multiple click rules, simply click the "Add another click rule" button to set that up. Once complete, click the Automation Rules panel.
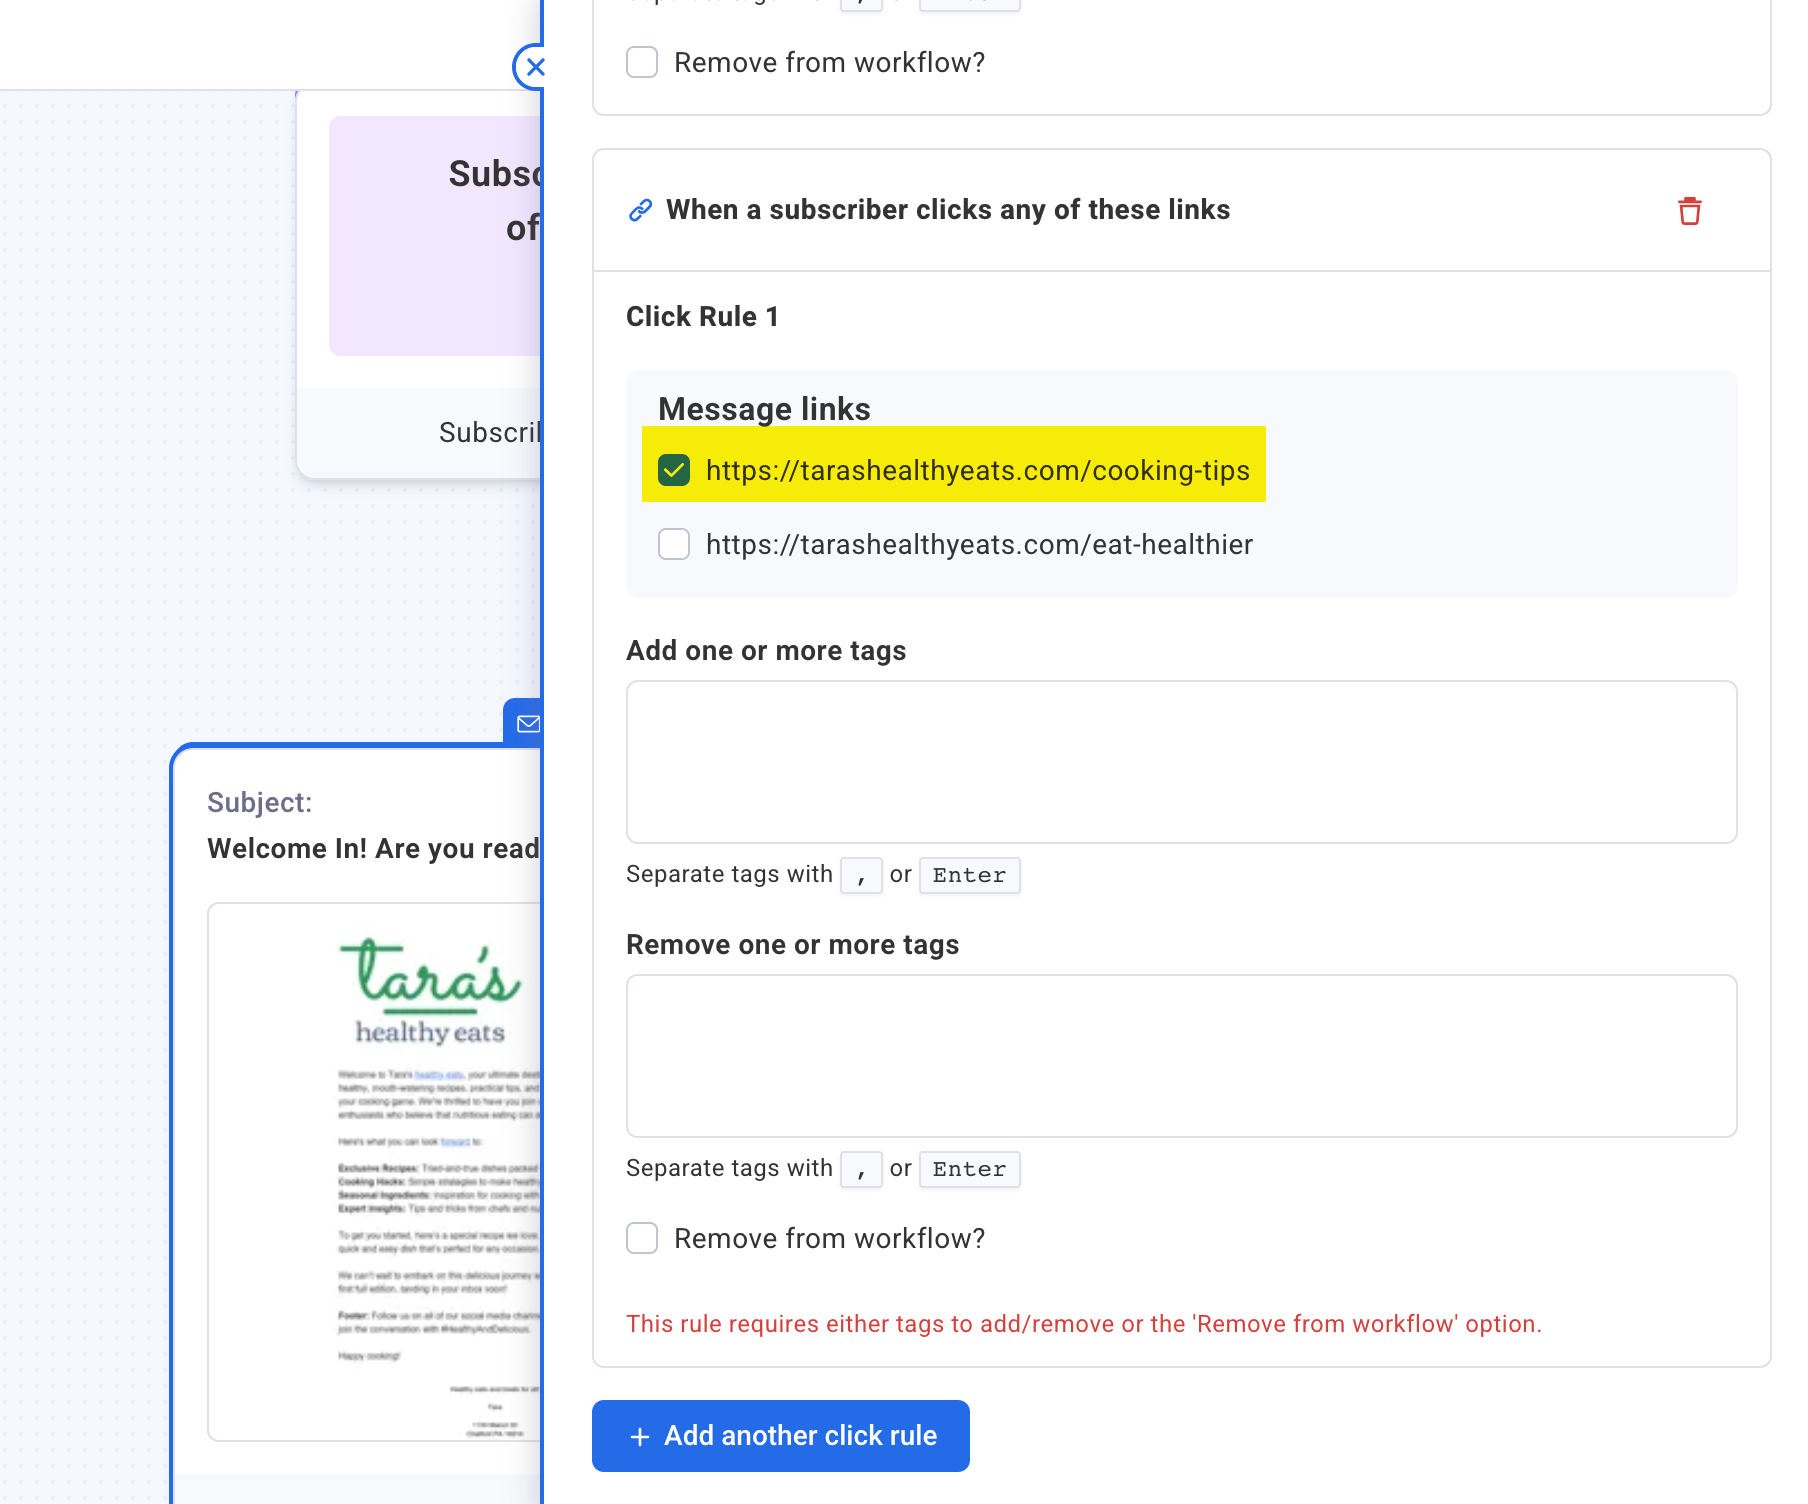
-
From the Add tags or Remove tags sections, add your tag to take your desired action after your subscriber clicks your link.
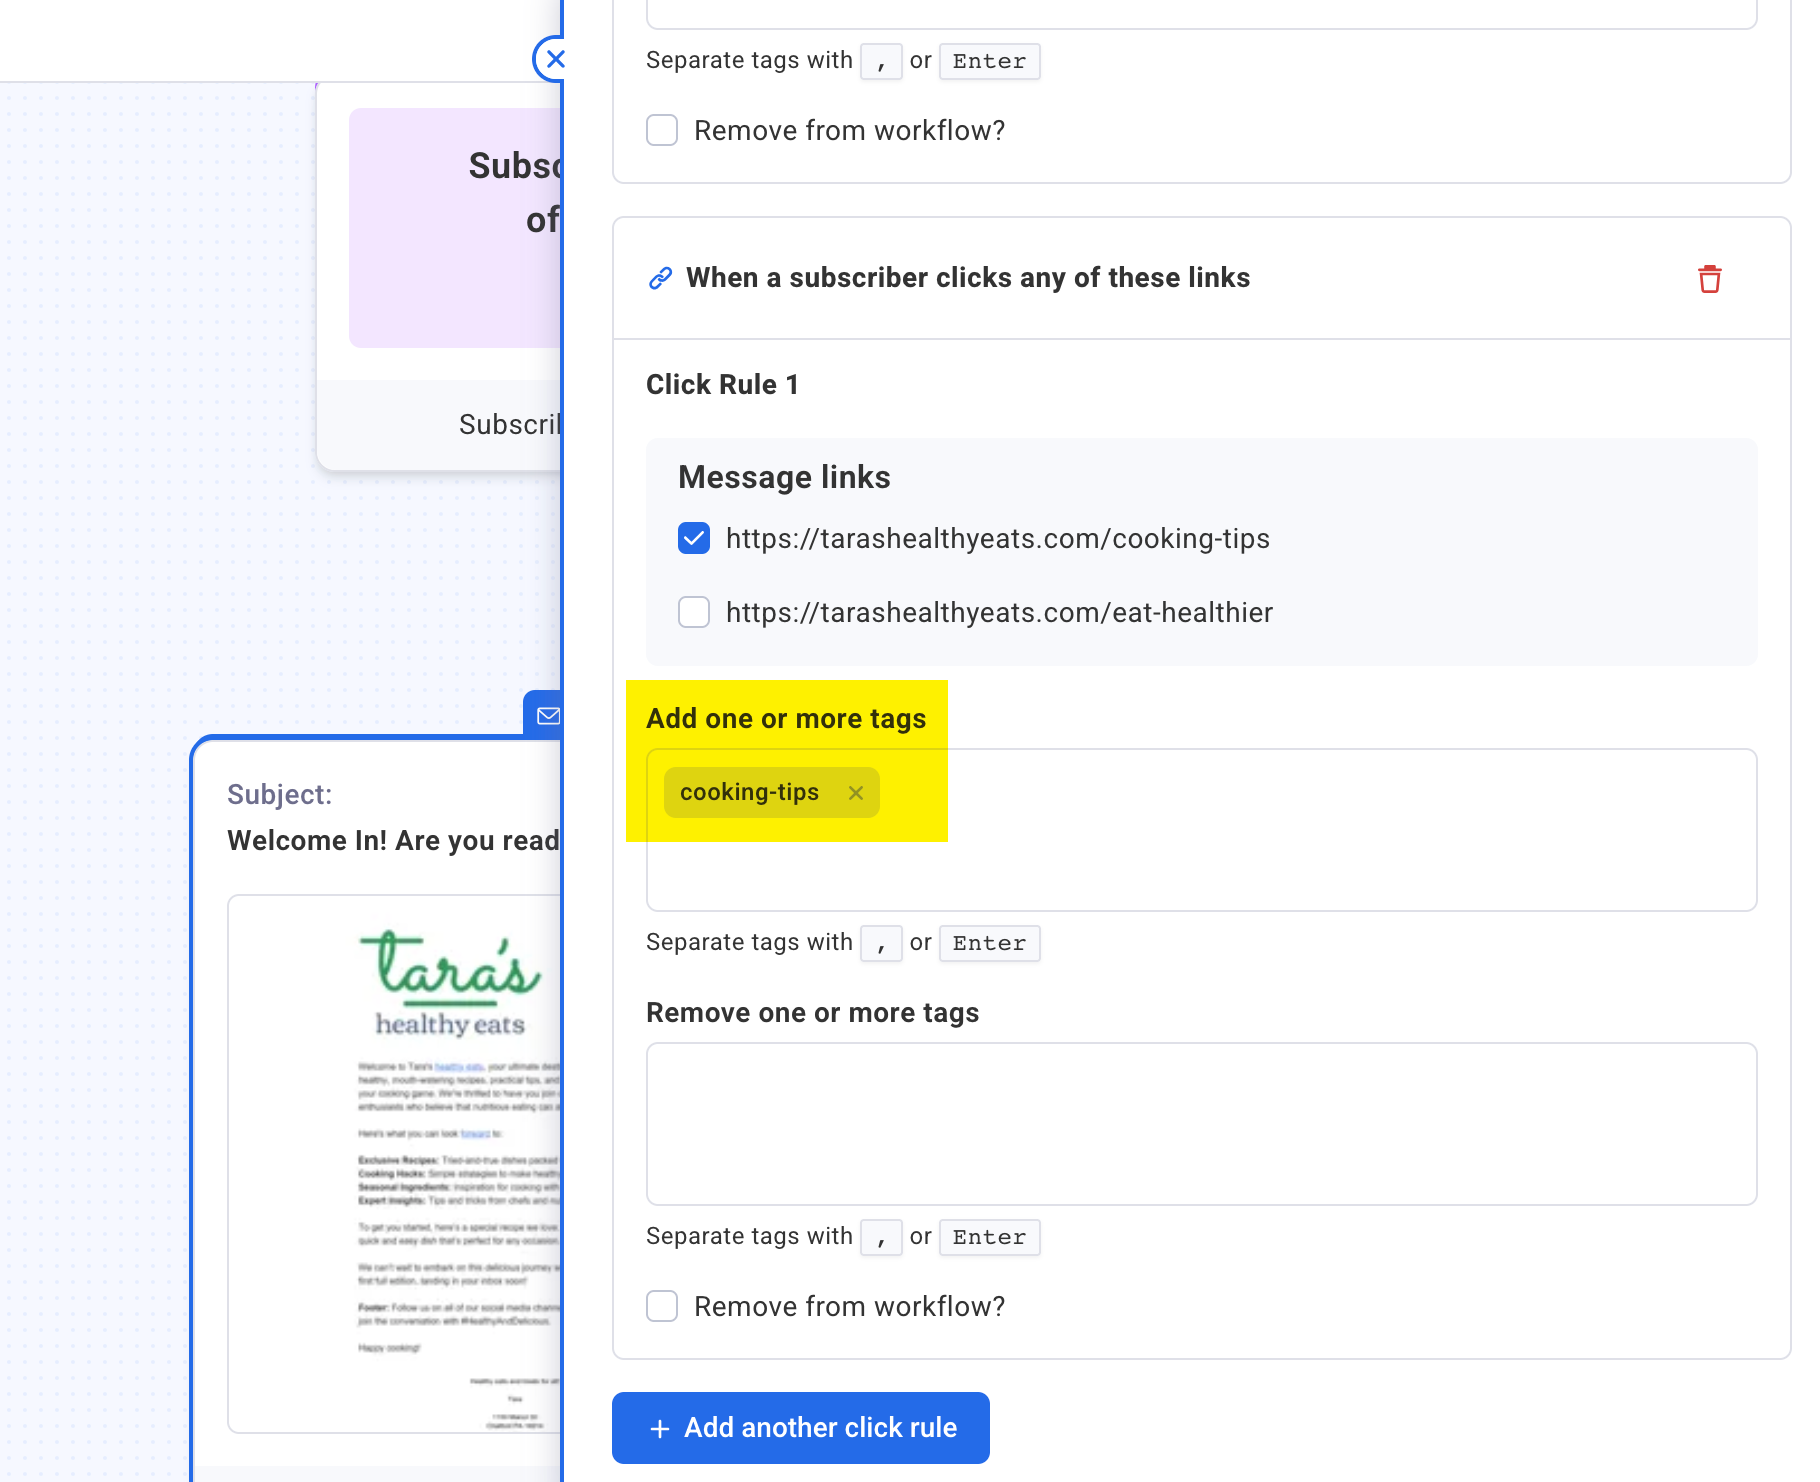
-
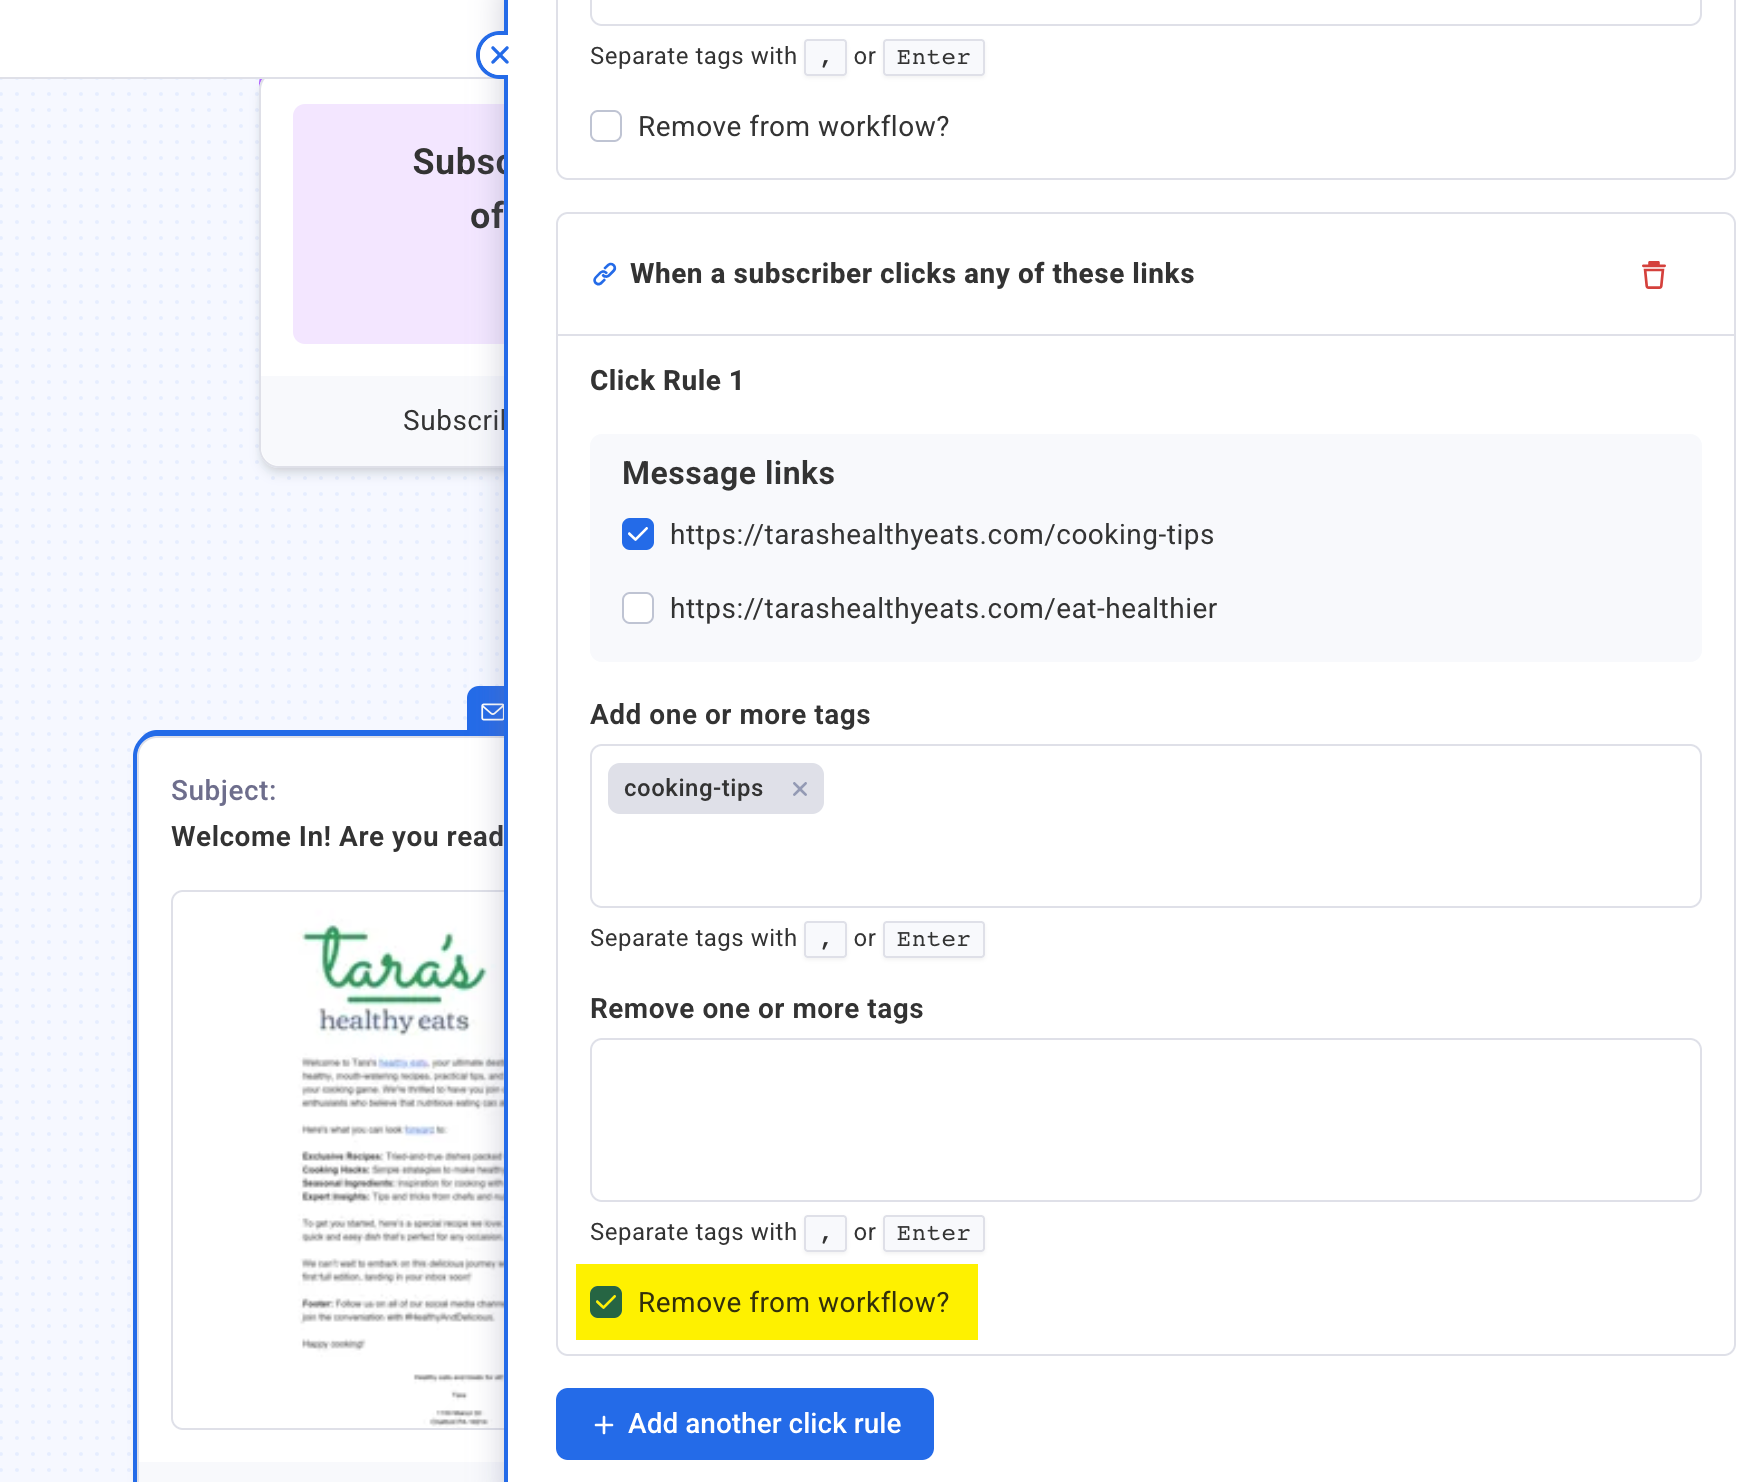
If you would like to remove a subscriber from the workflow, check the box for "Remove from workflow?". Once complete, click the Automation Rules panel
All messages that include open or click automations will display a notice in the workflow builder.