
AWeber's drag-and-drop landing page builder uses elements that you can click and drag to customize your page layout. Each element serves a specific purpose and can be positioned anywhere on your landing page.
How to Use Elements
Dragging Elements: Click and hold any element from the left sidebar, then drag it onto your landing page canvas. A blue highlight or line shows where the element will be placed.
Moving Elements: Click the Move tab (left side of any placed element) to reposition elements on your page.
Available Elements
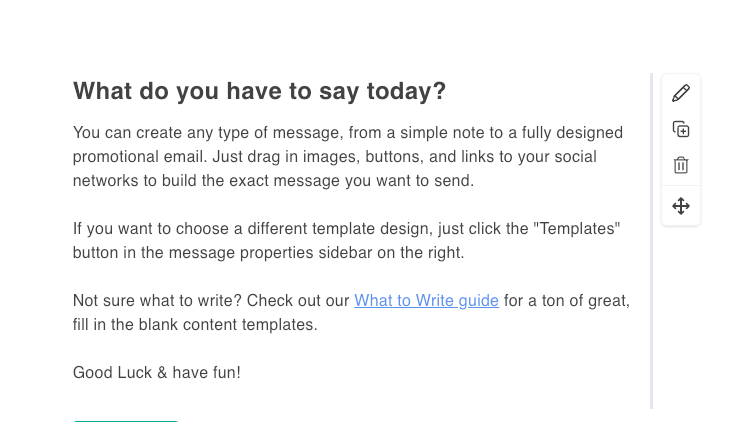
Text

Use the "Text" element to write paragraphs of content.
-
Use the font bar above the text to set headings, format your text and add images
-
Highlight text for quick formatting
-
Learn how to write even faster with markdown and keyboard shortcuts.
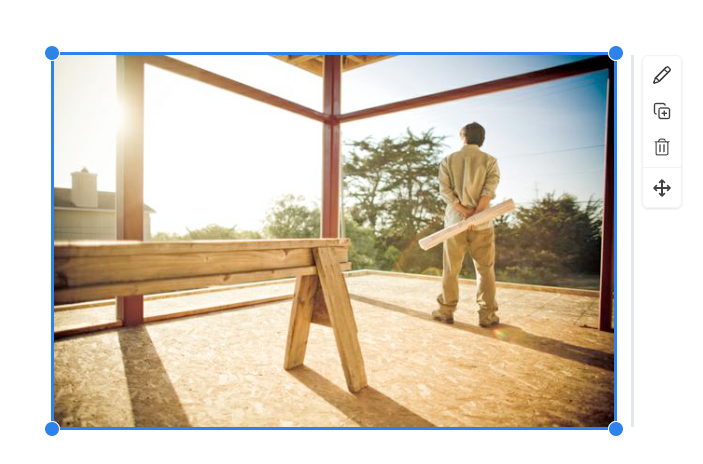
Image
Use an "Image" element to add add images and gifs to your message. Click to show the image settings to the right where you can:
-
Upload files from your computer
-
Search the image gallery
-
Create an image with Canva
-
Read these guidelines to learn how to use images in your email
Button

Use the "Button" element to create a clickable button. Click to see the button settings to the right where you can:
-
Edit the button copy and hyperlink
-
Customize the look and feel.

Divider

Use the "Divider" element to add a visible separation between elements with dotted, dashed, or solid lines. Click to setup the look and feel in the settings to the right.
-
Use the top and bottom padding to add space above and below your line
-
You can set your style to none if you'd like to create a blank space between elements

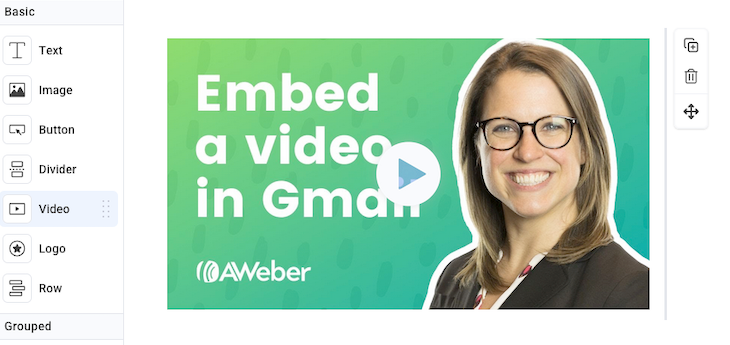
Video

Use the "Video" element to add a YouTube or Vimeo videos to your message. Click to show the video settings to the right where you will add the link to your video.
-
This will display a screenshot of your YouTube or Vimeo video and hyperlink the image to the URL of the YouTube or Vimeo video.
Row

Use the "Row" element to add a new row in your message. You can fill that row with any of the other blocks, such as images, text, headlines, etc. You can even add columns to add different blocks side by side.

Form
The sign-up form element that connects to your AWeber lists. Customize fields, button text, and thank you pages through the form settings. Thank you page and tag settings are located in the “submission” tab of the form settings.

Social
Use the "Social" element to link out to different social media profiles. Click to see the social settings to the right where you can add the links to your profiles.

Pop-up
Creates pop-up overlays that appear over a darkened background.

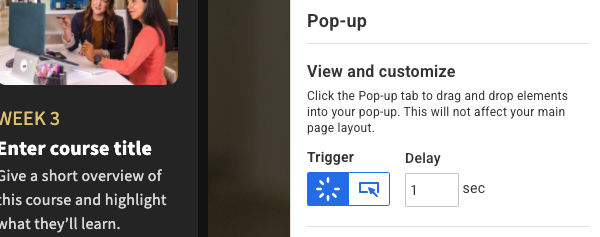
The pop-up form can be triggered based on a button being clicked, or a certain amount of time passing. To edit this, first click on the pop-up element.
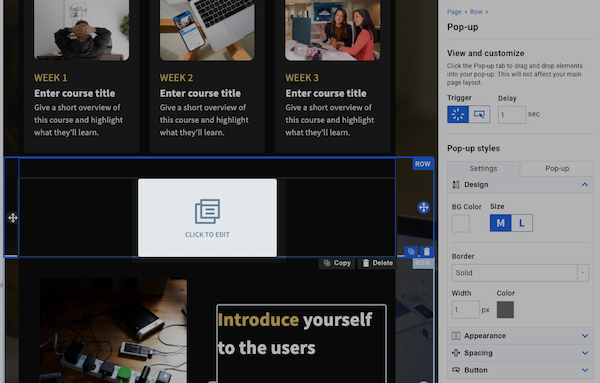
Once the element is selected, choose your trigger in the pop-up settings on the right.
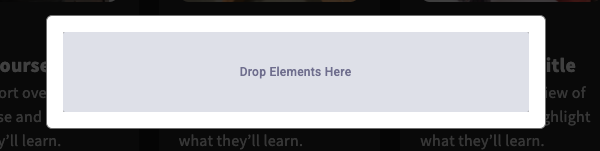
To access the pop-up itself, click on the “Pop-up” tab in the pop-up settings.
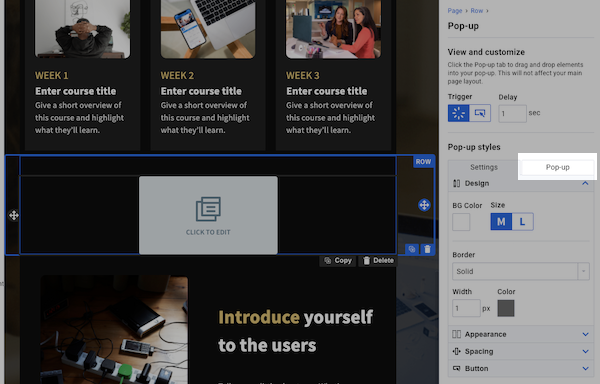
You’ll then be able to place elements in the pop-up, such as a form.
Ecommerce
Enables product sales directly from your landing page. Sell eBooks, webinar access, memberships, and digital products.
For more information about the Ecommerce element, see: Using the Ecommerce Element
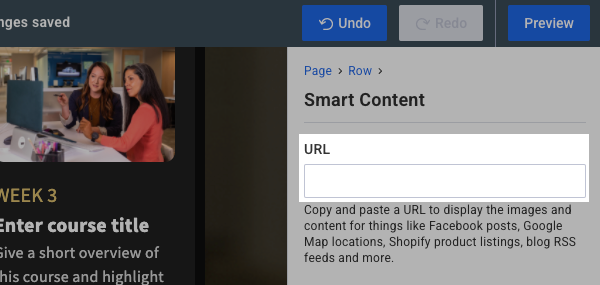
Smart Content
Displays embedded content using a link.
There are many awesome ways you can use the Smart Content element to create an amazing landing page, and here are some top choices you can consider adding:
|
Video |
Audio |
Photos |
Products |
Other |
|
|
|
|||
|
|
|
|||
|
|
|
|||
|
|
|
|||
|
|
|
|||
|
|
|
|||
|
|
|
|
||
|
|
|
|
|
That's not all! There are many more supported platforms that will work with this element, too.
After adding the smart content element to your page, simply add your URL in the smart content settings on the right. After adding your URL, your content will be displayed in a dynamic, embedded card directly on your landing page.
Can I add custom HTML using Smart Content or add custom HTML to elements of my landing page?
While AWeber's landing pages don't support adding custom HTML code through Smart Content or other elements, Smart Content offers a powerful and user friendly alternative for embedding rich media on your pages. This element streamlines the process by automatically converting URLs from popular platforms like YouTube, Spotify, Instagram, TikTok, SoundCloud, and many others into beautifully formatted, embedded cards - no coding required. Simply paste your content URL into the Smart Content settings, and the platform handles all the technical work for you, creating a polished, professional appearance that's responsive across all devices. This approach not only saves time but also ensures your embedded content displays correctly and maintains optimal performance, allowing you to focus on creating engaging landing pages without needing to manage HTML code or worry about compatibility issues.