
After setting up your domain-based email address, it's essential to add and verify it within your AWeber account to ensure you're authorized to send emails from this address. This process not only authenticates your sender identity but also enhances email deliverability and compliance with email service providers' requirements.
Step 1: Add Your Email Address
-
Navigate to the domains and addresses page in your account.
-
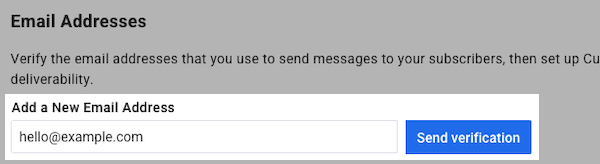
Enter your domain-based email address (e.g., you@yourdomain.com) in the “Add a New Email Address” field and click “Send verification” to add your email address.
Step 2: Verify Your Email Address
-
Check the inbox of the email address you just added.
-
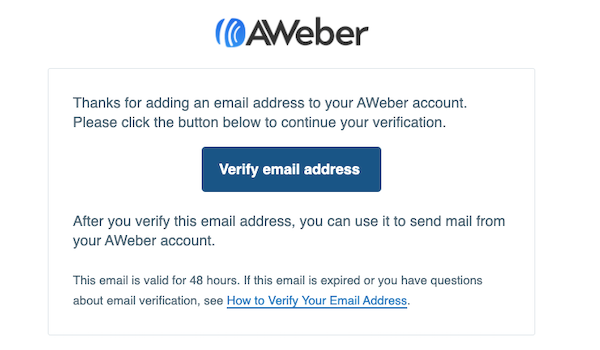
Look for a verification email from AWeber (sent from help@aweber.com).
-
Open the email and click on the "Verify Email Address" button.
Note: If you don't receive the verification email within a few minutes, check your spam or junk folder. If it's not there, you can resend the verification email from the "Domains and Addresses" page by clicking on "Resend Verification" next to your email address.