
Landing pages are a great tool to help grow your list, offer an incentive, and promote your products and services. With the landing page editor, you can customize the design of your page to match your company branding. If you're not sure how to get started, we have instructions on how to create a landing page.
In this article, we will detail how to configure your domain so that it can be used for a landing page. If you don't have your own domain, you can still customize your landing page URL. Customizing your landing page URL helps you further brand your page and makes the page more professional.
Step 1: Navigate to Domains and Addresses
Navigate to "Domains and Addresses" area of your "My Account" section.
At the top of the page, you should see an option to add a landing page domain at the top of the dashboard.
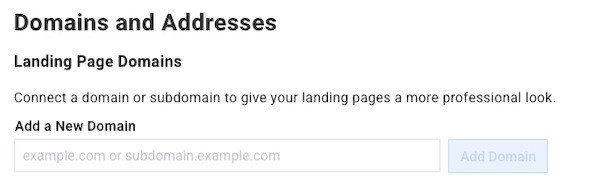
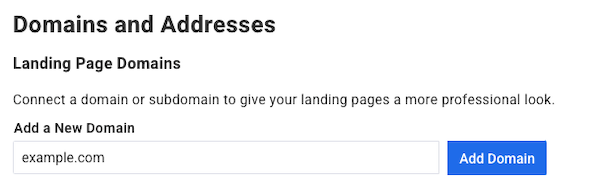
Step 2: Enter Your Domain
Enter the domain you would like to use with your landing pages.
Note: If the domain you would like to use is already an established website with content on it, you should add a subdomain to the URL you provide here. For example, if testerjones.com is already in use with content, you can add a subdomain like landingpage.testerjones.com.
If you proceed to the next step with a domain that already has content on it, your domain will instead point to your AWeber landing page once this process is completed and it will overwrite any content that's already on the page.
Step 3: Configure DNS Records
We will provide you with two DNS records that must be configured through the settings of your domain provider. The instructions for accessing your DNS settings will be different depending on your domain provider. Below you'll find a support article from each of the listed providers which details how to configure custom DNS records within that platform:
If you're not sure how to access those settings within your hosting platform, please contact your domain provider's customer support team.
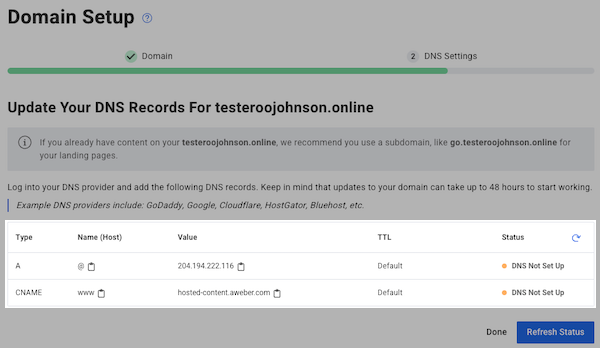
Here is the information you'll need to include in each record:
|
Type |
Name (Host) |
Value |
TTL |
|---|---|---|---|
|
A |
@ |
204.194.222.116 |
Default |
|
CNAME |
www |
hosted-content.aweber.com |
Default |
Note: If you previously entered a domain that begins with 'www.' it will be converted to the root domain within our system and displayed as such. However, you'll need to configure the listed records for both the root domain (example.com) and the subdomain (www.example.com) within your hosting platform. Upon doing so successfully, both URLs will be pointed to your AWeber landing page.
If you entered a subdomain in the previous step (subdomain.example.com) you won't find an A record listed. Subdomains do not require an A record be set.
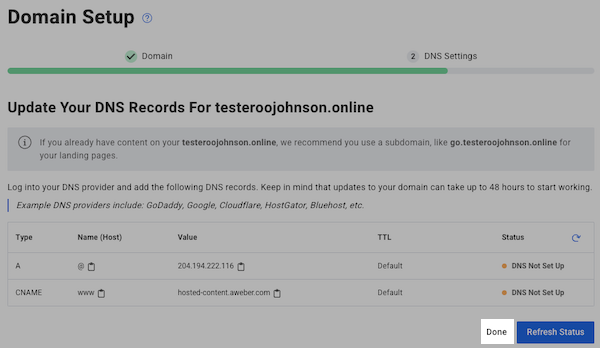
Once you have added those records to your DNS settings, click "Done."
Step 4: Complete DNS Configuration
Keep in mind, it may take up to 48 hours for these changes to propagate and reflect within your AWeber account.
Once complete, you can scroll to the very bottom of the Domains & Addresses page where you'll find any domains that you previously configured.
Domain Status
Each AWeber account allows you to have multiple domains to be connected for your landing pages. For each domain, you'll find one of the following statuses displayed:
DNS Not Set Up: Log into your DNS provider and add the records as instructed in this article.
Finishing Up: We are working to connect your domain. Check back in a little bit.
Connected: Your domain is connected and can be used on your landing pages.
Step 5: Use Your Custom Domain
Now, you've successfully customized your AWesome landing page URL that you can use to begin collecting subscribers for your mailing list! Make sure you set your custom domain as the URL for your landing page within the landing page builder.