
If you're good at using HTML or you're a web designer, our Custom HTML Editor is perfect for you. This tool lets you control how your email looks in detail, ideal for those familiar with HTML.
If you're not familiar with HTML, no worries! Check out our Drag & Drop Email Builder. It’s simple to use, and you don’t need to know coding. Plus, if you need help moving your stuff over from the HTML editor to the Drag & Drop Editor, our team is here to help.
Note: All emails sent using the HTML message editor will automatically include a plain text version of the email.
Step By Step Instructions
-
From the Account Dashboard or "Drafts", click on "Create a Message" and select "Custom HTML Editor" from the dropdown menu.
-
Start by entering the subject line for your message at the top.
-
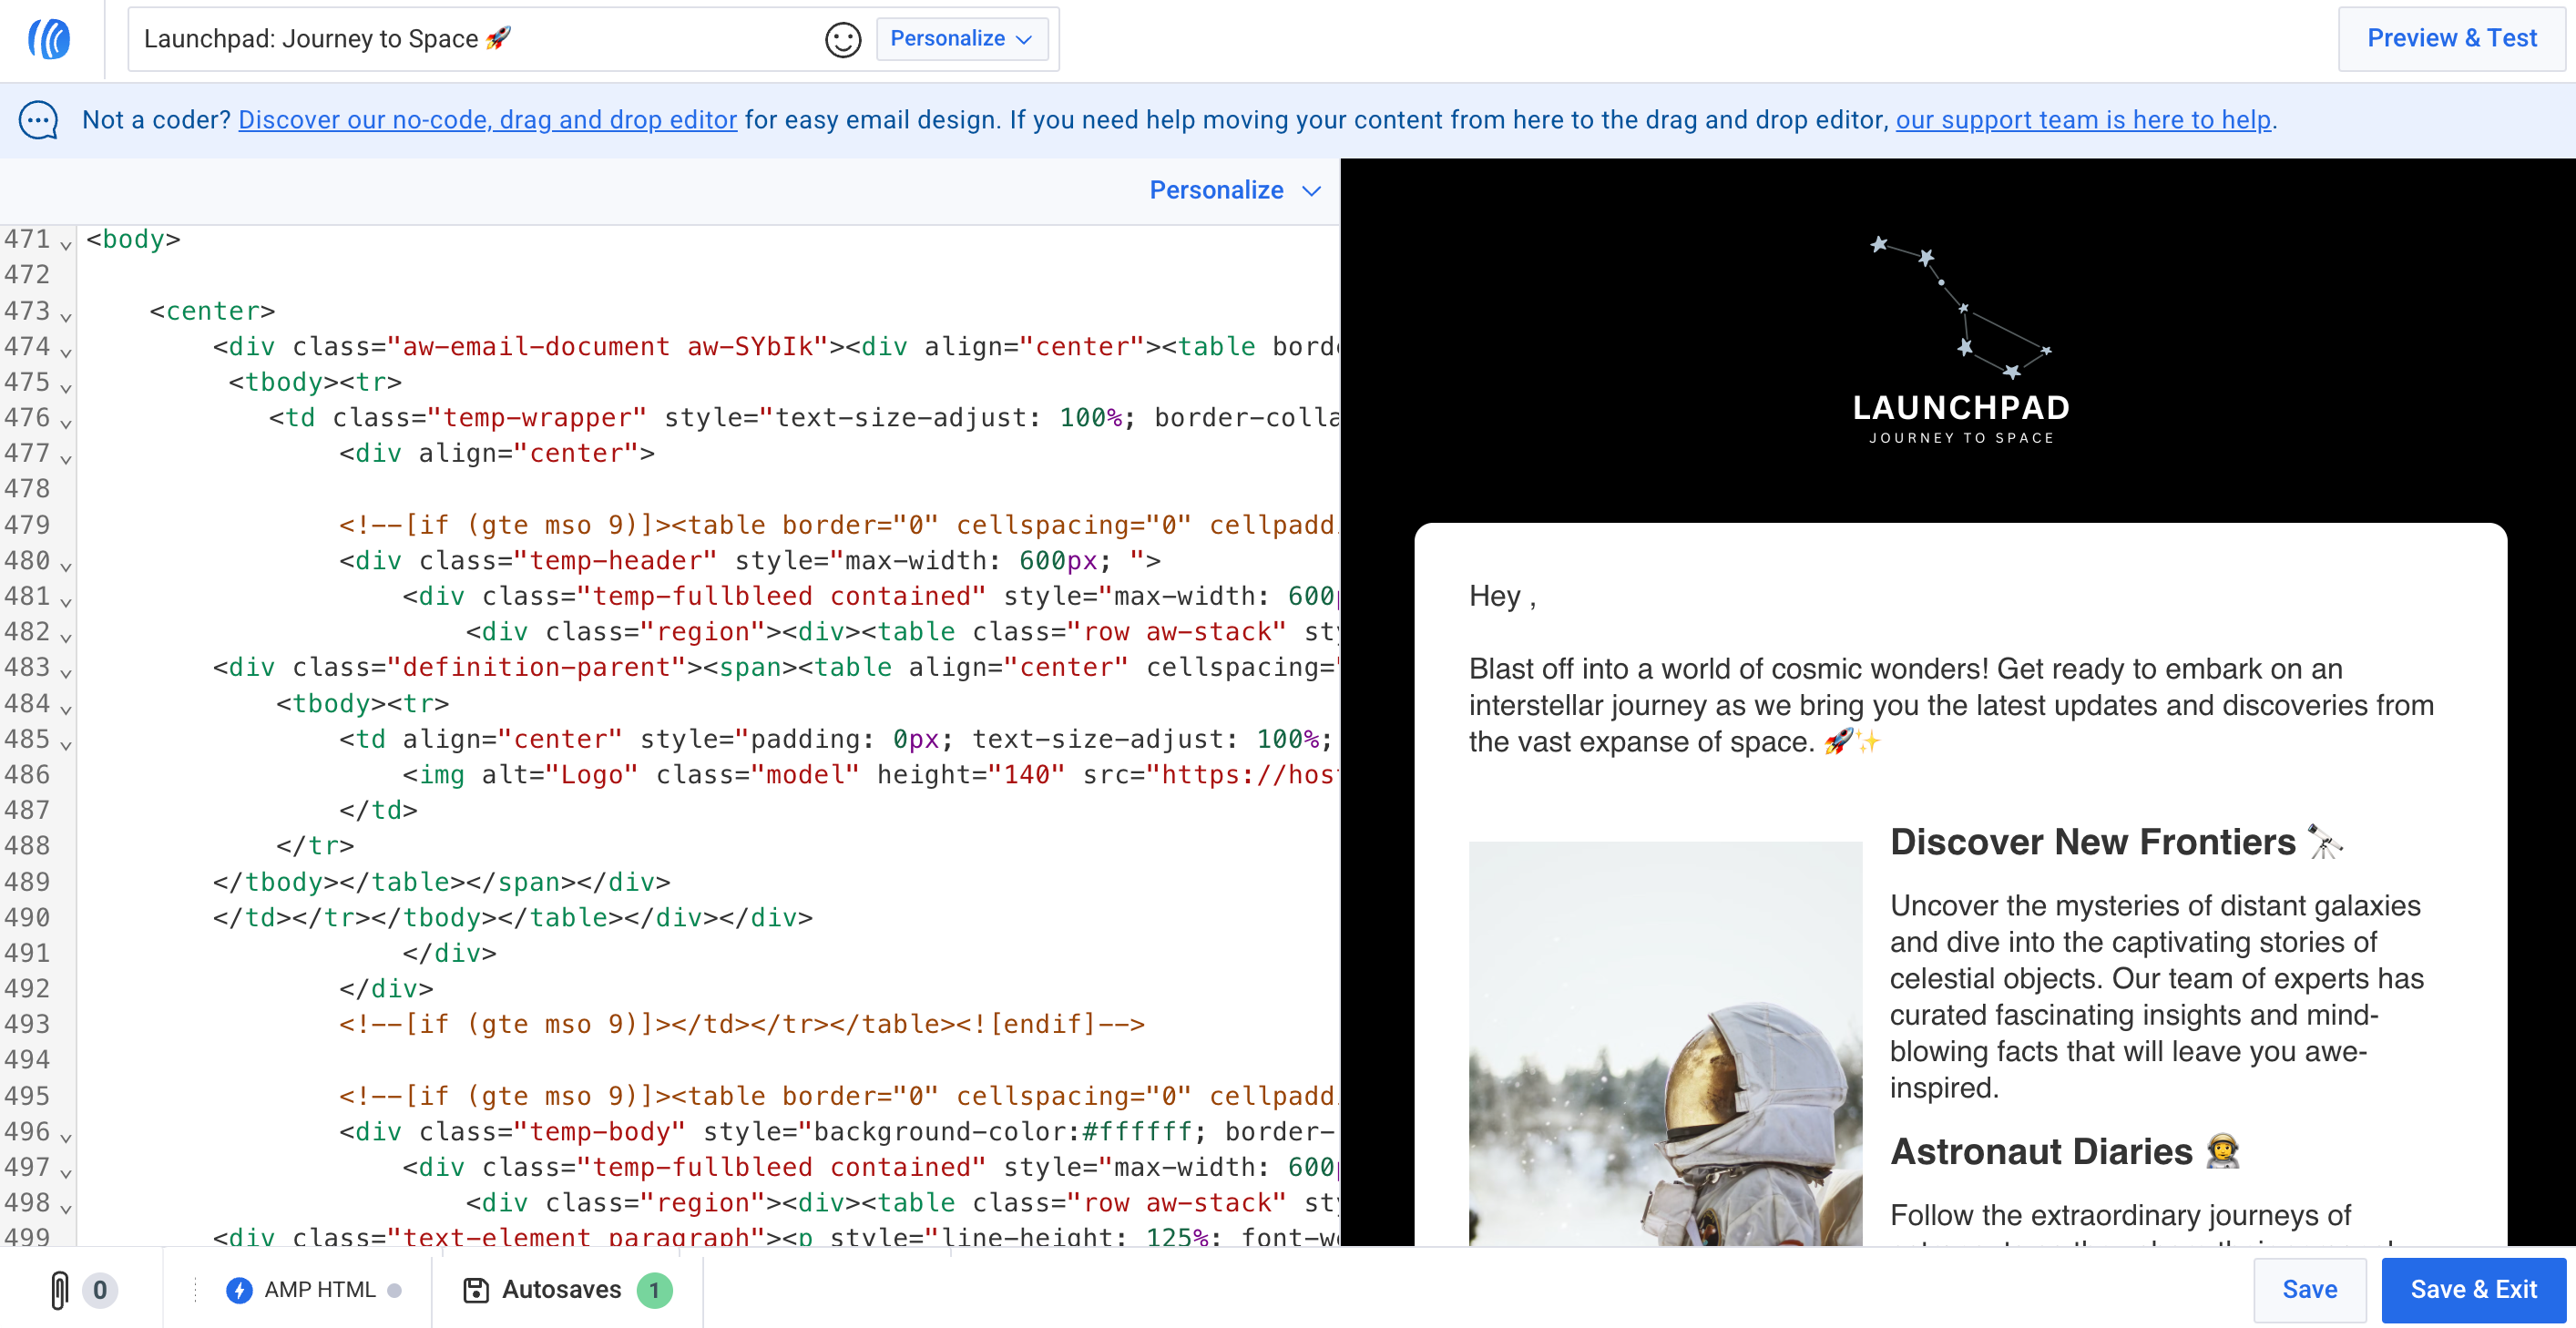
Below the subject line, you'll find the main editor area where you can begin typing or pasting your HTML code.
To personalize your email, click on the desired part of your HTML code where the personalization should appear. Select the "Personalize" option from the top-right corner of the editor. This will open a dropdown menu with various personalization variables that you can insert into your HTML.
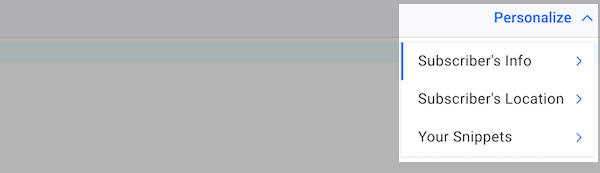
Each of the drop-down options expand to show more personalization variables.
-
Once you have finalized your HTML code and personalizations, click "Save & Exit" to save your work.
-
To schedule or send your message, click the "Schedule" button.
And that's it! With the "Custom HTML Editor", you can effectively create customized and engaging emails for your audience.