
Split tests are a great way to test different subject lines or message content to increase subscriber response rates.
In this article, we will review the necessary steps to create a split test and schedule your messages.
Note: This feature is not accessible on the AWeber Free plan. Upgrade your account to unlock this feature and many more, or contact our Customer Solutions team.
Further instructions on how to upgrade your account if needed can be found here.
Step By Step Instructions
-
To create your split test, first click the "Messages" tab and select "Split Tests."
-
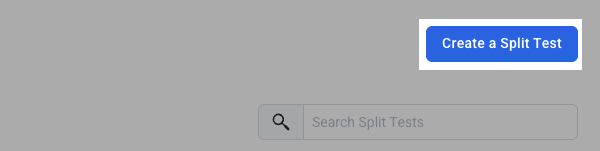
Once there, click the blue "Create a Split Test" button to the right of the Split Tests heading.
-
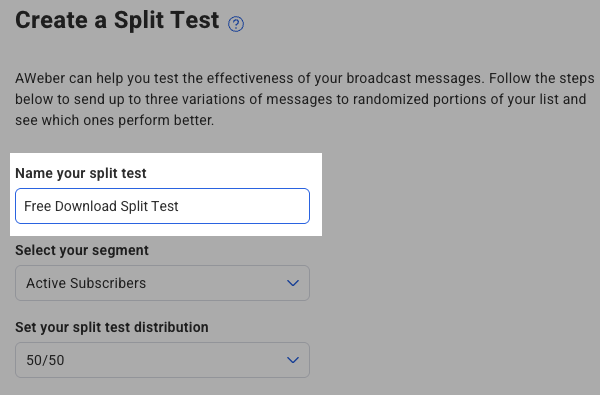
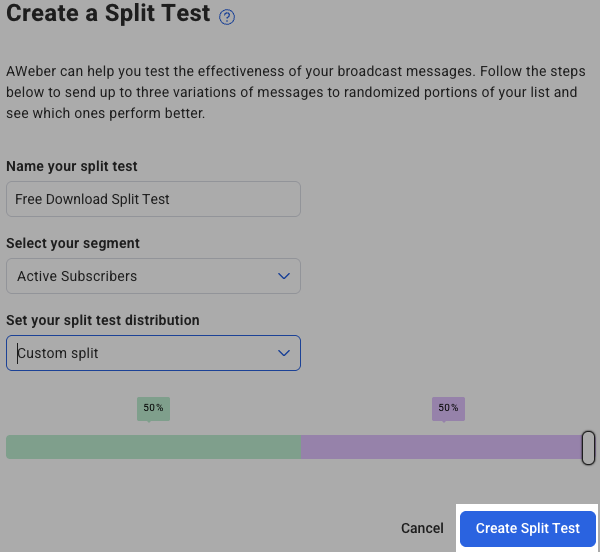
Next, provide a name for your split test. This is the best way to differentiate one split test from another.
-
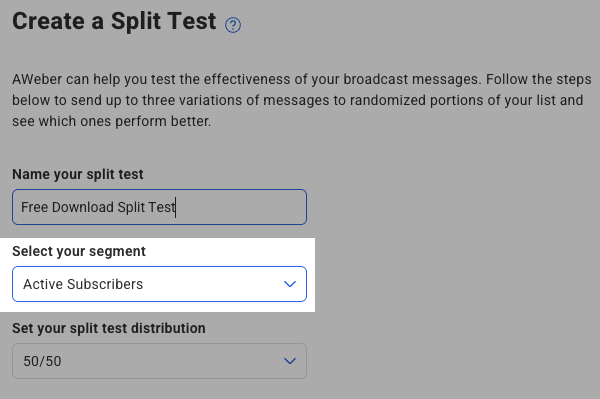
If you wish to send your split test to a specific segment of your subscribers, click on the "Select your segment" drop-down menu.
-
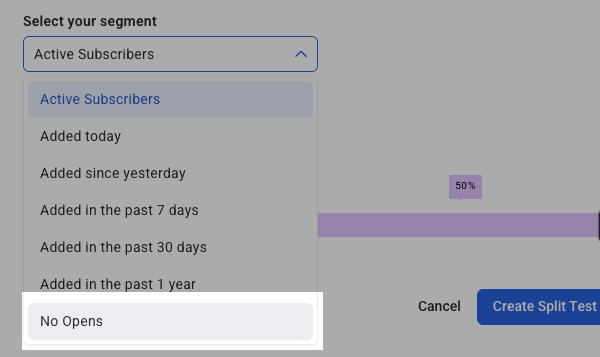
Next, select the segment you'd like to send to.
-
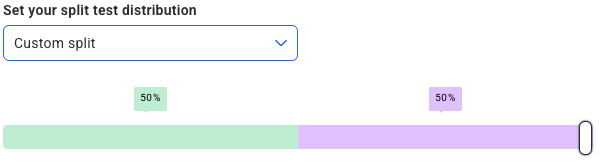
Then, move the slider on the scale to define your split segment groups. You can have up to three groups. To get the most value out of your split test, you should consider sending to all three groups. You will send the two messages that you want to compare to groups A and B, and then send the "winner," or the most engaged message, to group C. Note: to have only two groups, the slider must be moved all the way to the right.
You can also use the "Set your split test distribution" drop-down menu to select one of a few preset options.
-
Then, click "Create Split Test."
-
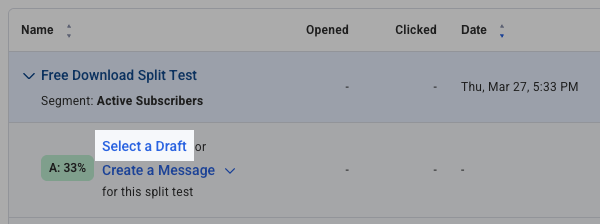
Now, you can schedule messages for each split segment. To choose the message you would like to use for segment A, click on the name of the split test, then "Select a Draft."
-
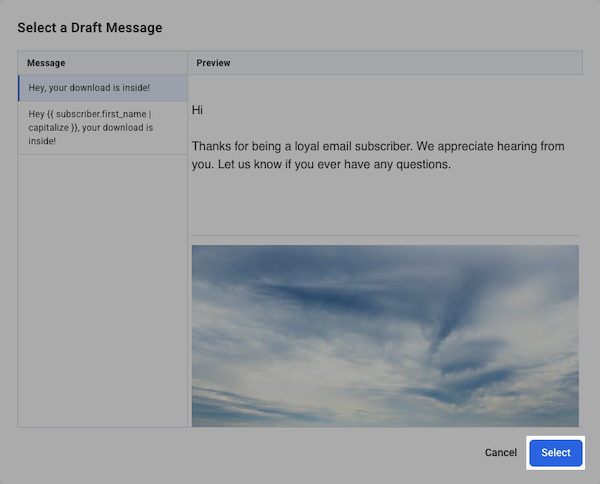
Here, you can select any current draft in your list. Then, click Select.
-
You will now see your selected message added into your split test segment A. Click the blue Schedule button to schedule your Broadcast split test message to segment A.

-
Schedule your message just as you would with any other within your account. Once your Broadcast settings are set, click the "Send Message Now" button.

-
Repeat the above steps for segment B. Once you send to groups A and B, you can compare the stats between those messages to determine your "winner," and send that winner to segment C.
You did it! Your split test is now good to go. To check on its progress, just come back to this page to review the statistics.