
The "Split Path" action in Workflows allows you to create different paths based on subscriber behavior or other conditions. This feature enables you to send targeted content to your subscribers based on how they interact with your messages.
In this article, we’ll walk you through how to use Split Path in your workflows.
Step by Step Instructions
-
Before using the Split Path, you need to have at least one action in your workflow (e.g., sending a message or tagging subscribers).
-
Click "+" add action button after your message or other action. Select "Split Path".

-
Once the "Split Path" is added, you’ll need to define the conditions that will divide the path.
In the "If Condition" dropdown menu, choose the trigger for your path (e.g., if the subscriber opens a message, clicks a link, or has a specific tag).
-
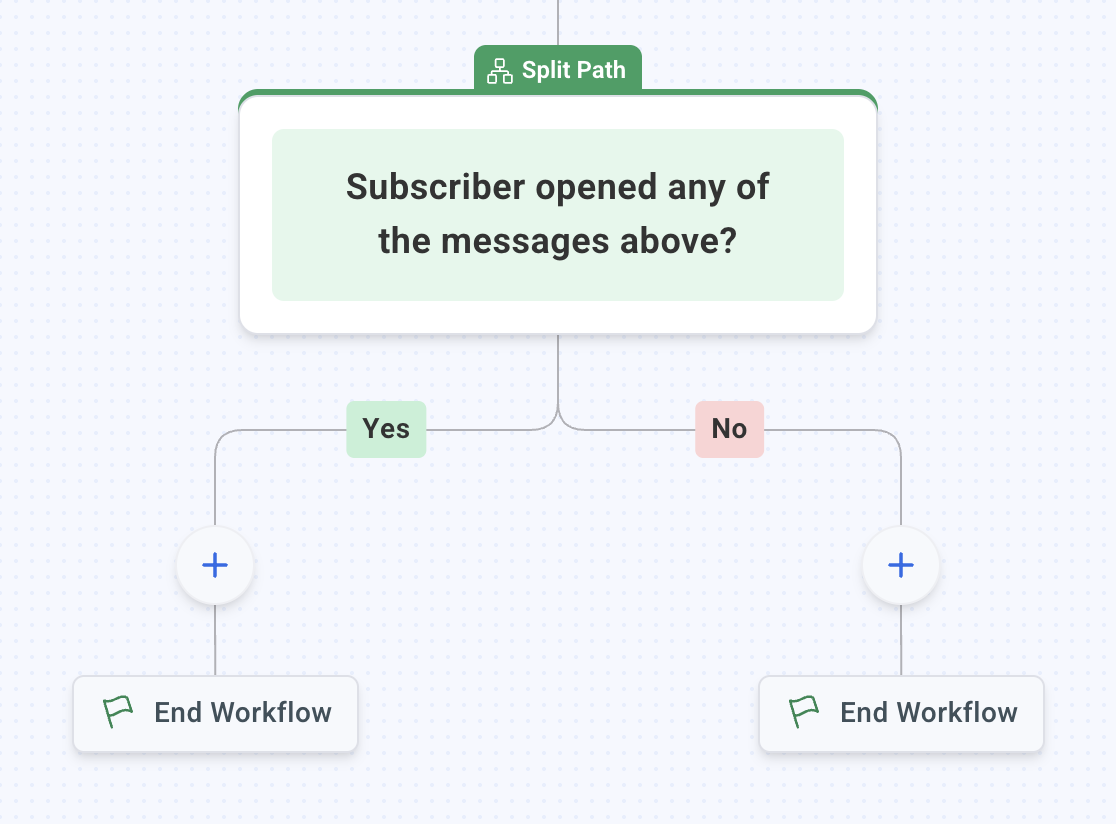
Once your condition is set, you'll see two paths:
-
"Yes" path: This path will be followed by subscribers who meet the condition (e.g., opened the message).
-
"No" path: This path will be followed by subscribers who do not meet the condition (e.g., did not open the message).
-
-
For both the "Yes" and "No" paths, you can add more actions such as sending emails, tagging subscribers, or adding wait times.
And that's it! Once you’ve set up the "Split Path" with your desired conditions and actions, test the workflow.
Note - workflow actions execute sequentially without delay (unless a wait action is included).
The "Split Path" action is a powerful way to personalize your workflows and deliver targeted content based on subscriber behavior. By using "Split Path" actions, you can create a more engaging experience for your subscribers and increase the effectiveness of your email marketing workflows.